Tsunami (2024) Electrathon Racer (#47) "T for Victory"

Functional Artist

Well-known member
Messages
5,604
Reaction score
3,213
Location
Toledo, Ohio
It takes some serious muscle to bend 1 x .120 tubing as you know,
are you manually calculating your bends?
what is your bend radius.
you obviously have it figgered out.
l’m too stoopid to do manual calcs, so l rely on software.
Hey T,

"are you manually calculating bends?"

Well, I read the manual
...& watched a couple of videos ;)
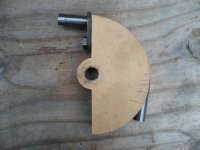
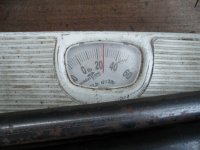
...& then, made up/working on, a DIY "dial indicator"
...but, so far just mainly using a ruler

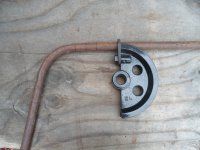
1" bending die
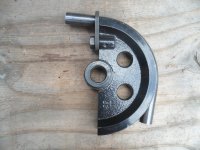
SAM_3012 (1).JPG
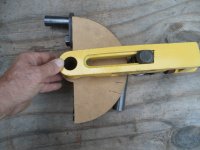
...with DIY indicator
SAM_3016 (1).JPG
...with the indicator & "bender/handle"
SAM_3018 (1).JPG
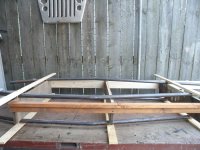
So, for a "roll bar" lets say, I measure/figure the overall length of the piece needed (plus a little extra, just in case I'm a bit off)
...then, find/mark the center

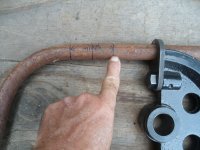
Next, I figure about how wide the space, between bends, needs to be
SAM_3021 (1).JPG
...& then, add ~5" (for the bend)
SAM_3020 (1).JPG
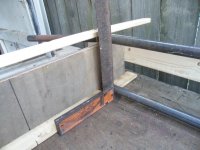
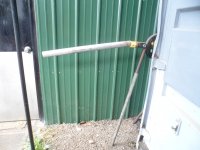
Put the piece in the bender
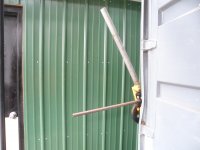
* Notice my extra leverage extension handle? (piece of pipe)
SAM_3050 (1).JPG
* Bending tip:
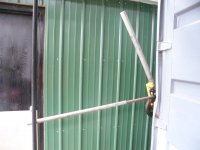
I found that the bending steel tube is much easier, if ya help "lead" the piece being bend
...so, I also, add an extra leverage extension (pipe) to the piece
...& then, use my other hand (& sometimes foot) to "help 'er along
SAM_3051 (1).JPG
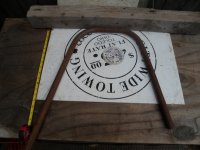
After bending it looks kinda like this
SAM_3052 (1).JPG
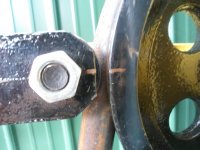
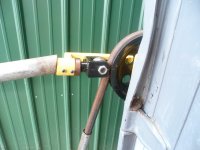
* The DIY indicator wasn't co-operation, like I wanted it to
...so, I just made a mark on the bender
...& then, used the mark to bend both sides to match
SAM_3054 (1).JPG
Just gotta line up them marks :thumbsup:
SAM_3053 (1).JPG
 

Functional Artist

Well-known member
Messages
5,604
Reaction score
3,213
Location
Toledo, Ohio
That roll cage is a joke that they show on that kart. If these guys are engineers who made the rules and specs we’re in trouble as a country. I think you could beat these genyusis easily. And do it safer too!
It’s too narrow. In a simple rollover your head (helmet) would come into contact with the pavement. That would be a big no, no! Roll bar padding should go around the bars completely and not be made of pool noodles. I have the same complaints about most of the buggies sold today. The reason they make the cages narrow at the top is to keep them from sitting upside down. Which is great, but and it is a big one. They do not allow side protection around the head and shoulders. Which could come into contact with the ground.
Hey Denny,

More better bending info (after a couple of cups of coffee)
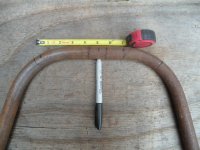
...showing the 5" "spacing", from the center of the piece to the center of the bend
SAM_3040 (1).JPG
Then, to double check "if" both sides are the same (symmetrical) I rigged up a "jig"
...& traced around the piece
...& then, flipped the piece over, to see if they (both sides) match (or are at least pretty close) ;)

* This "jig" also, helps to mark both "legs" at the same length, for cutting :thumbsup:
SAM_3038 (1).JPG
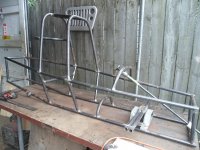
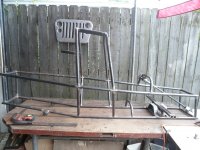
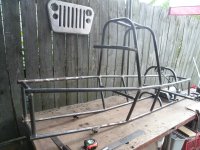
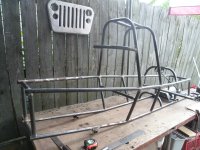
...& so, this is what I came up with
SAM_3068 (1).JPG
Profile
SAM_3069 (1).JPG
Rear(ish) view
SAM_3070 (1).JPG
It's kinda givin' me pick-up truck vibes :unsure:
...& IDK if I'ma likin' it :huh:
...what do you'all think??? :popcorn:
 

Denny

Canned Monster
Messages
11,889
Reaction score
8,357
Location
Mayberry, Indiana
As long as you head won’t hit the ground in a rollover I’m good. But I still believe a cage should be as wide as your shoulders minimum!
 

Functional Artist

Well-known member
Messages
5,604
Reaction score
3,213
Location
Toledo, Ohio
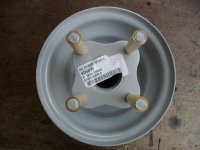
I ordered one of them 6" flanged rim from BMI Karts (~$25.00)
https://www.bmikarts.com/6-Drive-Wheel-38-Studs-2-78-Bolt-Pattern_p_35546.html
...but, the sticker says Go Power Sports :huh:
SAM_3060 (1).JPG
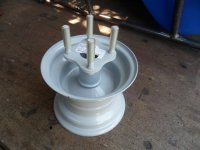
Another view
SAM_3057 (1).JPG
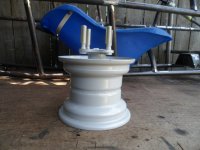
Looks like a good "spot" for a brake rotor (front wheels)
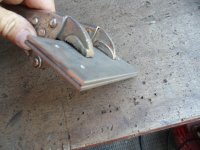
...& a rotor (maybe spacer) & a sprocket (rear wheel)
SAM_3058 (1).JPG
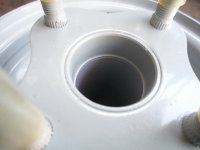
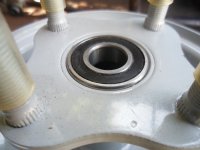
They look pretty HD
...& have built-in "bearing seats"
SAM_3065 (1).JPG
With bearing :thumbsup:
SAM_3067 (1).JPG
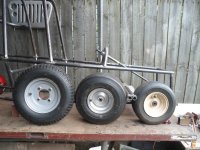
Wheel height comparison
Left: 4.80 / 4.00 x 8 (~16" tall)
Middle: 15 / 6.00 x 6 (~14" tall)
Right: 13 / 6.50 x 6 (~13" tall)
SAM_3071 (1).JPG
So, it doesn't look like we would loose much height, if using the 6" rims, with 15" tires
...as opposed to the 16"tall golf cart wheels
...& going with the 6" wheels should be a bit lighter (just by leaving off them 12 lug nuts) ;)
 

Functional Artist

Well-known member
Messages
5,604
Reaction score
3,213
Location
Toledo, Ohio
Rear axle mounting brackets?

The rear wheel has the bearings already mounted in it
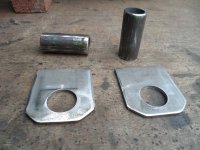
...so, we just need some simple brackets to hold/support the axle
SAM_3070 (1).JPG
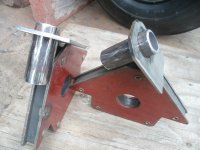
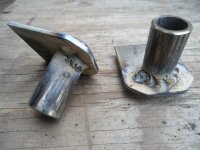
Hardware
(2) pieces of 5/8" ID pipe/tube
...& a couple of 2" x 1/8" pieces of flat steel (with a 7/8" ID hole)
SAM_2998 (2).JPG
They will "go" on the chassis about like this
SAM_3000 (1).JPG
Welding "jig"
...for holdin' them square
...& also, simply holdin' them, for welding :thumbsup:
SAM_3002 (1).JPG
Welded together
SAM_3005 (1).JPG
Prepped the patient for the procedure (welding the brackets on)
SAM_3006 (1).JPG
...& tacked 'em in place
SAM_3007 (1).JPG
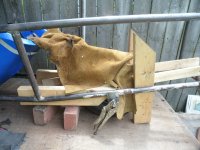
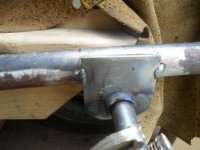
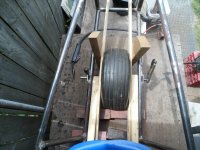
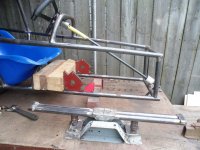
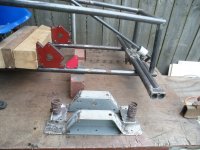
* Used some 2 x 4 boards & strips of plywood to help with centering & squaring the rear wheel in/with the chassis, before welding the rear axle mounting brackets in place ;)
SAM_3008 (1).JPG
 

Functional Artist

Well-known member
Messages
5,604
Reaction score
3,213
Location
Toledo, Ohio
I'm not likin' some stuff about the front axle :mad2:

Like the mount (seems a bit too big/beefy/heavy)
...& also, the placement (the whole unit is kinda in the way of the driver, gettin' in & out) :furious2:

So, I removed it :cornut:
...& did some re-evaluation :unsure:
SAM_3081 (1).JPG
Re-calculating...re-calculating...:popcorn:

Maybe like this...(it would definitely be outta the drivers way)
* The 2 x 4's in front of the seat represent the battery pack/box
SAM_3082 (1).JPG
...& for a smaller/lighter mounting bracket, I'ma thinkin' something like this :cheers2:
SAM_3088 (2).JPG
* Also, thinkin' about using the 6" flanged rims, which are a bit shorter
...so, I had ta lower the axle height as well
SAM_3090 (2).JPG
Kinda like this :thumbsup:
SAM_3097 (2).JPG
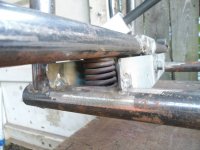
Tucked the springs right up in there ;)
SAM_3099 (2).JPG
 

Functional Artist

Well-known member
Messages
5,604
Reaction score
3,213
Location
Toledo, Ohio
Double walled, 3-hole pitman arm, started off life like this :innocent:
SAM_3105 (1).JPG
Yup, used one of my "new" toys...Um...tools...I mean tools:devil2:
SAM_3107.JPG
On the steering shaft
...with tie-rods
SAM_3110 (1).JPG
Zoomed out
SAM_3108 (1).JPG
Profile
SAM_3109 (1).JPG
 

Master Hack

Well-known member
Messages
4,263
Reaction score
6,828
Location
Mountain top Labratory
I find these really handy on steering shafts, where ya need a little
“flexibility”.


Master Hack

Well-known member
Messages
4,263
Reaction score
6,828
Location
Mountain top Labratory
Put a piece of tubing in here B4 ya weld it. It will look mo bedder. Follow me for more usless tips, or just come out and say STFU!
Thats all l got, the rest looks good.
More un welcome inspections to follow!

Ha ha, had to find sumpthin to give ya shyt about.0B732336-7A8B-457C-B02C-85EFB69FB901.jpeg
 

Functional Artist

Well-known member
Messages
5,604
Reaction score
3,213
Location
Toledo, Ohio
Took a bit of a break...

We (my wife & I) went to a concert, to see an Eagles tribute band "Hotel California" at a local venue, not too long ago
...& afterward, as we were walking to the parking lot, a Jeep zipped past us pretty quickly
...& then, (sadly) hit an elderly couple walking just ahead of us (HARD)...threw them both into the air
https://www.toledoblade.com/local/p...uv-after-sylvania-concert/stories/20240715121

Wife has been pretty upset about it
...so, I have been "hanging out" with her a bit more :)
 

Functional Artist

Well-known member
Messages
5,604
Reaction score
3,213
Location
Toledo, Ohio
Hey fellas,

Yup, they was just goin' out to see a show
...& BOOM!
...very tragic & sad how life can be changed (or ended) in the blink of an eye :cry:

Taking this break, also gave me time to evaluate & realize how much I dislike this chassis
...so, my left brain has been workin' on...
 

Functional Artist

Well-known member
Messages
5,604
Reaction score
3,213
Location
Toledo, Ohio
Uh oh. Complete teardown?
That design bothered me in many different ways :mad2:
...& on many different levels

So, yup, I went back to the drawin' board
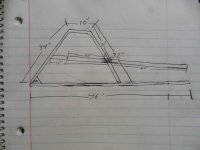
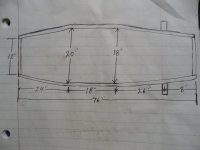
...& now thinkin' maybe something more like this :cornut:

Chassis (rough idea) side view
SAM_3164 (1).JPG
Side impact rails (top view)
SAM_3165 (1).JPG
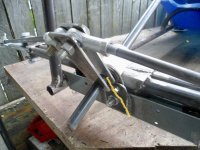
Then, did some measurin', markin', cuttin' & bendin'
SAM_3132 (1).JPG
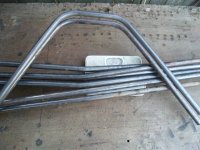
2 base rails (on the bottom & for the bottom)
...4 side impact rails (in the middle & for the middle)
...& the roll cage (on the top & for the top)

These will make up most of the chassis
...& only weigh in at ~25 lbs. :thumbsup:
SAM_3133 (1).JPG
 

Functional Artist

Well-known member
Messages
5,604
Reaction score
3,213
Location
Toledo, Ohio
Starting off "completely fresh" :)

Made up a "jiggy" thing :thumbsup:

* The side impact bars are spaced ~5 1/2" apart, to comply with the 6" side bar spacing rule ;)
8. Frame members on the side of vehicles must be designed to help prevent another vehicle
from intruding into the driver’s compartment in the event of a crash. No spacing larger
than 6 inches is allowed on the frame of the vehicle around the front and sides of the
driver’s compartment and the battery box(es), as tested with a 6” diameter disc. The 6”
disc must be prevented from intruding into the driver compartment by 1” OD (square or
round) tubing

SAM_3134 (1).JPG
Also, made an effort to keep the side bars nice & "in line" with each other
SAM_3135 (1).JPG
 
Top