r97
Measure twice cut once
Ok, so before I put my newly acquired engine in a buggy frame I want to get it in good condition first.... rebuild time! Here is the basic plan:
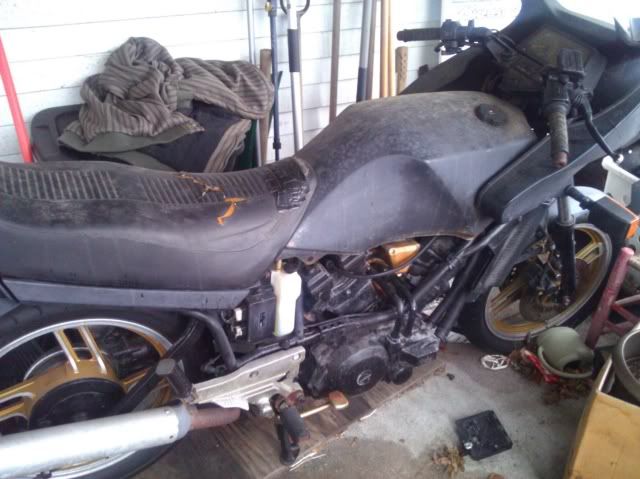
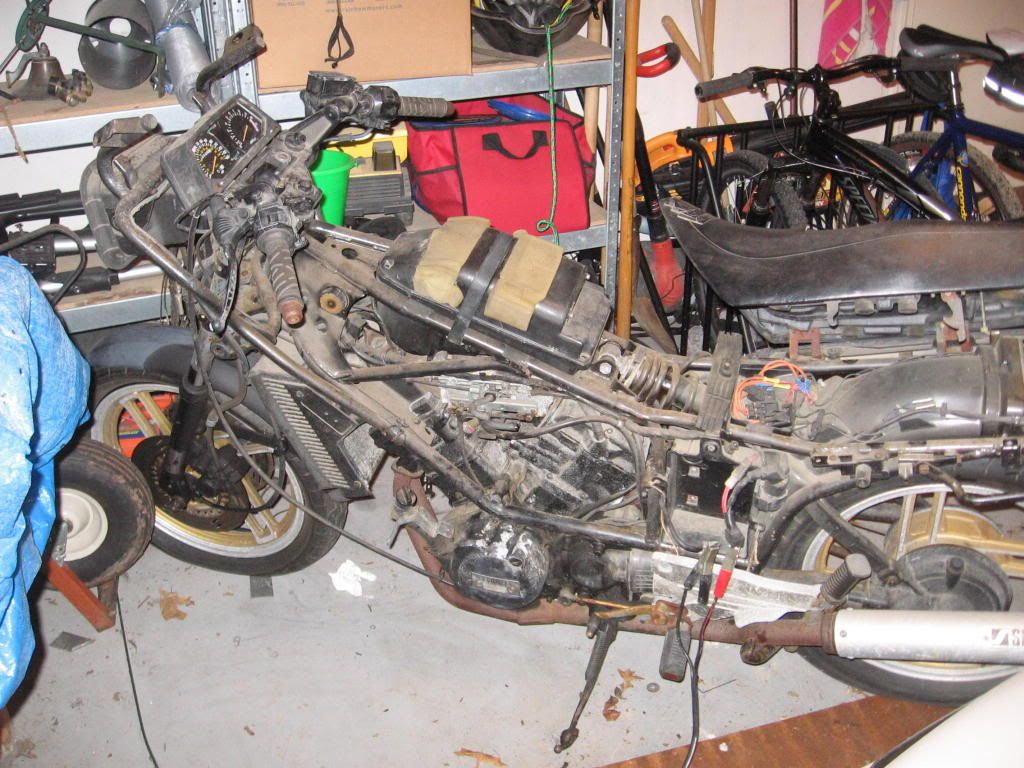
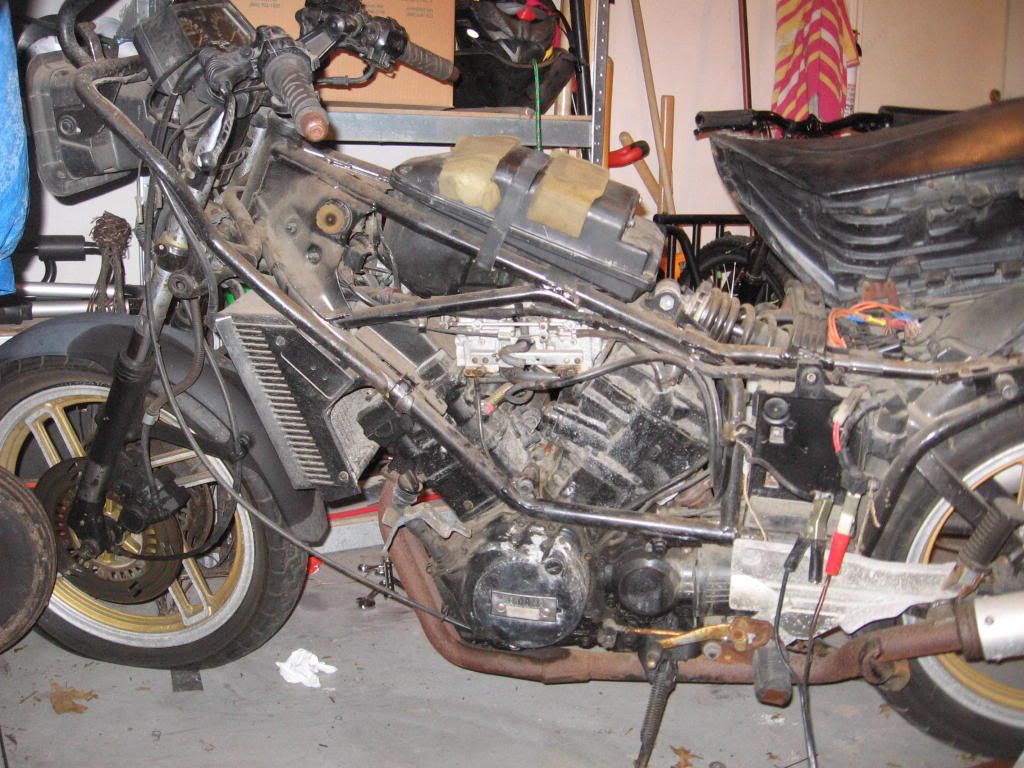
-Remove from motorcycle (check!)
-Disassemble engine
-Clean ALL parts
-Strip and re-paint engine cases
-Rebuild starter motor
-Replace all gaskets
-Reassemble engine
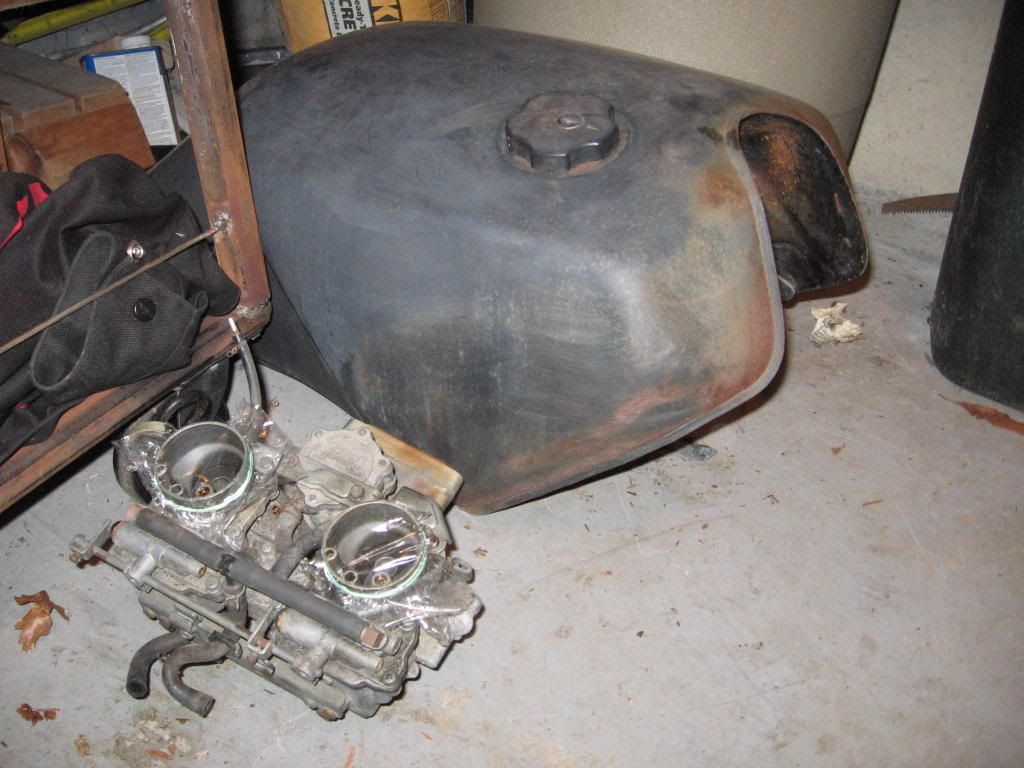
I'm hoping to avoid getting new clutch plates, or piston rings as those are pretty expensive. The stupid gasket set is already $125, and that's not even including the $99 twin carb and fuel pump kit! Piston rings will run me $130... I already need to buy paint, and lots of pipes.
Anyhow, I'm going to try and save as many gaskets as I can, and not touch the carb until I know as a fact that they do not work.
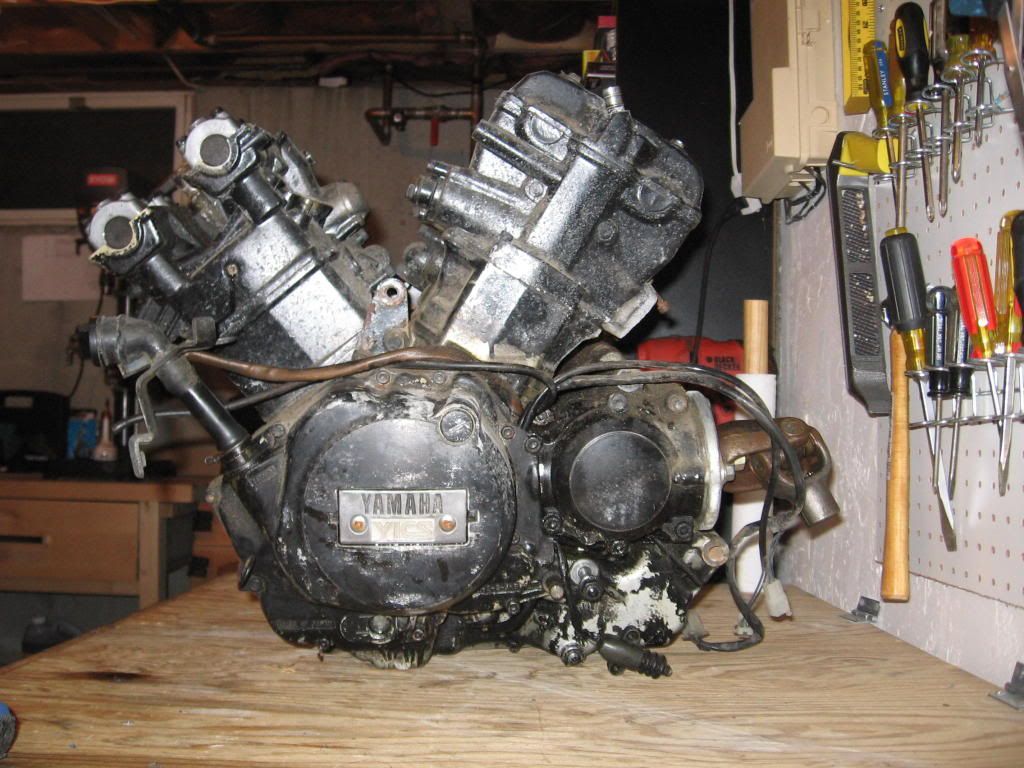
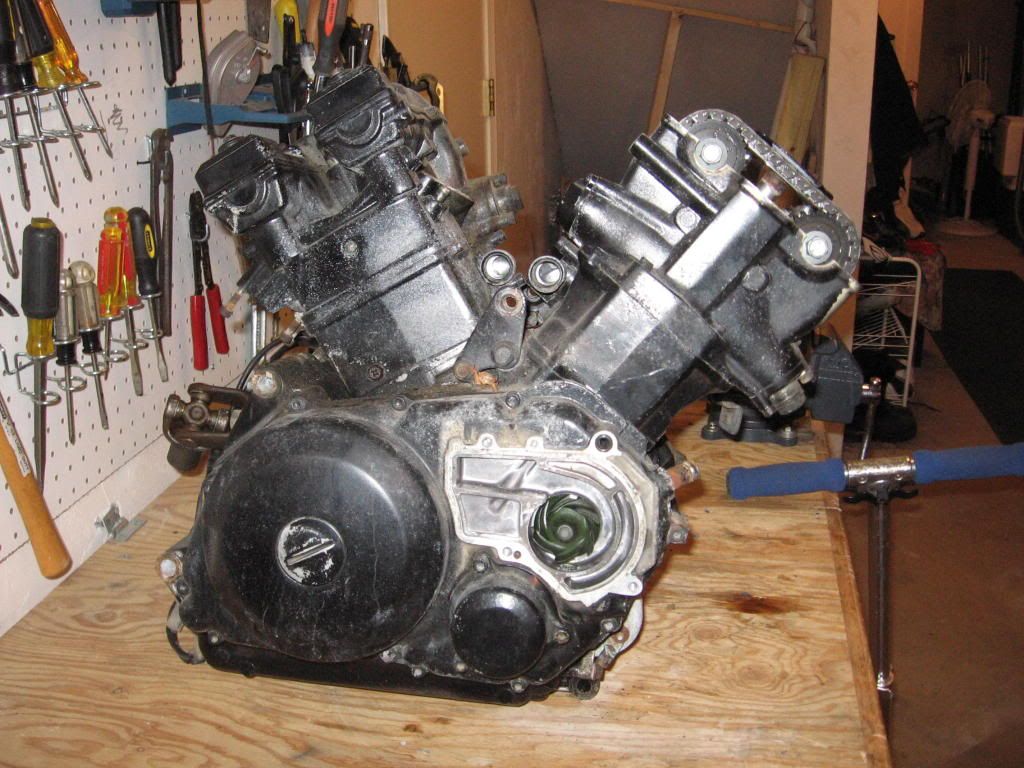
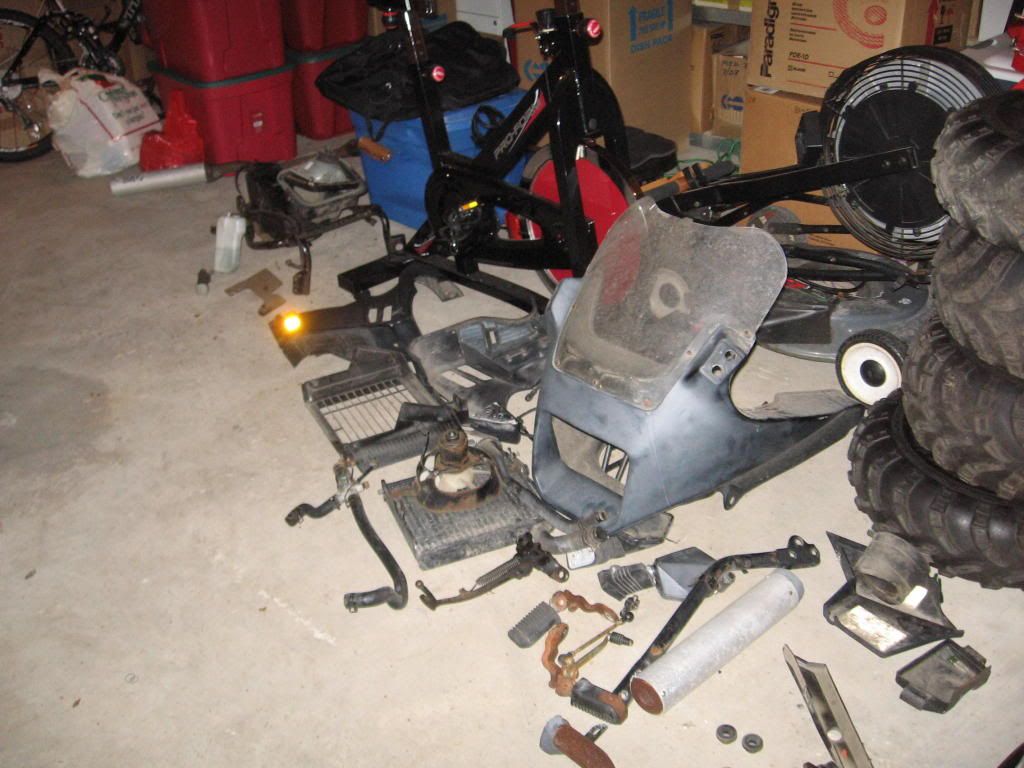
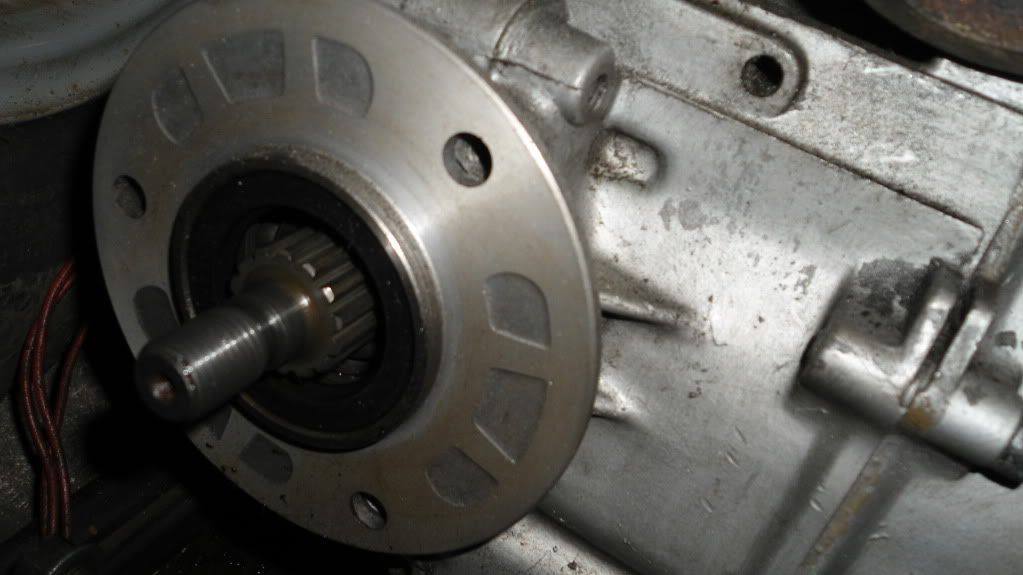
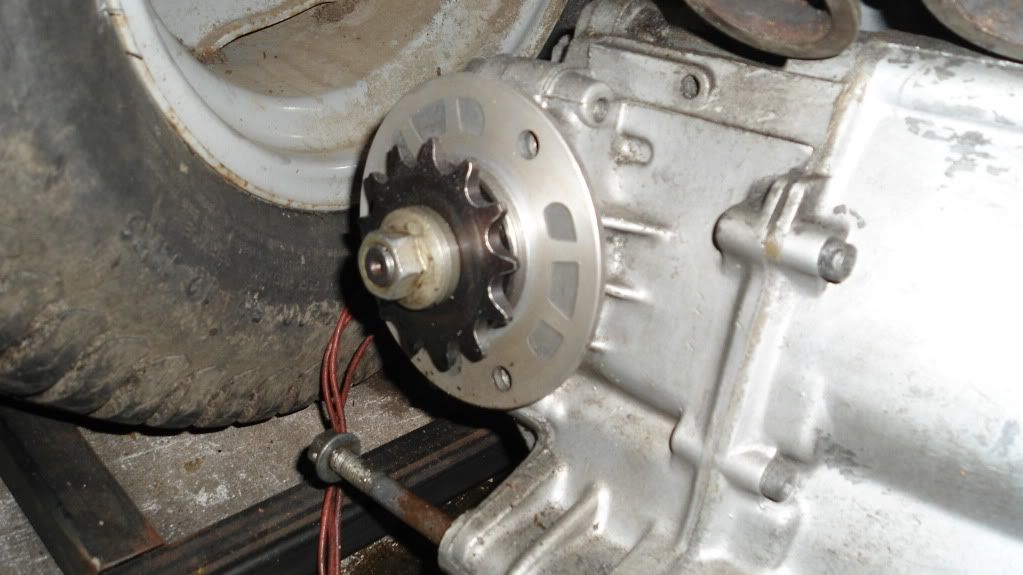
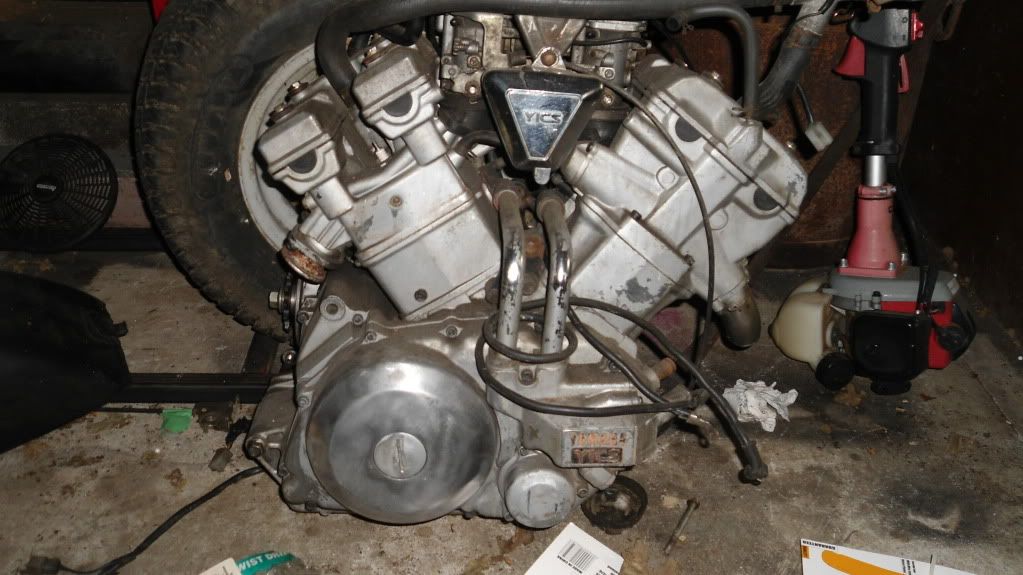
Here's some pics! Engine is a 552cc V-twin, liquid cooled, four stroke, DOHC, 4 valve, electric start, 5 speed manual, shaft drive, twin downdraft carb, 83' Yamaha!
And of course the most important tool.....

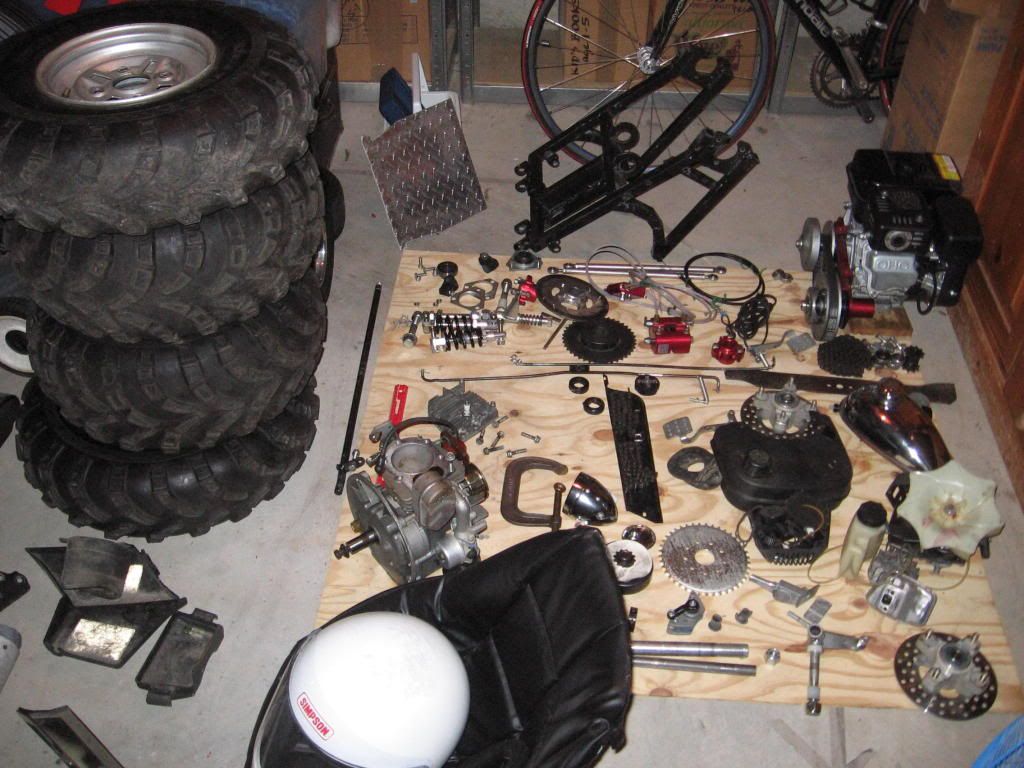
I'm noticing now that I have acquired a lot of parts! Most are from the motorcycle, and my go kart (disassembled), but not all. ATV tries and rims were scored almost new for $100!
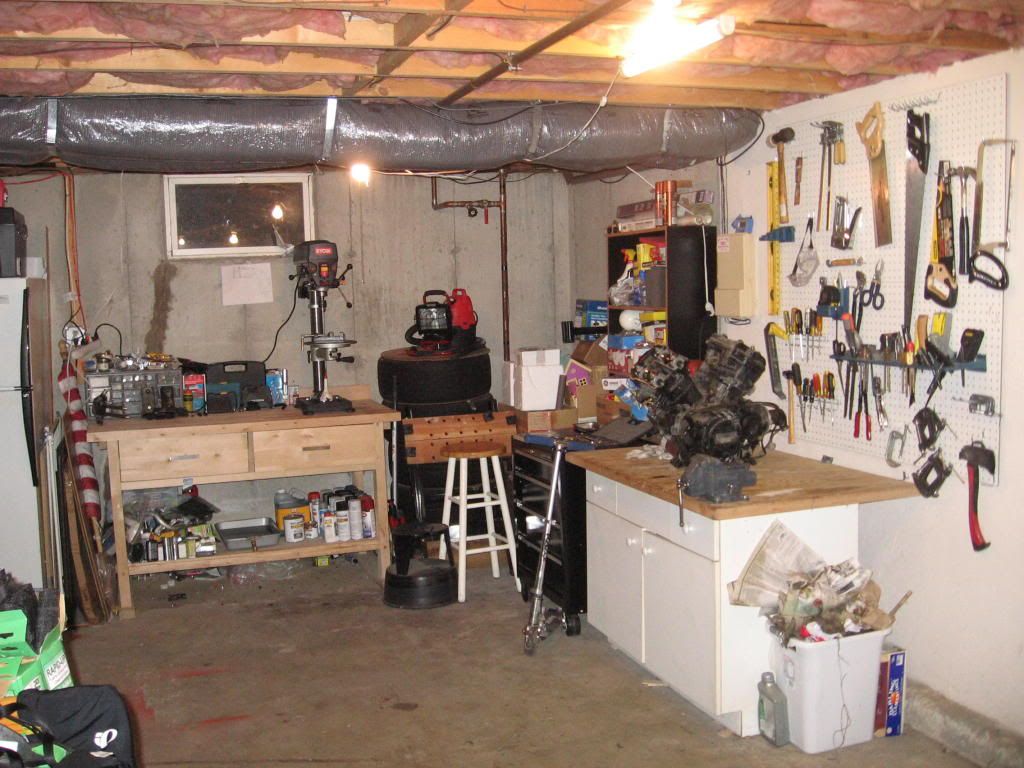
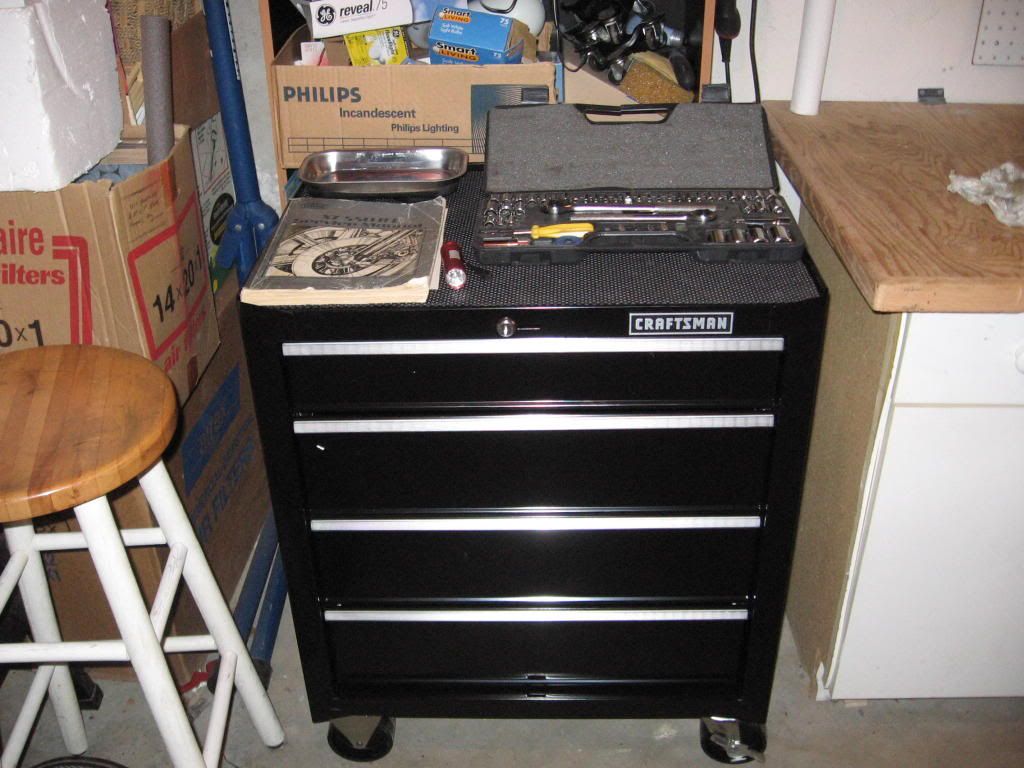
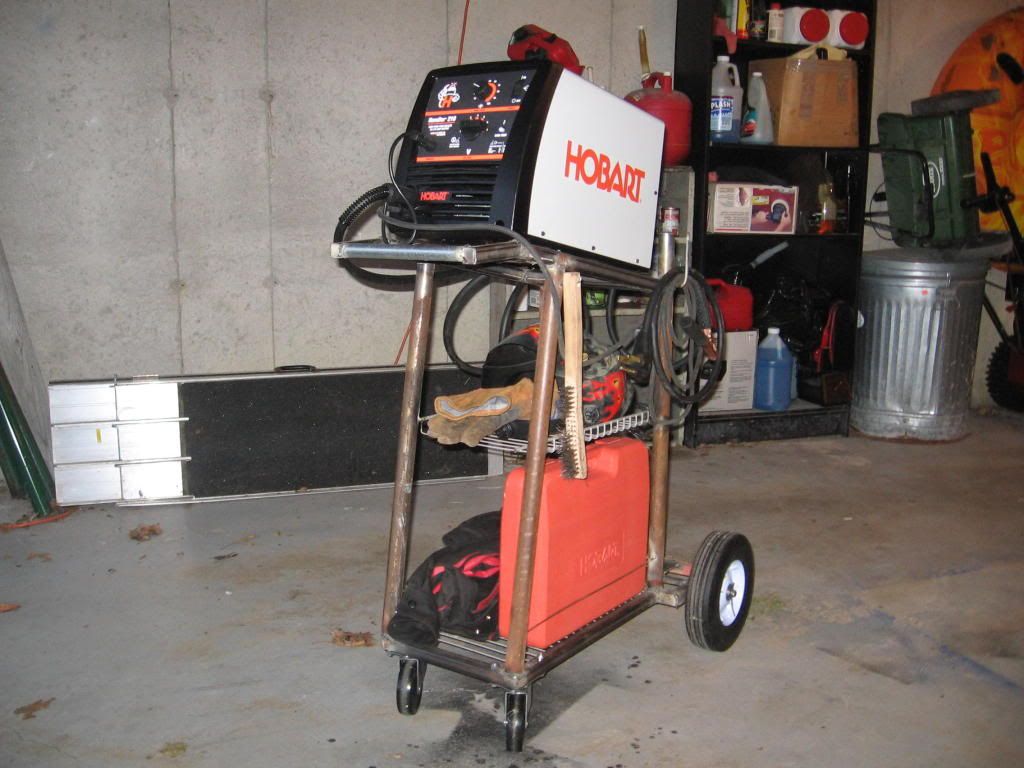
Also some upgrades to the shop! I cleaned it up nicely, and was given a big tool chest for Christmas (how did I live without it!?). I threw in a picture of my welding cart too, just need to make the gas cylinder mounts and a welding table so I can start my build!
-Remove from motorcycle (check!)
-Disassemble engine
-Clean ALL parts
-Strip and re-paint engine cases
-Rebuild starter motor
-Replace all gaskets
-Reassemble engine
I'm hoping to avoid getting new clutch plates, or piston rings as those are pretty expensive. The stupid gasket set is already $125, and that's not even including the $99 twin carb and fuel pump kit! Piston rings will run me $130... I already need to buy paint, and lots of pipes.
Anyhow, I'm going to try and save as many gaskets as I can, and not touch the carb until I know as a fact that they do not work.
Here's some pics! Engine is a 552cc V-twin, liquid cooled, four stroke, DOHC, 4 valve, electric start, 5 speed manual, shaft drive, twin downdraft carb, 83' Yamaha!
And of course the most important tool.....
I'm noticing now that I have acquired a lot of parts! Most are from the motorcycle, and my go kart (disassembled), but not all. ATV tries and rims were scored almost new for $100!
Also some upgrades to the shop! I cleaned it up nicely, and was given a big tool chest for Christmas (how did I live without it!?). I threw in a picture of my welding cart too, just need to make the gas cylinder mounts and a welding table so I can start my build!

 , there was a bunch of blue gasket maker crap too.
 If it's just random side covers then they're easy to do. Heck, if you clean it up really nice (drain all the oil out, de-grease it ect) and use a thicker paint it'd probably seal them up.
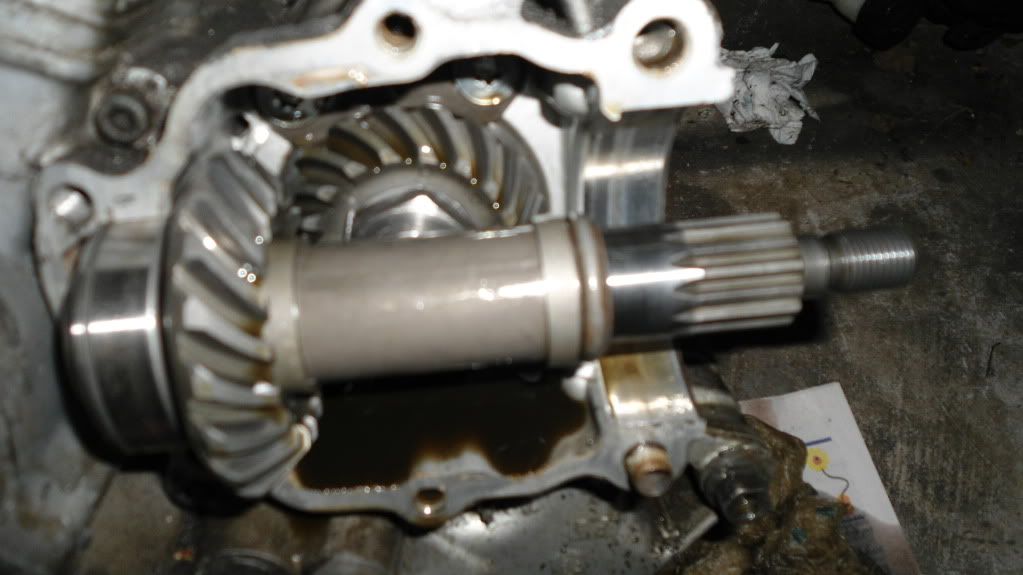
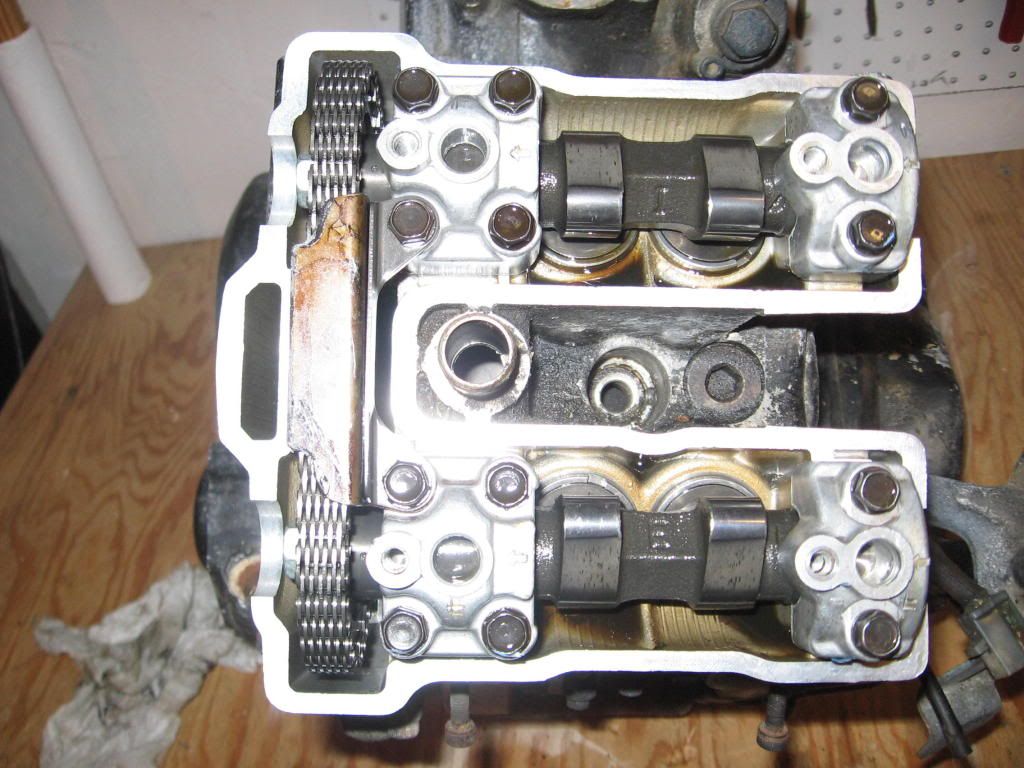
 Okay then. Why have many 4 stroke MB engines I have played with had a master links?
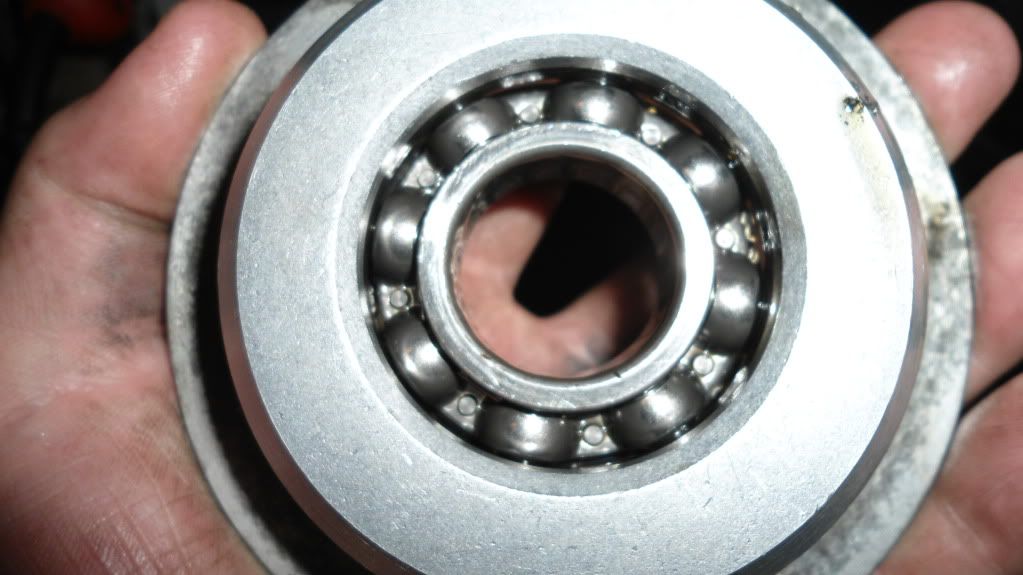
 . Cam bearings? This thing is just metal on metal! Of course there are 2 1/2" pressurized oil passages running through each cam!