OzFab
Well-known member
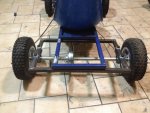
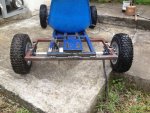
I'm modifying the existing frame. The subframe will reduce the overhang and produce a symmetrical chassis. I think this is the easiest way for me to perform the mod.
Ok, now I'm confused, are you modding the existing frame or simply adding a new rectangle frame to the top of it?
10" is my initial guess and is not written in stone. Currently I have a 66T, which OD is just 7 1/4". 72T OD is less than 9". I'll take your and Half-Breeder advise into consideration. Thanks!
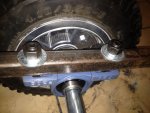
One thing Tihm didn't mention, you may have enough space within the frame to fit the sprocket & a brake disc, you may have enough width to hold the engine BUT, where does the chain run in relation to the front end of the frame?

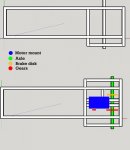

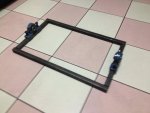


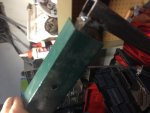
 The rectangular subframe is already welded. There is no way to place spacers inside, the entry is blocked by the other tube. (Left image)