souperman000
New member
What store are you at in the pictures? It looks like it has some awesome products!


maybe we should name each one!!!!!

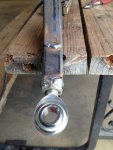
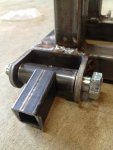
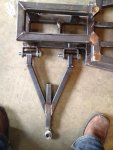
You guys are doing some good work. Nice and clean. I was just wondering what you did here in the pic below? What was the extra piece welded on?
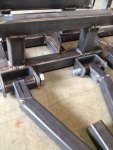
It's an optical illusion created by a good camera angle. If you have a look at the other pics that's where the side bar meets the centre piece
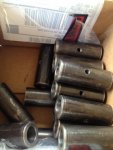
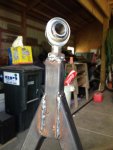
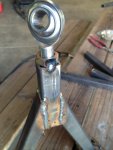
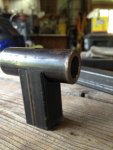
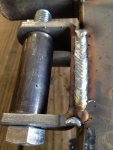
I was hoping to make my own A-arm joints as well. What are you using for the tube at the joint connecting them to the frame?
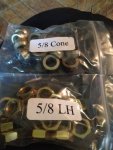
did you have to get the whole hole milled or did you start with tube? I also need to make some for the same kart that I am building. also if you could post specs on those berings I would apreciate it. sorry to be asking on your thread