Trailer Spare Wheel Carrier

Status
Not open for further replies.

OzFab

Well-known member
Messages
15,615
Reaction score
70
Location
Warwick Qld, Australia
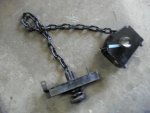
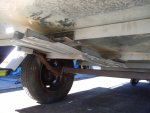
When I finished rebuilding my box trailer I suddenly realised I had nowhere to put my spare wheel. With the box & jockey wheel on the A frame, there wasn't enough room & mounting it & inside seemed to defeat the purpose of getting a longer trailer.

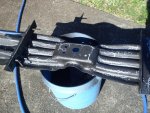
I had seen a post on another forum that someone had used a spare wheel carriep form a Toyota Land Cruiser. Aparrenly, 4WD accessory places remove them to put in long range fuel tanks & put the spare on a swing arm on the back. It just so happens that my nephew works at one of these outfits so I rang him. "Nup, we don't have any, but ring this guy, he should be able to help" was his response. I rang the guy (Danny) & he said "nothing at the moment but, leave it with me.

Anyhoo, A few weeks later, I'd almost given up when Danny rang me back & said "I've got a carrier from a 100 series". When I asked him how much, he said, & I quote, "I can't charge you for it, Matt (my nephew) would kill me".

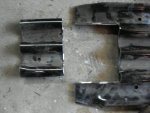
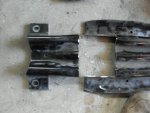
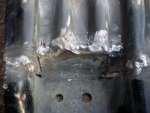
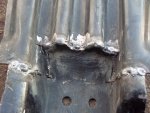
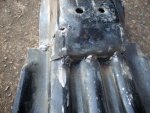
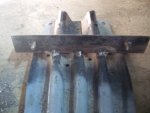
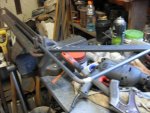
Once I got it home, I had a close look at it & thought "this is gonna need 'adjusting'".
 

Attachments

  • SDC10259.jpg
    SDC10259.jpg
    78.4 KB · Views: 15
  • SDC10263.jpg
    SDC10263.jpg
    88.1 KB · Views: 8
  • SDC10265.jpg
    SDC10265.jpg
    82.9 KB · Views: 7
fowler

New member
Messages
5,463
Reaction score
18
Location
Bullsbrook West Aus
Why not mount the wheel on the side
In front of the mud flap

The Cruiser doesn't usually require repositioning the spare but the prado does
 

OzFab

Well-known member
Messages
15,615
Reaction score
70
Location
Warwick Qld, Australia
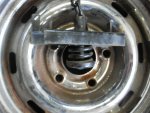
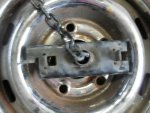
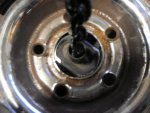
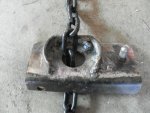
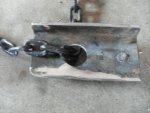
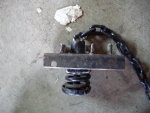
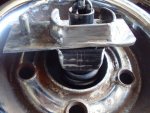
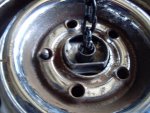
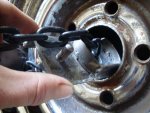
First step, get the hanger to fit through the spare wheel centre which is much smaller than that on a Land Cruiser (as you can see from the previous pics).

Once I'd done that I then had to come up with an idea to make it work. My first idea was two plates, hinged in the middle that lifted to drop through the centre & fell into place to hold the wheel.
Question 1. How do I secure it?
Question 2. How do I make it strong enough to hold the wheel yet have a big enough opening to work around the chain?
Question 3. How will I get it out through the centre?

Back to the drawing board, stopped over analysing & came up with this. It's, basically, a length of angle with extra bits added as locators & a hole in the middle for the chain
 

Attachments

  • SDC10266.jpg
    SDC10266.jpg
    75.9 KB · Views: 4
  • SDC10290.jpg
    SDC10290.jpg
    89.4 KB · Views: 4
  • SDC10291.jpg
    SDC10291.jpg
    81.5 KB · Views: 3
  • SDC10292.jpg
    SDC10292.jpg
    100.5 KB · Views: 3
  • SDC10294.jpg
    SDC10294.jpg
    102.9 KB · Views: 4
  • SDC10296.jpg
    SDC10296.jpg
    95.5 KB · Views: 4
  • SDC10295.jpg
    SDC10295.jpg
    90.2 KB · Views: 4

OzFab

Well-known member
Messages
15,615
Reaction score
70
Location
Warwick Qld, Australia
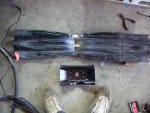
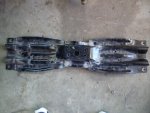
Once that was all worked out, it was time to modify the mounting rail which, again, was way too big.

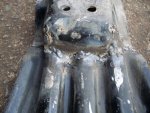
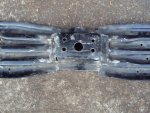
First I cut the centre out & got it to a size that was appropriate for the wheel, shortened the end so it just didn't look wierd (again, I'm a bit anal like that), then reattach the centre thus:

P.S. Unfortunately, I forgot about the camera until after I cut the centre out so I have no pics of the rail as I got it :censored: :mad2:
 

Attachments

  • SDC10274.jpg
    SDC10274.jpg
    86.9 KB · Views: 7
  • SDC10276.jpg
    SDC10276.jpg
    79.1 KB · Views: 4
  • SDC10278.jpg
    SDC10278.jpg
    79.1 KB · Views: 4
  • SDC10279.jpg
    SDC10279.jpg
    83.8 KB · Views: 4
  • SDC10288.jpg
    SDC10288.jpg
    94.9 KB · Views: 5
  • SDC10289.jpg
    SDC10289.jpg
    109 KB · Views: 7

Doc Sprocket

*********
Messages
15,677
Reaction score
151
Location
Ontario, Canada
Behind the axle to offset the weight of the box on the front

That may or may not be a good plan. What is your empty weight distribution? You always want positive weight on the tongue. If the unloaded weight bias is too far off, you may encounter difficulty with loads in the future. In order to maximize the payload and minimize effect on the tow vehicle's handling, you want the payload over the axle, with the loaded weight bias about 10% forward (or 1/10th of the trailer's GVW on the tongue). Slight deviations are fine as long as you keep these things in mind, but I have seen people run into problems with trailers that were ill-balanced.
 

OzFab

Well-known member
Messages
15,615
Reaction score
70
Location
Warwick Qld, Australia
Thanks for the thoughts, you bring up an interesting point.

I learned about balancing a load at a very young age: I have a memory from when I was about 10 of my father pushing down on the back of the trailer while loading it & asking him why he was doing that. Of course, he was checking the balance of the load.

This trailer has amazing balance; towing it empty I have to keep reminding myself it's there because I can't feel it. Last week I had 200kgs of scrap steel in it & it felt like it wasn't there.

By placing the spare in the trailer & checking the balance, the "sweet spot" is just behind the axle. With a normal load that would be the best place for it but, I plan to make a loading ramp which will attach as the tailgate. The ramp won't be on permanantly so, I need to factor it in.
 

OzFab

Well-known member
Messages
15,615
Reaction score
70
Location
Warwick Qld, Australia
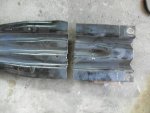
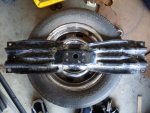
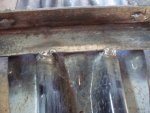
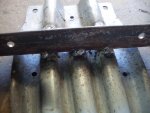
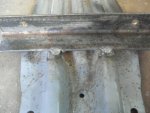
Today was about getting the rail into shape & welding everything up. Although i may not look any different, it is. The ends of the centre section have been tucked in so that they could be welded securely to the huge corrugations & I filled in all the gaps.

Tomorrow I hope to finish welding & dress it up ready for mounting.
 

Attachments

  • SDC10301.jpg
    SDC10301.jpg
    100.4 KB · Views: 2
  • SDC10300.jpg
    SDC10300.jpg
    108.1 KB · Views: 3
  • SDC10299.jpg
    SDC10299.jpg
    120.1 KB · Views: 3
  • SDC10298.jpg
    SDC10298.jpg
    122.7 KB · Views: 2
  • SDC10297.jpg
    SDC10297.jpg
    145.3 KB · Views: 2

OzFab

Well-known member
Messages
15,615
Reaction score
70
Location
Warwick Qld, Australia
Dressed it up a bit a few days ago, found a piece of angle left over from the build which was perfect for the mounting brackets.

Once I cut it in half & drilled bolt holes I clamped them to the trailer ribs to transfrerred the holes :oops: no pics of this bit.

Got some more done today. After some measuring & calculating, I worked out where the brackets needed to go & put a single tack on the rear bracket. Then it was time to bolt it in place so I could get the other bracket spot on. With the help of an axle stand, I lined everything up & placed a few generous tacks to hold both brackets in position, took it all off & welded it all up. I also welded the bolts in the front bracket for easier installation.

Carrier rail done :wai:

After giving it a coat of primer I decided to throw some flat black on it; Check out what happened...
 

Attachments

  • SDC10326.jpg
    SDC10326.jpg
    80.8 KB · Views: 8
  • SDC10325.jpg
    SDC10325.jpg
    72.4 KB · Views: 4
  • SDC10324.jpg
    SDC10324.jpg
    91.4 KB · Views: 4
  • SDC10323.jpg
    SDC10323.jpg
    84.2 KB · Views: 4
  • SDC10322.jpg
    SDC10322.jpg
    72 KB · Views: 3
  • SDC10327.jpg
    SDC10327.jpg
    166 KB · Views: 17

OzFab

Well-known member
Messages
15,615
Reaction score
70
Location
Warwick Qld, Australia
That may or may not be a good plan. What is your empty weight distribution? You always want positive weight on the tongue. If the unloaded weight bias is too far off, you may encounter difficulty with loads in the future. In order to maximize the payload and minimize effect on the tow vehicle's handling, you want the payload over the axle, with the loaded weight bias about 10% forward (or 1/10th of the trailer's GVW on the tongue). Slight deviations are fine as long as you keep these things in mind, but I have seen people run into problems with trailers that were ill-balanced.

After reading this I decided to double check & found that, even with the spare & carrier at the back of the trailer, the balance was still towards the front so, I think I'm good with the positioning :thumbsup:
 

OzFab

Well-known member
Messages
15,615
Reaction score
70
Location
Warwick Qld, Australia
what? did you hit it with your "whipper snipper" or something? :roflol:

If you're referring to the paint, that's what happens when you spray acrylic paint over damp enamel primer. People now pay big money for an effect that was discovered by accident

Im a bit confused. Are you mounting the tire under the trailer or on the side?

What gave you the idea it was going on the side?
 

OzFab

Well-known member
Messages
15,615
Reaction score
70
Location
Warwick Qld, Australia
Yeah, that paint did craze nicely, didn't it?

It's called the crackle effect. The longer you leave the primer to dry the less it crackles. Yes, I hit it pretty quick.

I actually used the effect on an art piece I did about 2 years ago (see pic below)

And how many things were invented or became popular by accident? Lots!

Would you like a list, I have one :roflol:

I just noticed your new sig, lovin' it :thumbsup:
 

Attachments

  • SDC10014.jpg
    SDC10014.jpg
    149.5 KB · Views: 11

OzFab

Well-known member
Messages
15,615
Reaction score
70
Location
Warwick Qld, Australia
So, the rail is done, now I need something to operate the mechanism.

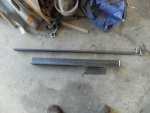
Half a metre of 5/8" tube, 1 metre of 12mm rod & a small piece of 3/8" rod & I'm set to go.

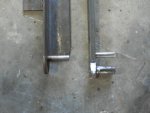
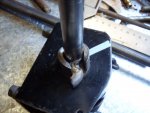
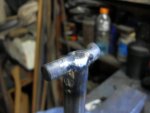
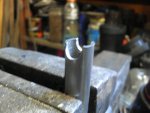
I filed a groove in the end of the tube & welded the piece of 3/8" rod into it. Then I drilled a 4mm hole through the other end; more on that later.

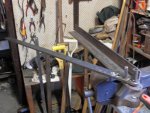
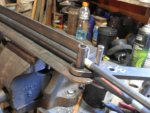
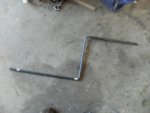
Then it was time to use yet another home made tool, my rod/bar bender. After a few quick measurements, I bent the 12mm rod into a dog-leg shape to create the crank handle.
 

Attachments

  • SDC10383.jpg
    SDC10383.jpg
    69.3 KB · Views: 30
  • SDC10380.jpg
    SDC10380.jpg
    75.8 KB · Views: 26
  • SDC10375.jpg
    SDC10375.jpg
    77.7 KB · Views: 28
  • SDC10373.jpg
    SDC10373.jpg
    57 KB · Views: 25
  • SDC10369.jpg
    SDC10369.jpg
    68.9 KB · Views: 24
  • SDC10378.jpg
    SDC10378.jpg
    96.7 KB · Views: 37
  • SDC10376.jpg
    SDC10376.jpg
    76.6 KB · Views: 41
  • SDC10377.jpg
    SDC10377.jpg
    92.3 KB · Views: 39
  • SDC10379.jpg
    SDC10379.jpg
    55.6 KB · Views: 32
Status
Not open for further replies.
Top