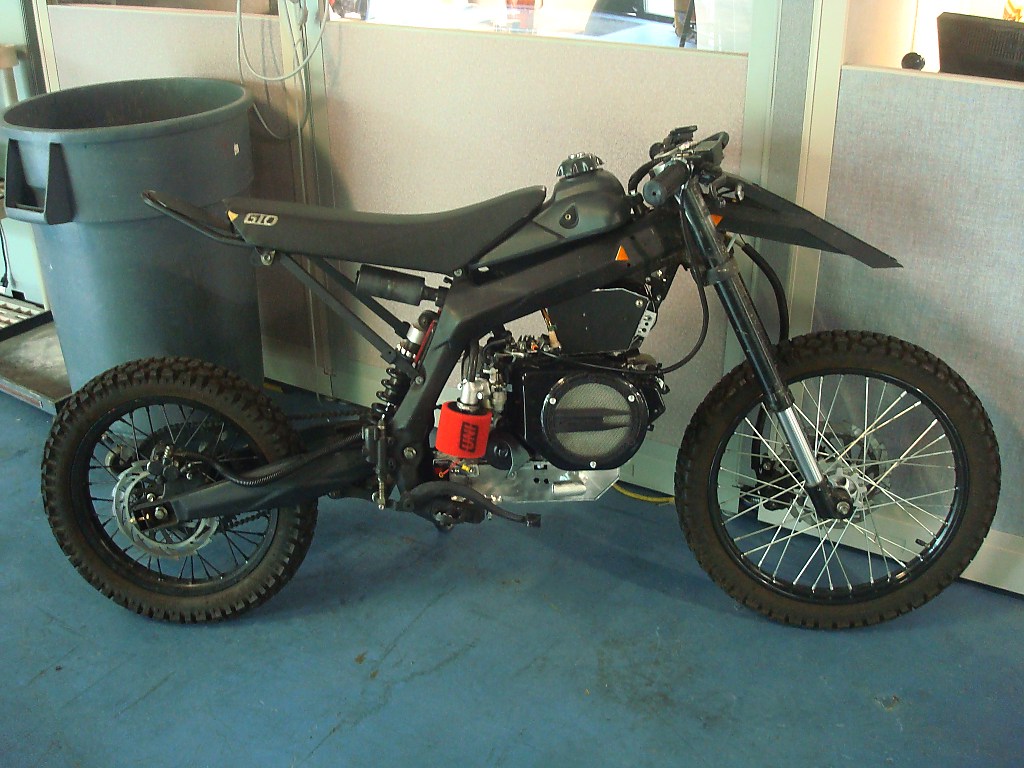
The Impaler

Status
Not open for further replies.

captainslug

Mad Scientist
Messages
26
Reaction score
0

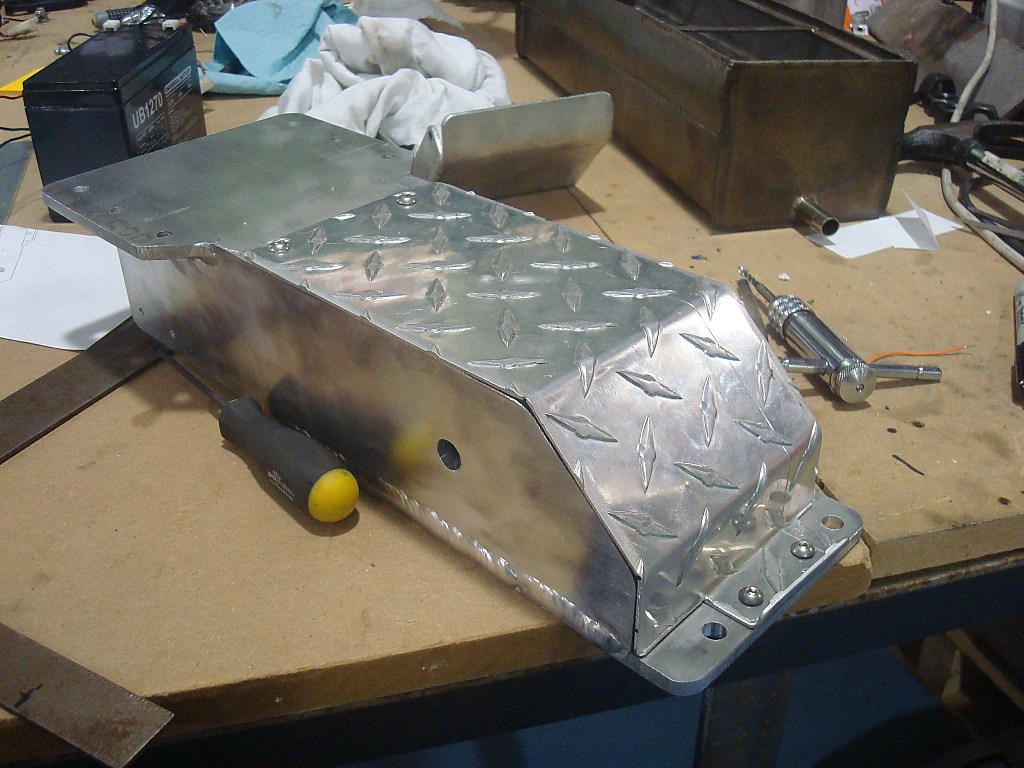
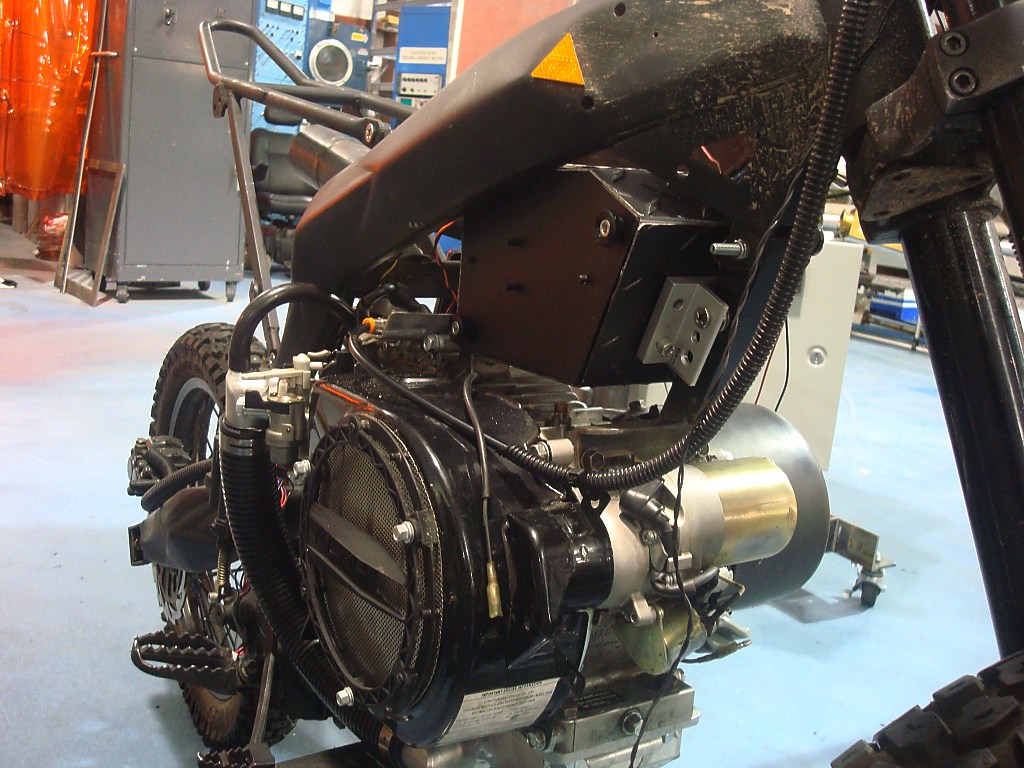
Air box cover made out of more treadplate scraps. Formed on the pan-and-brake, cut to fit, then drilled.
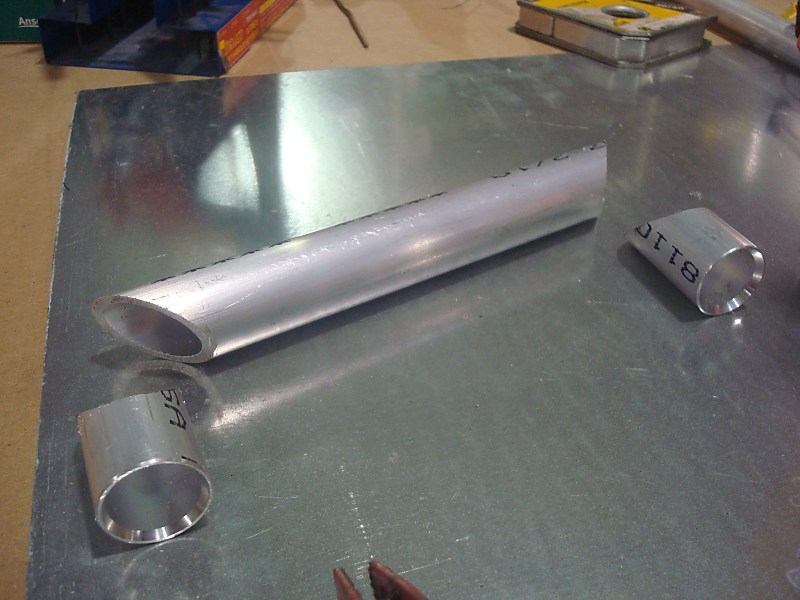
1-1/4 tubing cut on the band saw using the miter guide.
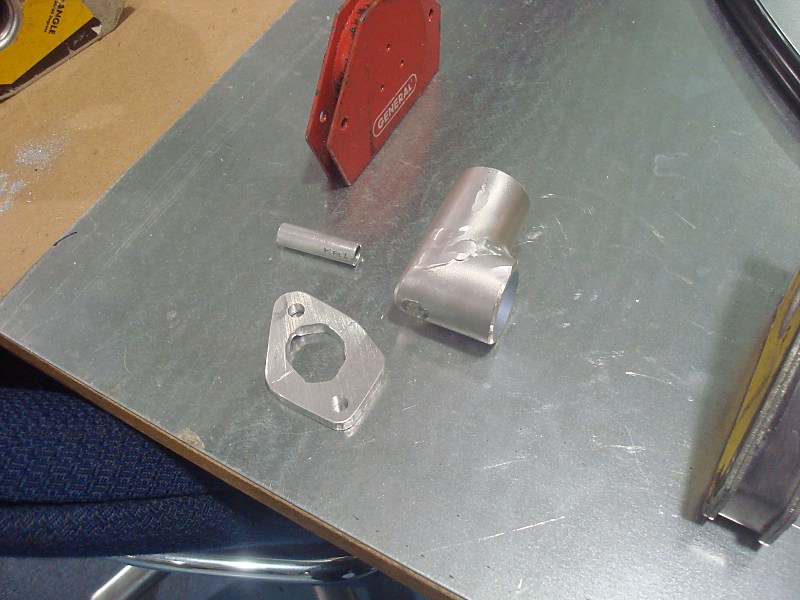
More parts to weld together.
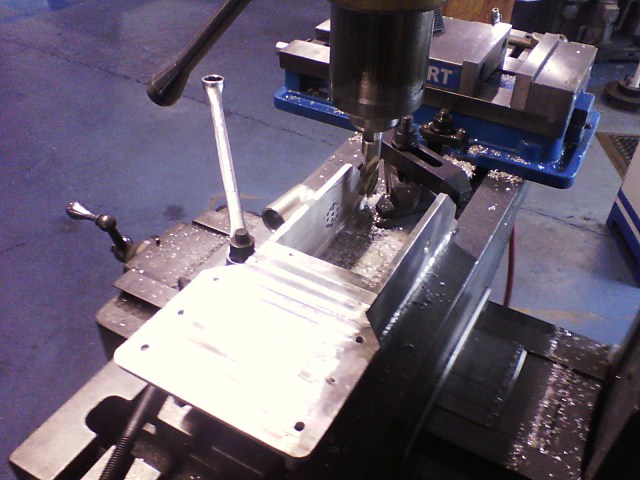
The heavy welds on the lower motor mount distorted it a bit so I had to clamp it down and mill the bottom so that it's parallel with the top. Then I had to mill away some of the internal weld, which I made a little bigger than I intended.
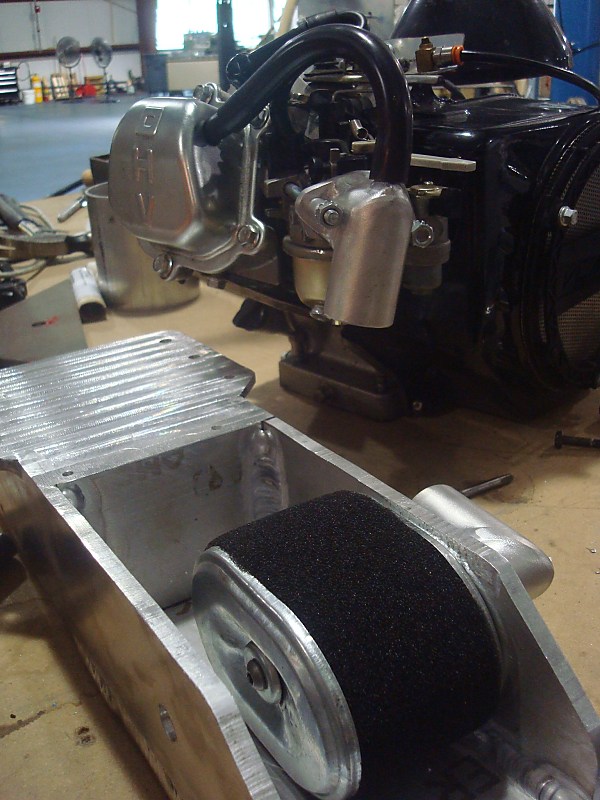
The fat weld was in the way of where the air filter needs to go when its attached.
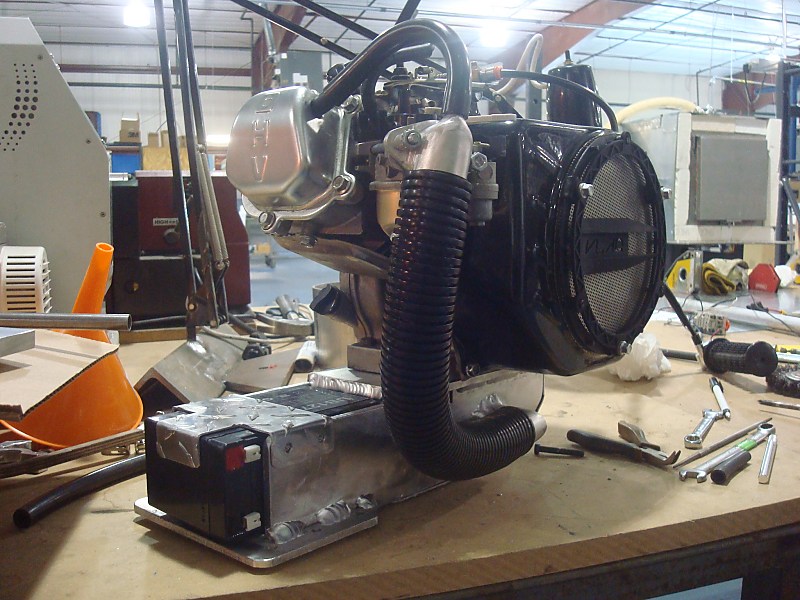
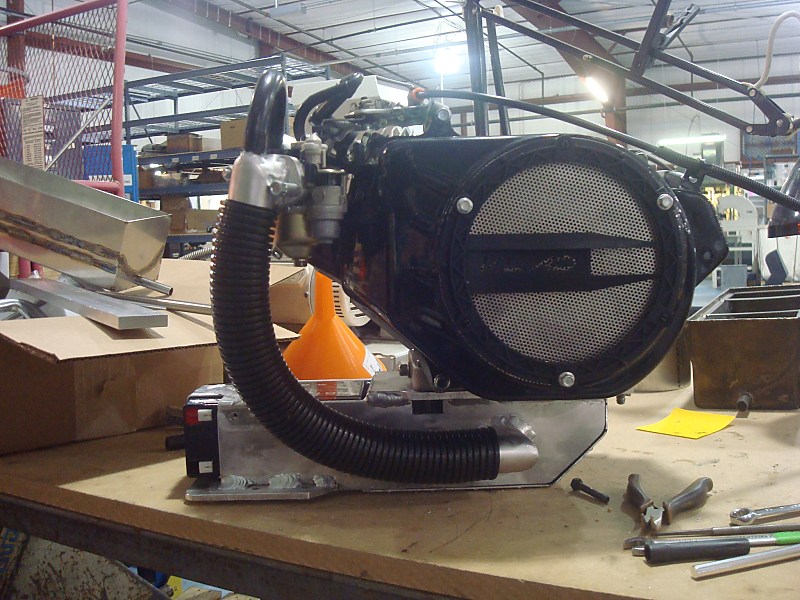
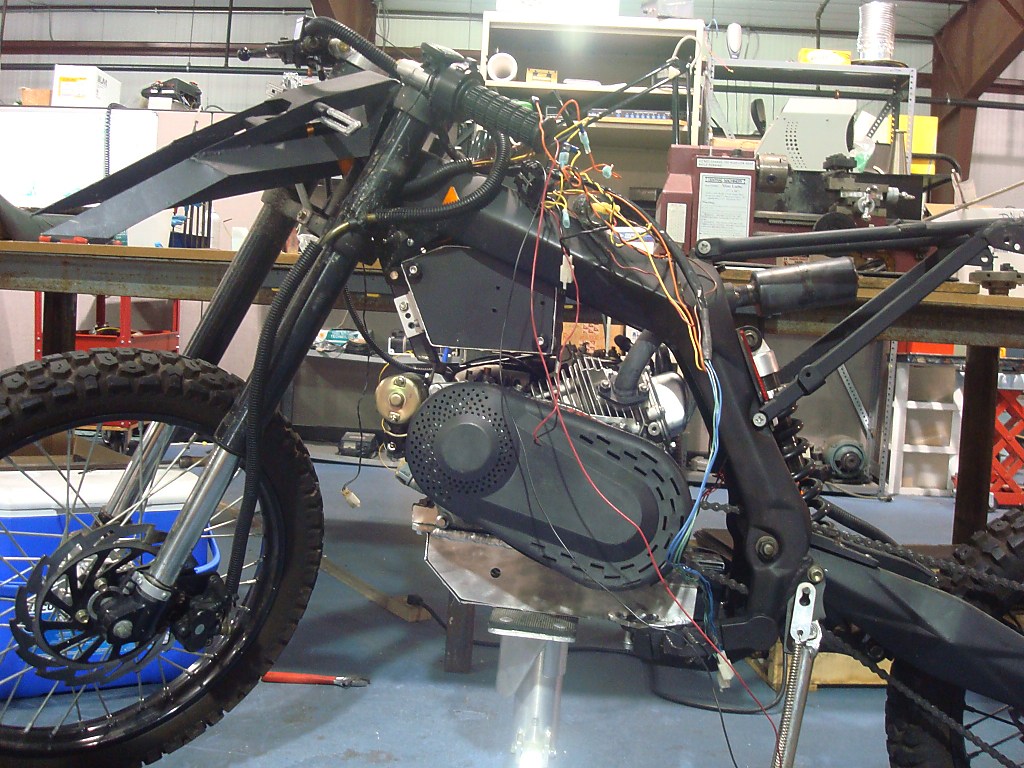
Test assembly of all the parts I just finished.
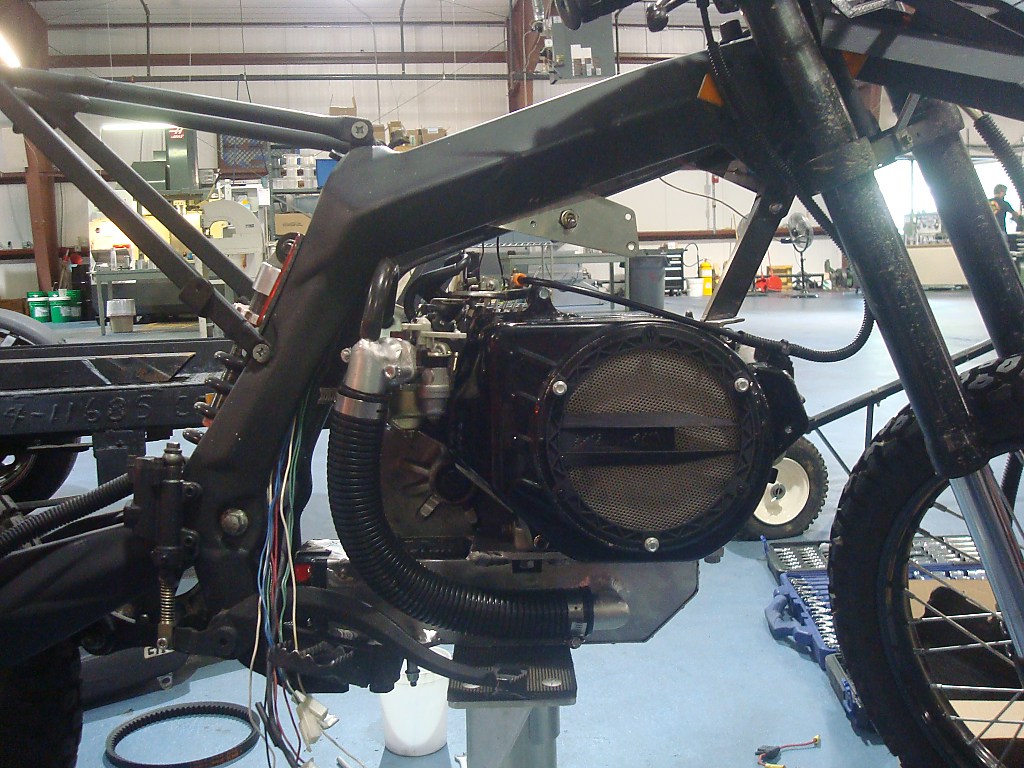
...you the same captianslug I seen over at nerfhaven?
Yep
 

captainslug

Mad Scientist
Messages
26
Reaction score
0
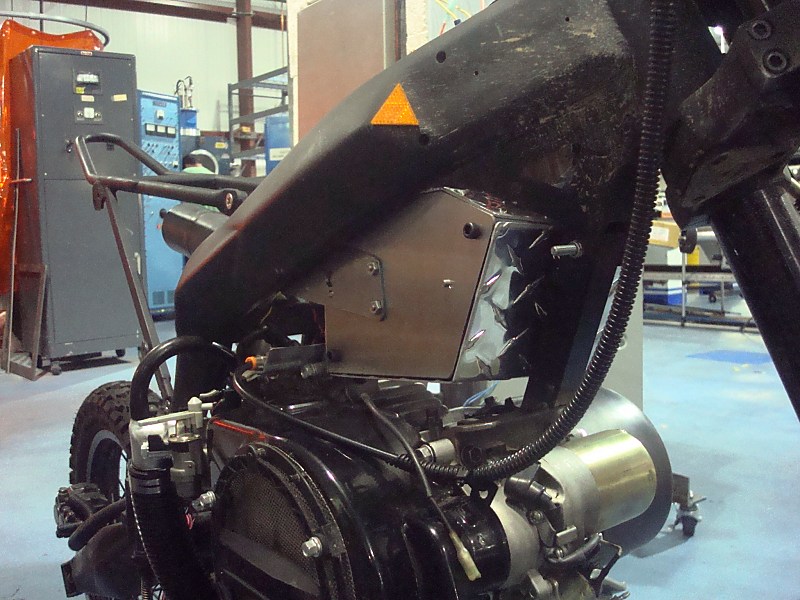
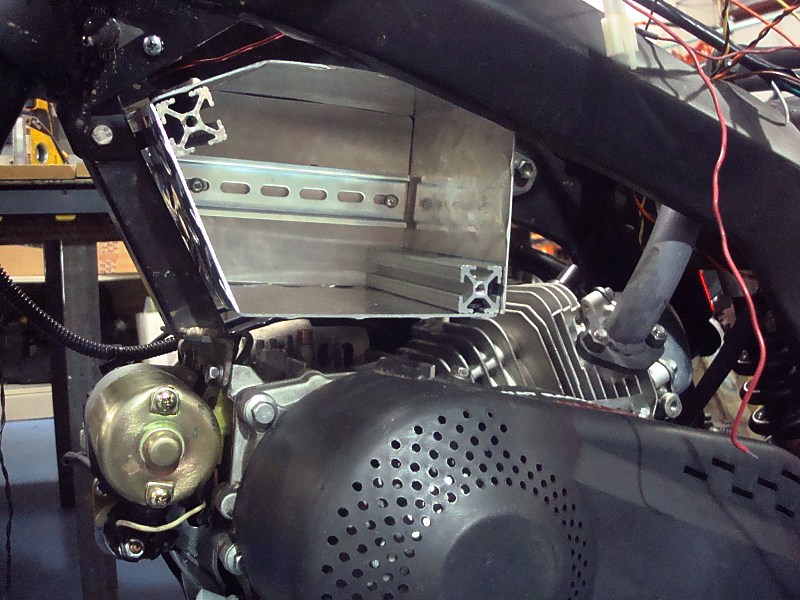
Mostly finished with the new electrical enclosure. Made out of stainless plate, treadplate for the box sides, and t-slotted aluminum for the corners.


I just need to drill some holes for wire pass-through and once my relays show up I can get the wiring finished.
 

captainslug

Mad Scientist
Messages
26
Reaction score
0
That's really cool. So what is your jetting size with your carb using that air filter setup?.
Main jet is drilled out to #79 (1/32").
I have not yet run the engine with the new air box, but it isn't significantly different from the previous setup aside from location.
 

Half-breeder

"Edit" button removed
Messages
1,686
Reaction score
9
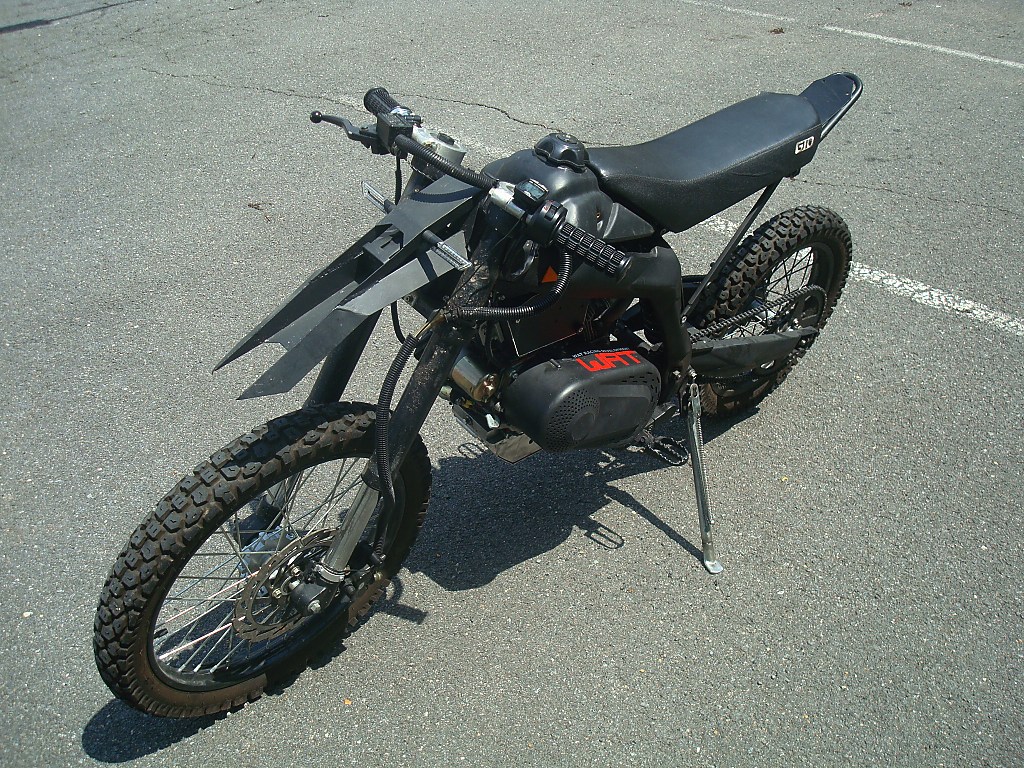
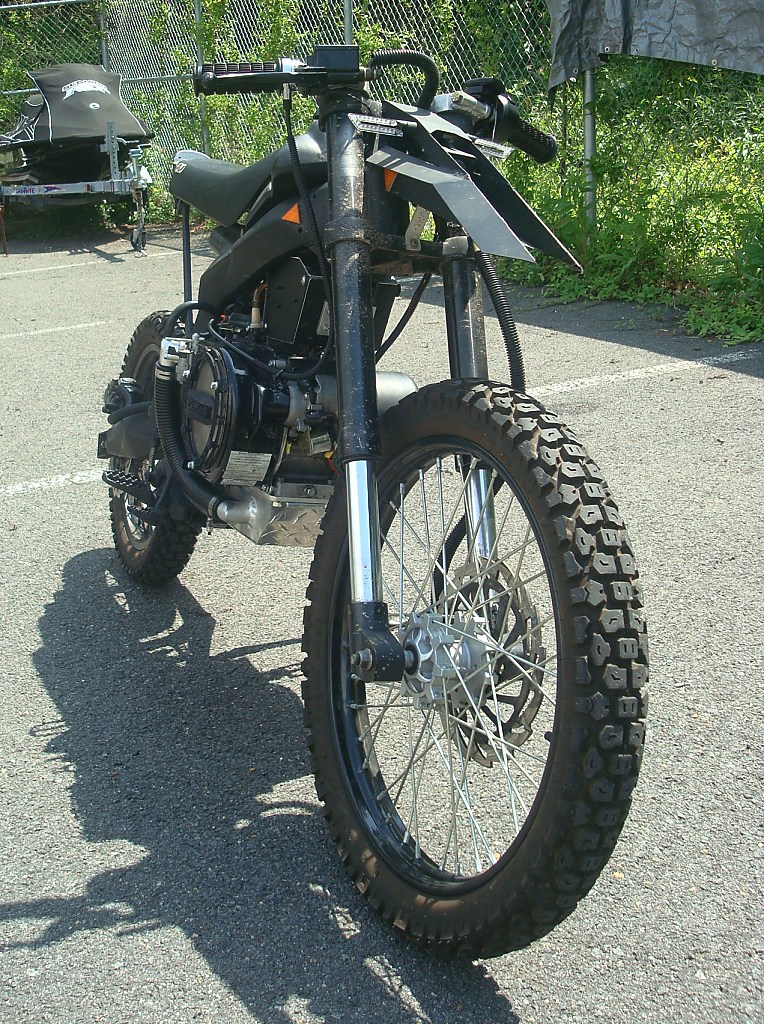
Im the type a person that hates vehicles that tend to tip over when you jump off em and immediately walk away from... but you have done a VERY kick butt job! the fact that its a clone(mounted so as to not look like a clone) motor is one of the strong features to me. I like the air filter setup... just wondering how much possible restrictivness that hose and the 90* angles make. Not like you can make a header styled pipe... so probably good enough.

Good job!

We need vids of it running/jumping...
 

captainslug

Mad Scientist
Messages
26
Reaction score
0
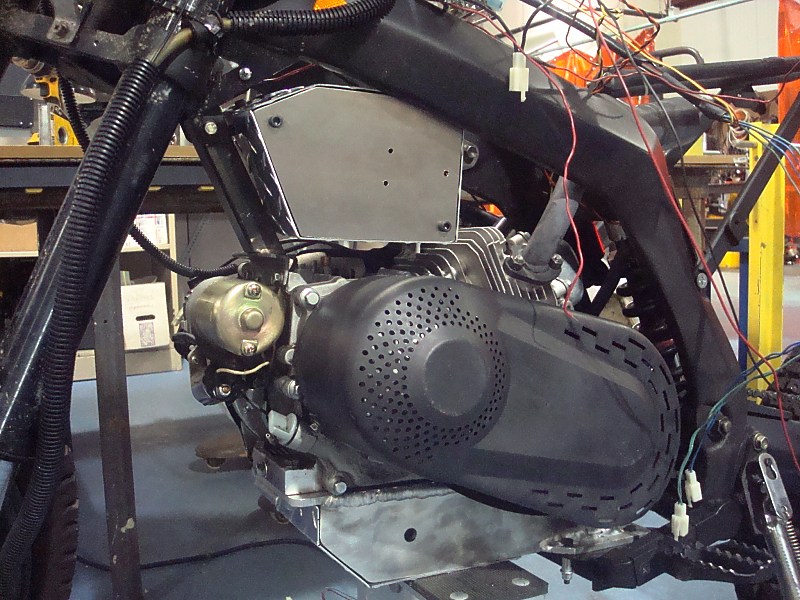
Finally done dicking around with the electrical enclosure. Had some issues getting it to fit yesterday, and decided it was way too shiny.


Tomorrow I can start wiring.
We need vids of it running/jumping...
I'm not sure where I would take it around here for jumps. But I will get a video recorded soonish.
The only one I have is 2 years old and not worth sharing.
 

captainslug

Mad Scientist
Messages
26
Reaction score
0
Very small update on Vlad.
Went through two dead batteries I had ordered online. Both were crap when "new". Ended up finding out that I can get the same battery at Home Depot for a bit more money, but also much easier to return and less likely to be crap.

Used the down time to snip every-other blade off the fan. Also trying a Uni Pod filter, but that doesn't seem to net me much of a performance boost over the stock filter in my air box. But I'll keep in on for a few more test runs.
At least it's not as loud as I was expecting.
 

captainslug

Mad Scientist
Messages
26
Reaction score
0
Crappy cellphone picture update.

I wasn't having electrical system issues. The motormount as built with the battery installed in it was allowing the engine heat to boil the electrolyte in the battery. It took killing 3 batteries before I realized this and I have since made a new battery tray out of the holddown.

I also destroyed a CVT belt when the nut on the driven pulley jackshaft backed itself off. Thankfully I was really close to home when it happened so I didn't have to push the bike very far.
 

Bando

Member
Messages
161
Reaction score
31
Location
Puerto Rico


Awesome bike!

Captainslug, why did you use industrial contactors and relays instead of automotive?
 

Attachments

  • vlad_075.jpg
    vlad_075.jpg
    112.3 KB · Views: 10

captainslug

Mad Scientist
Messages
26
Reaction score
0
Captainslug, why did you use industrial contactors and relays instead of automotive?
Cost
Availability of leftover/surplus parts at work
Less bulky
Easier to work with

I have pretty limited space to work with and I'm more familiar with the DIN mount industrial parts.
Automotive relays are made for higher inrush currents than I need and would have taken up way more room. They also require crimping/terminating wire ends.
I am using automotive inline fuses though (ATM size) because I can buy those fuses locally.

Being able to make changes to the circuit without having to do any soldering is really helpful based on my previous experience with trying to wire a vehicle from scratch.
 

machinist@large

Active member
Messages
2,865
Reaction score
32
Location
West Michigan, 49331


Awesome bike!

Captainslug, why did you use industrial contactors and relays instead of automotive?

Cost
Availability of leftover/surplus parts at work
Less bulky
Easier to work with

I have pretty limited space to work with and I'm more familiar with the DIN mount industrial parts.
Automotive relays are made for higher inrush currents than I need and would have taken up way more room. They also require crimping/terminating wire ends.
I am using automotive inline fuses though (ATM size) because I can buy those fuses locally.

Being able to make changes to the circuit without having to do any soldering is really helpful based on my previous experience with trying to wire a vehicle from scratch.

While I can agree with the ease of use, as well as the power rating's for your project, as a general rule I try to avoid any DIN/CE rated stuff because their power density ratings pretty much guarantee that their stuff won't last very long. At an old employer where we built custom machines, we got to the point of giving customer's a two tiered quote; one with the cheap DIN/CE stuff which we were quoting against with our competitors, where we would only warranty any given electrical component once, and another using Allen Bradley and GE part's with our replacement warranty matching the components OEM warranty.

Why? The cheap OEM's weren't compensating us for any of the labor for replacing their junk.
 
Status
Not open for further replies.
Top