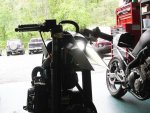
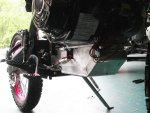
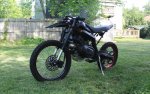
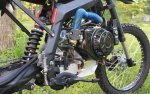
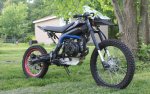
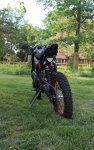
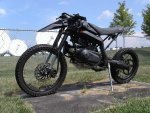
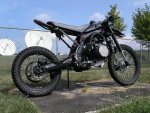
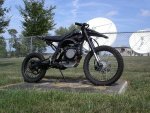
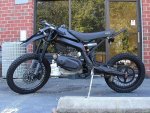
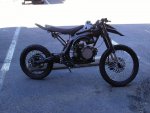
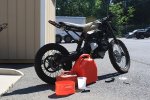
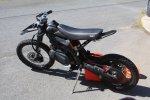
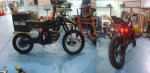
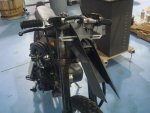
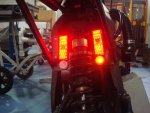
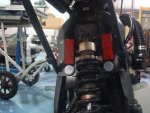
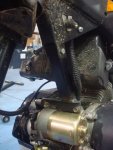
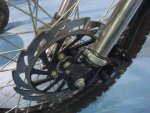
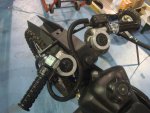
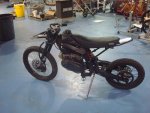
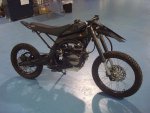
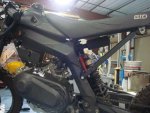
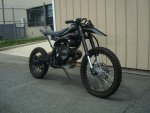
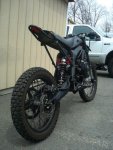
The Impaler

Status
Not open for further replies.

captainslug

Mad Scientist
Messages
26
Reaction score
0
 

Attachments

  • vlad_002.jpg
    vlad_002.jpg
    129.1 KB · Views: 30
  • vlad_003.jpg
    vlad_003.jpg
    56.4 KB · Views: 28
  • vlad_005.jpg
    vlad_005.jpg
    133.6 KB · Views: 31
  • vlad_006.jpg
    vlad_006.jpg
    112.6 KB · Views: 48
  • vlad_007.jpg
    vlad_007.jpg
    135.3 KB · Views: 51
  • vlad_008.jpg
    vlad_008.jpg
    134.7 KB · Views: 34
  • vlad_014.jpg
    vlad_014.jpg
    176.1 KB · Views: 38
  • vlad_013.jpg
    vlad_013.jpg
    175.5 KB · Views: 44
  • vlad_012.jpg
    vlad_012.jpg
    192.4 KB · Views: 42
Last edited by a moderator:
captainslug

Mad Scientist
Messages
26
Reaction score
0

danssoslow

Member
Messages
373
Reaction score
6
Location
Louisville, KY
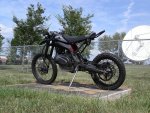
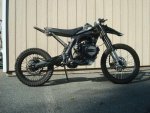
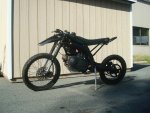
Wow! Did you 3D print the headlight bezel and blower cover? That's a very menacing looking bike. Like Mad Max meets the Wraith. Add a gun or two, and it's Zombie Apocalypse ready!
 

captainslug

Mad Scientist
Messages
26
Reaction score
0
And now the text-heavy post.
  • The fender\headlight is made out of 22ga stainless steel that I cut and welded together.
  • The frame is from an X-Motos XB-31 (Chinestraulian Honda knockoff)
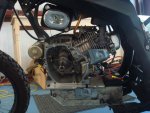
  • The motor is a 196cc LiFan clone of the Honda GX200 with electric start. I haven't removed the governor on it yet.
  • Primary reduction is a TAV2 Torq-a-verter CVT
  • The electrical system was added from scratch.
  • The air cleaner had to be moved and reoriented so I made a hose adapter for the carb.
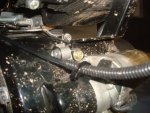
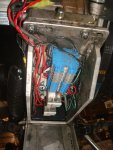
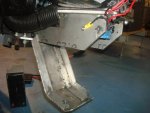
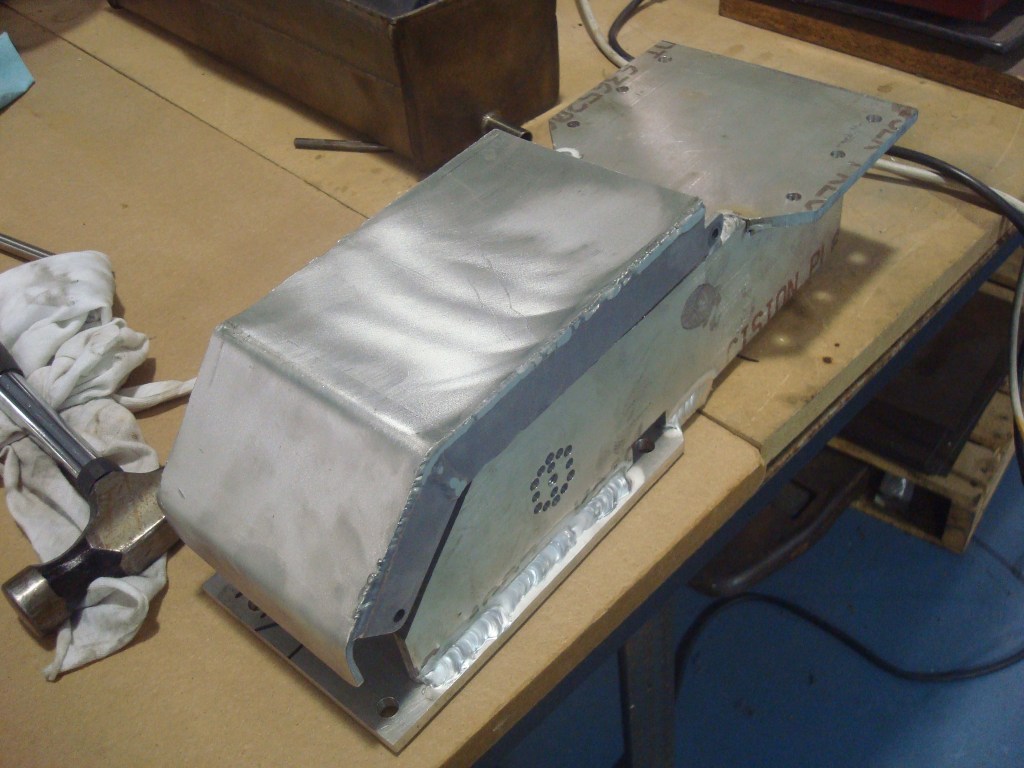
  • The aluminum motor mount was made from scratch and double as an enclosure for the electrical system which is all DIN-rail mount components.
  • The downtube adapter is from scratch
  • The most recent pictures show that I went from having a chain tensioner to redoing all of the rear wheel adjustment components.
  • The rear sprocket was milled out to match the rear hub bolt pattern and to reduce weight. It's the only custom part on the bike that I didn't make myself
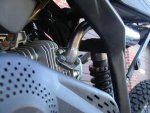
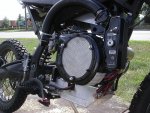
  • The fan cover which replaced the old recoil start cover was 3D printed.
  • The push-button switch shown on the bracket above the fan housing that holds the air cleaner is the hidden push-button start.
  • Aluminum clip-on handlebars are from scratch. The core of them is a 5-inch long 1/2-13 bolt.
  • Speedometer is a cheap $35 GPS unit.
  • Headlight is a Vision-X Solstice 800 lumen LED spotlight
The top speed is 42mph at the moment. I'm not sure I want or need to go faster than that, but I could easily hit 55 if the governor were removed.
I've tried a briggs exhaust for a little while and it sounded terrible.
I might try an RLV silencer at some point. The stock exhaust just barely fits. I had to grind a few corners and nubs off of it to get it to fit without touching the gas tank. Having a bike that sounds like a lawn mower is pretty amusing to be honest.

I took it to a small car show 2 months after I finished it and placed in the Top 10 out of 40 motorcycles.

http://www.captainslug.com/temp/vlad_029.jpg
 

Attachments

  • vlad_029.jpg
    vlad_029.jpg
    78.6 KB · Views: 36
captainslug

Mad Scientist
Messages
26
Reaction score
0
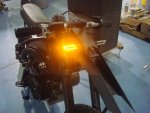
New turn signals. I also need to replace the battery, which warranted making a new battery hold-down bracket which I'll have to post about later. The larger battery resting on the footpeg was just used for testing purposes.

Over the past week I've had to redo a larger portion of the electrical system. The starter circuit had shorted out previously so that portion of the wiring harness had to be rebuilt so that it includes a fuse. At the same time I decided to replace the main fuse with the same type I was adding to the starter circuit.

I replaced the GPS speedometer with a bike speedometer.

http://www.captainslug.com/temp/vlad_030.jpg
http://www.captainslug.com/temp/vlad_031.jpg
http://www.captainslug.com/temp/vlad_032.jpg
http://www.captainslug.com/temp/vlad_033.jpg
 

Attachments

  • vlad_033.jpg
    vlad_033.jpg
    75.7 KB · Views: 9
  • vlad_032.jpg
    vlad_032.jpg
    81.3 KB · Views: 14
  • vlad_031.jpg
    vlad_031.jpg
    78.7 KB · Views: 8
  • vlad_030.jpg
    vlad_030.jpg
    90.8 KB · Views: 9

captainslug

Mad Scientist
Messages
26
Reaction score
0
Finally got around to taking some pictures of the electrical enclosure. In hindsight it's not a good idea to put your electrical system underneath the engine since any oil leaks as well as road grime will get in there.
To work on anything in there I'm laying on my back staring up at everything. All while trying to avoid hitting the kickstand.

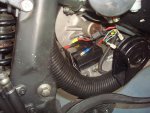
Battery came in the mail yesterday. Here it is installed with the new holddown. Also showing the part of the CVT that I had to mill a notch out of.

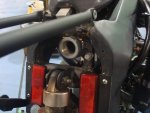
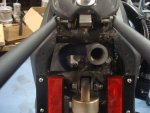
And while working on those I discovered that my front motor mount was cracked, so I cut it apart and welded a new angle on that isn't relying on slotted cuts to hold the bolts.

The last two photos are of the bike speedometer mentioned previously.

Sidenote Edit: Bike weighs in at 180lb wet

http://www.captainslug.com/temp/vlad_034.jpg
http://www.captainslug.com/temp/vlad_035.jpg
http://www.captainslug.com/temp/vlad_036.jpg
http://www.captainslug.com/temp/vlad_037.jpg
http://www.captainslug.com/temp/vlad_038.jpg
http://www.captainslug.com/temp/vlad_039.jpg
http://www.captainslug.com/temp/vlad_040.jpg
http://www.captainslug.com/temp/vlad_041.jpg
 

Attachments

  • vlad_038.jpg
    vlad_038.jpg
    87.2 KB · Views: 17
  • vlad_037.jpg
    vlad_037.jpg
    86.6 KB · Views: 14
  • vlad_036.jpg
    vlad_036.jpg
    96.7 KB · Views: 15
  • vlad_035.jpg
    vlad_035.jpg
    97.7 KB · Views: 19
  • vlad_034.jpg
    vlad_034.jpg
    74.6 KB · Views: 18
  • vlad_039.jpg
    vlad_039.jpg
    89.5 KB · Views: 13
  • vlad_040.jpg
    vlad_040.jpg
    91.4 KB · Views: 19

captainslug

Mad Scientist
Messages
26
Reaction score
0
Just finished removing the governor and subsequently an oil change. Probably would have been much easier if I just dropped the engine out of the frame. But not doing so helped me confirm that I have the minimum amount of space needed around the engine to get the valve cover off.
I did discover that now that I've made the front motor mount much stronger the stock muffler is impossible to remove because the engine is so much more solidly mounted to the frame. I probably won't bother tinkering with a new exhaust until next year. I want to avoid getting the "tuning itch" for at least a few more months.

Engine runs great. Top speed only increased slightly to 45mph but the responsiveness is improved a bit. And I don't have to worry about the governor parts exploding in the crankcase.
http://www.captainslug.com/temp/vlad_042.jpg
http://www.captainslug.com/temp/vlad_043.jpg
http://www.captainslug.com/temp/vlad_044.jpg
http://www.captainslug.com/temp/vlad_045.jpg
 

Attachments

  • vlad_045.jpg
    vlad_045.jpg
    96.1 KB · Views: 19
  • vlad_044.jpg
    vlad_044.jpg
    90.3 KB · Views: 22
  • vlad_043.jpg
    vlad_043.jpg
    82.6 KB · Views: 17
  • vlad_042.jpg
    vlad_042.jpg
    94.5 KB · Views: 21

captainslug

Mad Scientist
Messages
26
Reaction score
0

Attachments

  • vlad_046.jpg
    vlad_046.jpg
    73.7 KB · Views: 14
  • vlad_047.jpg
    vlad_047.jpg
    77.4 KB · Views: 13
  • vlad_048.jpg
    vlad_048.jpg
    97.4 KB · Views: 12

captainslug

Mad Scientist
Messages
26
Reaction score
0

Attachments

  • vlad_049.jpg
    vlad_049.jpg
    120.1 KB · Views: 16
  • vlad_050.jpg
    vlad_050.jpg
    127.5 KB · Views: 7

captainslug

Mad Scientist
Messages
26
Reaction score
0
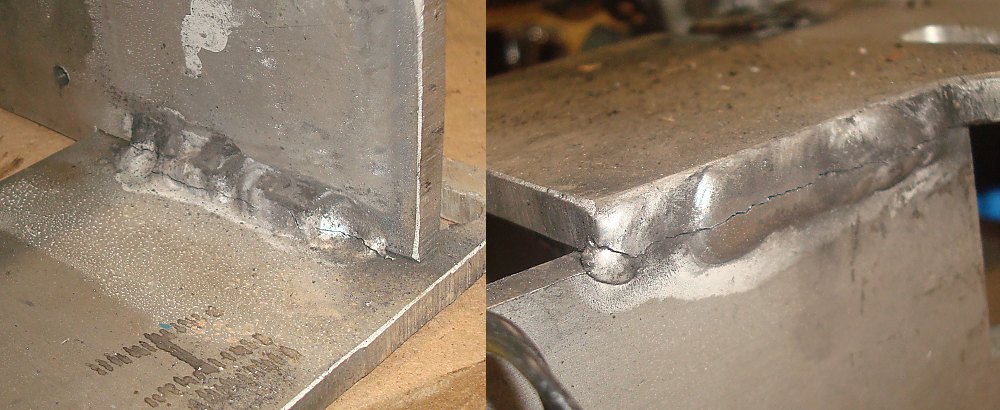
Two of the welds on the lower motor mount are cracked pretty badly. I'm going to be dropping the engine out of the frame sometime in the next week so I can start the process of making a new one from scratch.
The original mount included a lot of room for adjustment because I made it early in the project where I wasn't confident about where the engine was going to be precisely placed. Now I know where I want it for certain I can make a more robust mount.

I'm also thinking I would like to swap the locations for the air box and electrical components, as well as potentially upgrade to a slightly larger battery.

Will have more photos of concepts once I'm done with disassembly and measuring.
 

captainslug

Mad Scientist
Messages
26
Reaction score
0
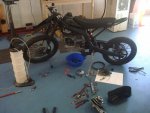
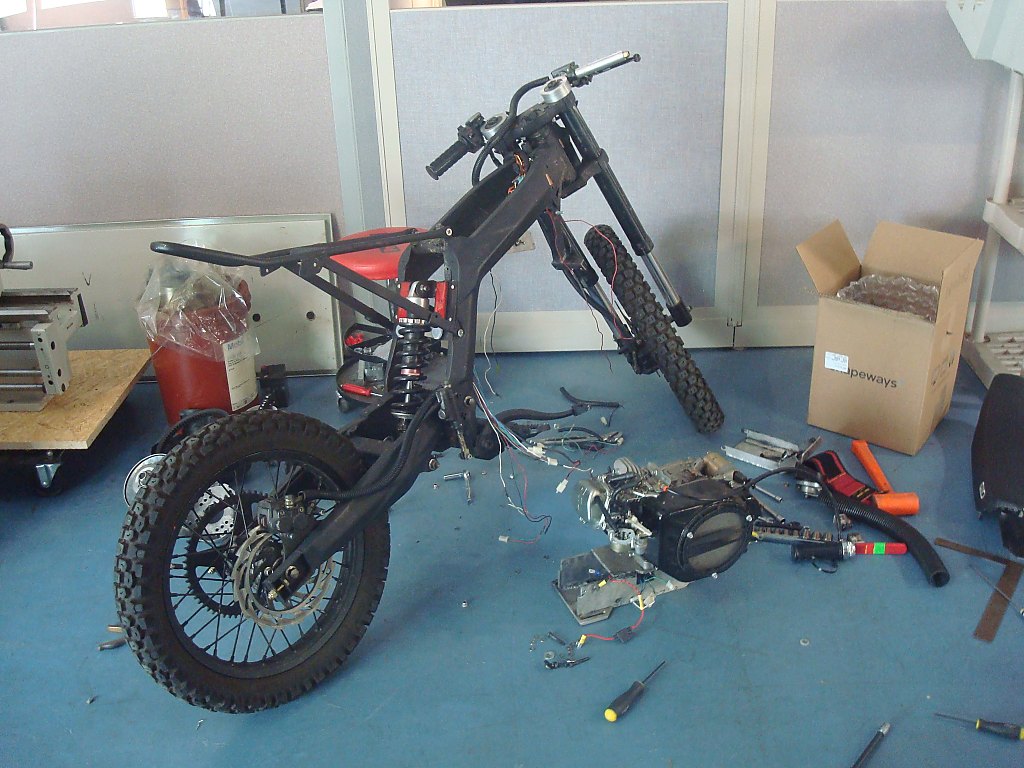
Made a good deal of progress today. Did a complete teardown of the bike.

Here's the two cracked welds in the old motor mount.

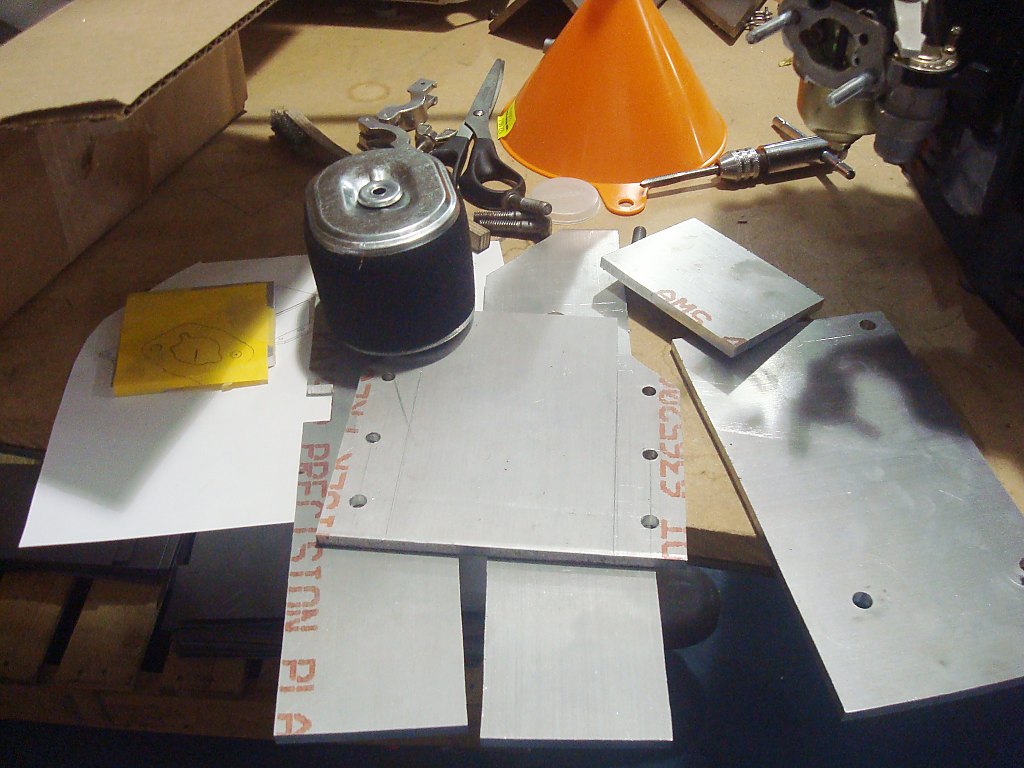
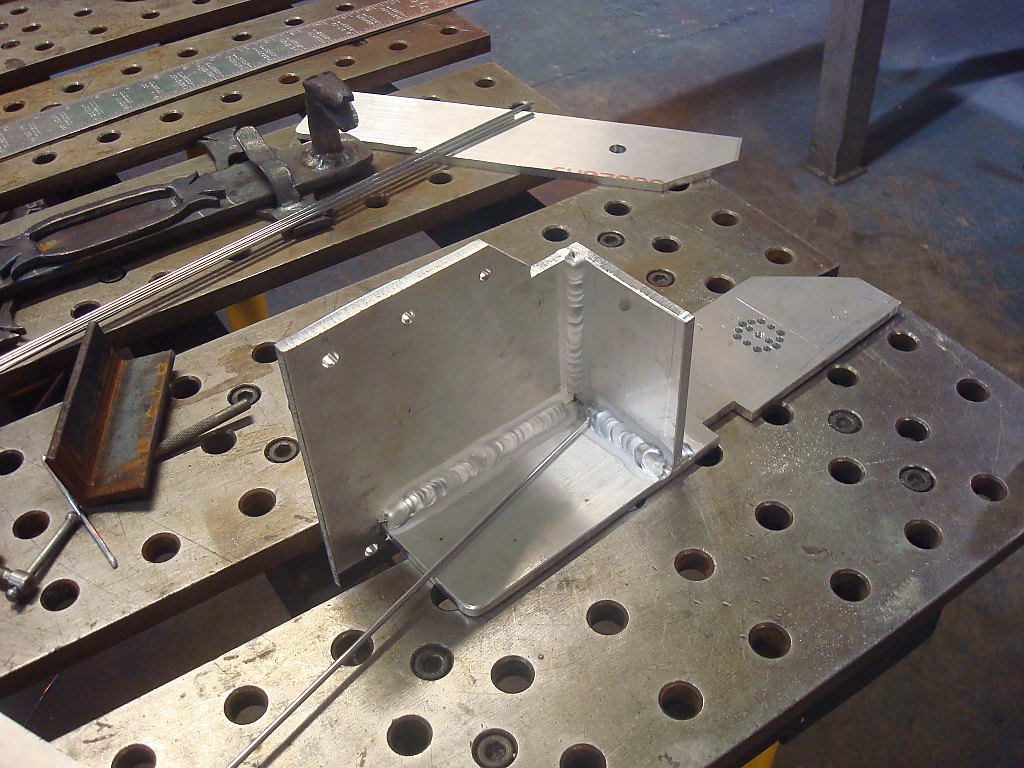
I made changes to the CAD files I still have of the original motormount, printed templates out on the plotter, then taped, scribed, and center punched. I cut them to size on the band saw, then drilled and tapped all the holes.

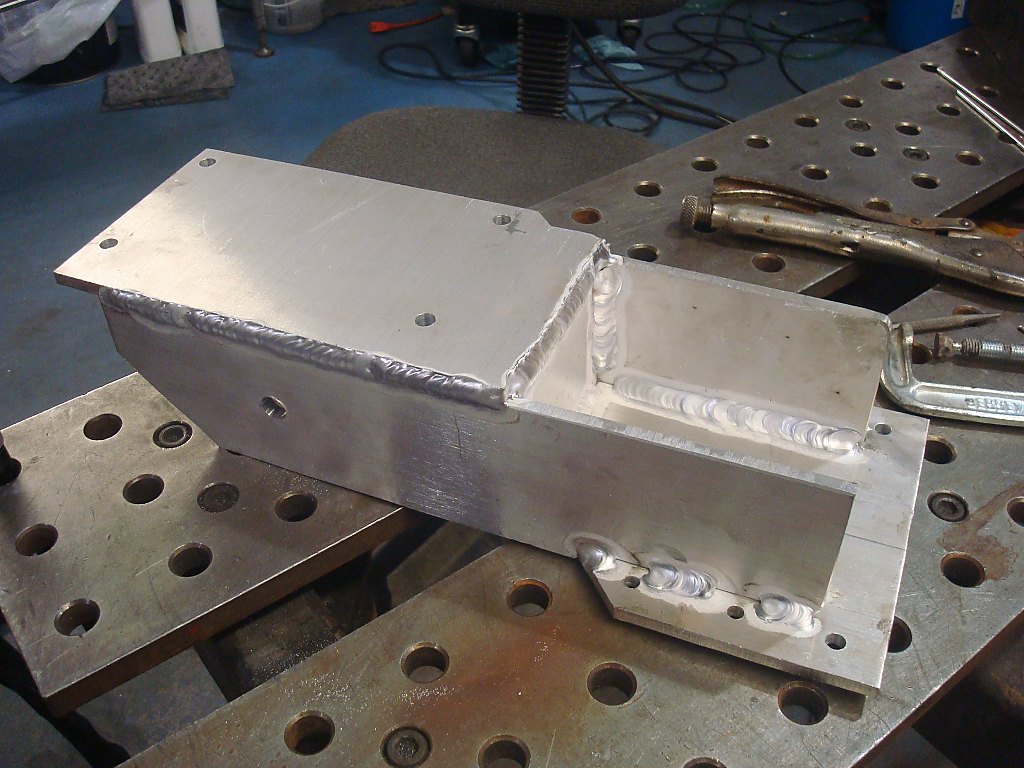
Did the first round of welding.


Tomorrow I can do some mock-up.

I still need to
1. Make a new hose adapter for the carburetor
2. Make a new enclosure for the electrical system
3. Make a battery holddown bracket
4. Reassembly and rewiring
 

captainslug

Mad Scientist
Messages
26
Reaction score
0

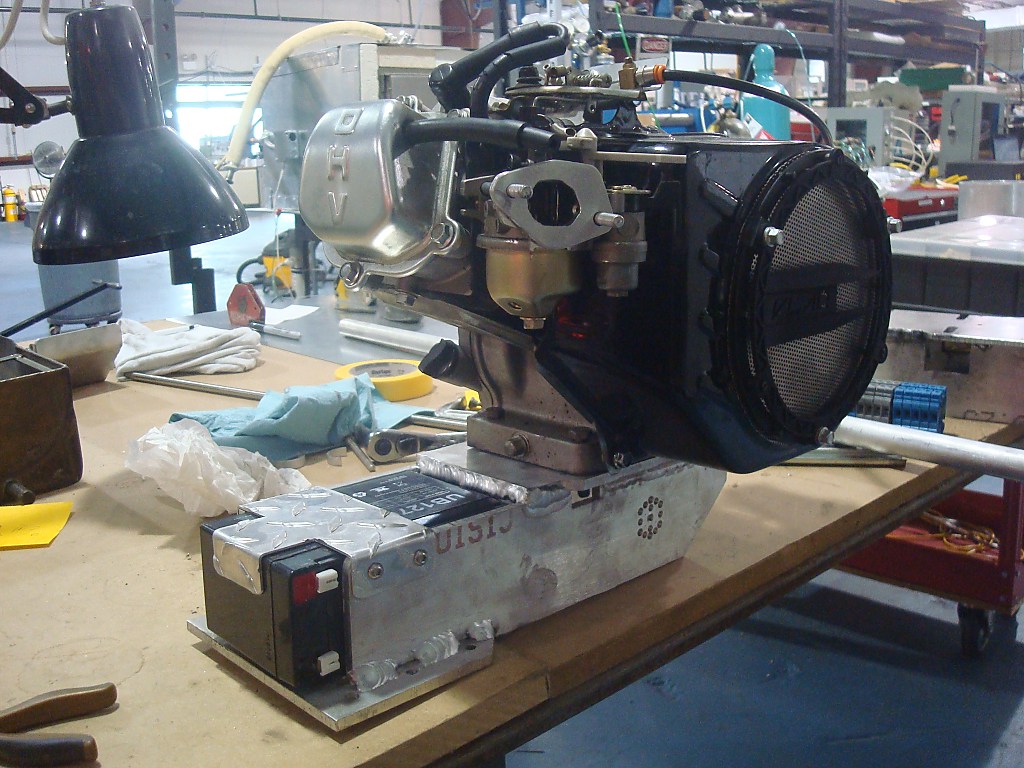
Since the new motor mount is slightly wider, the old cover won't fit. So I'll have to make a new one.

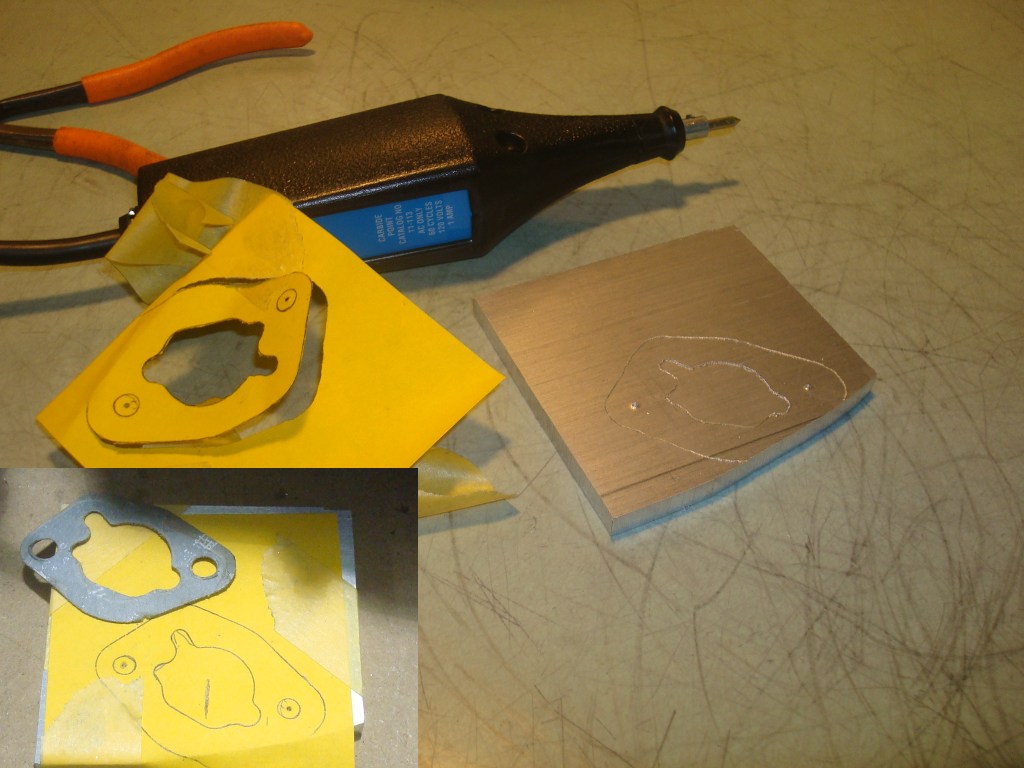
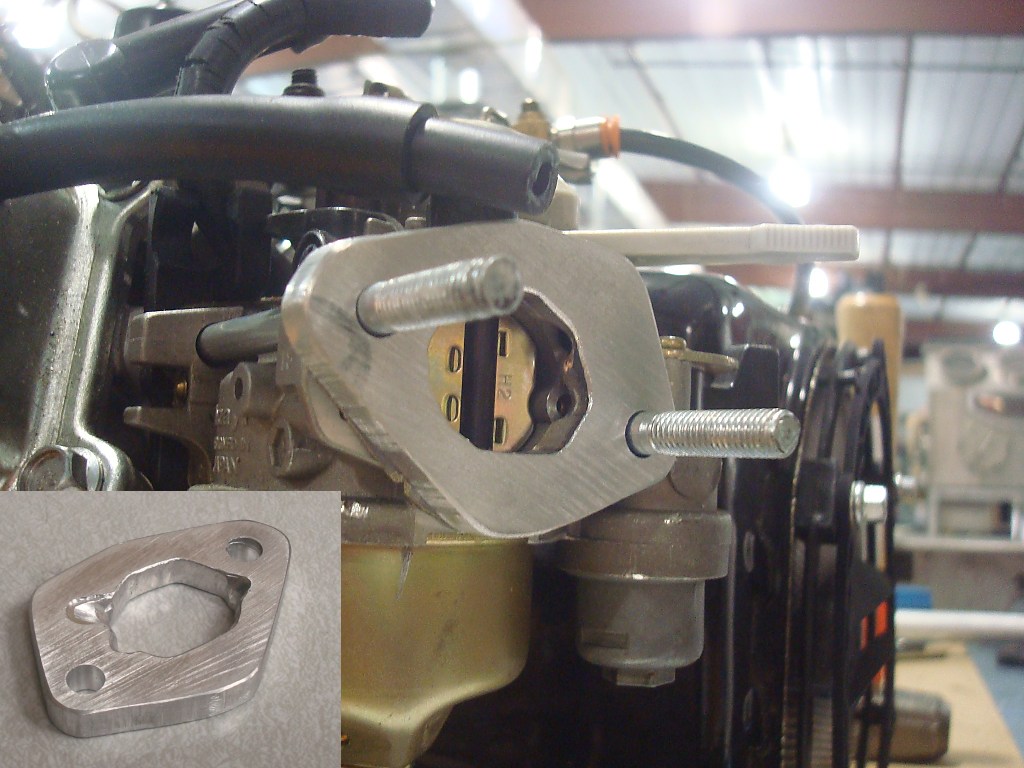
Traced the carburetor gasket onto a post-it note, then used an engraver to transfer that onto aluminum.

Used a manual knee mill to rough out the inside and channels, then finished the transitions with a needle file. I then cut the outside shape on the band saw.

Also finished the battery hold-down. I don't get to use the pan-and-brake very often.

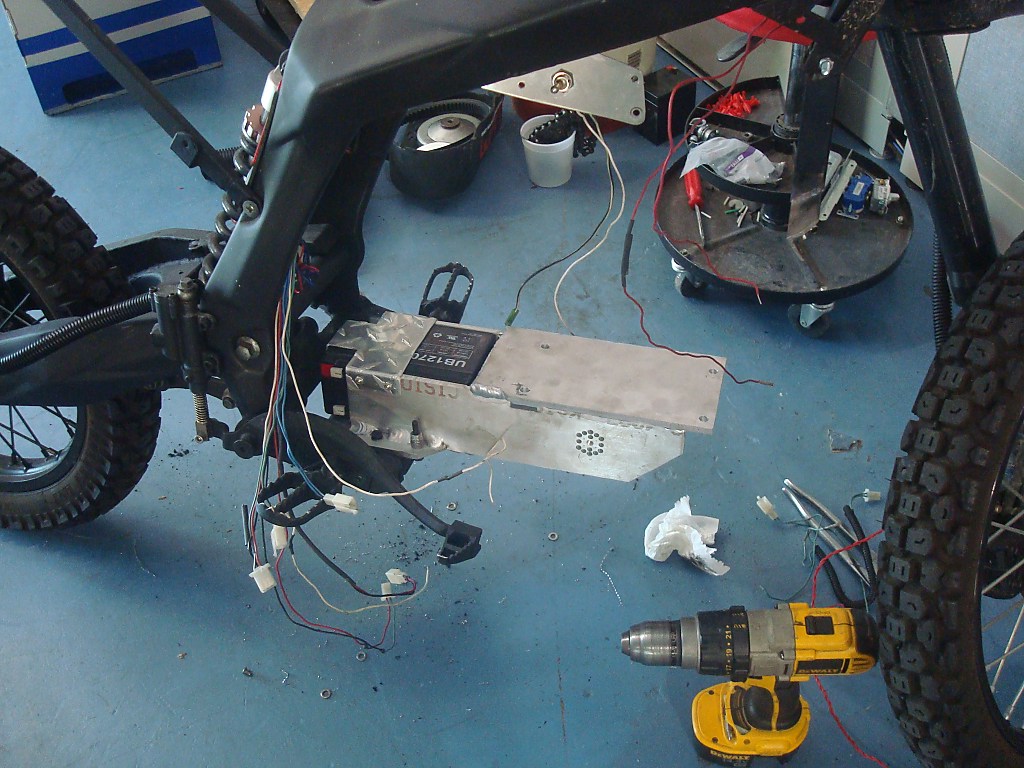
Test-fit in the frame. Larger battery fits nicely.

Left to do
1. Finish carburetor to hose adapter
2. Weld elbow onto air box
3. Make enclosure for electrical components
4. Rewiring
5. Make a new air box cover
Nice. Those are great welds. What welder are you using?

Edit: Do you know why the welds cracked in the forst place?
Miller Dynasty 350

Too cold, too much filler.
 

B.M.800

TheBeal.
Messages
2,387
Reaction score
24
Location
Central PA
Very nice looking bike.

...you the same captianslug I seen over at nerfhaven?
That guy done some cool stuff with nerf guns.
 
Status
Not open for further replies.
Top