frostyflammable
Member
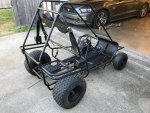
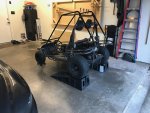
Finished my overhaul of the Manco 2-seater... time to have fun!
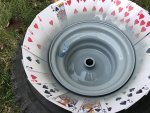
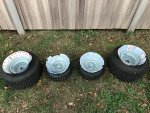
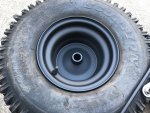
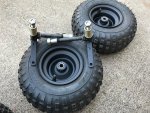
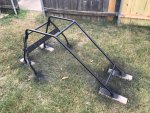
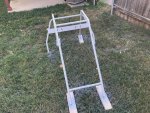
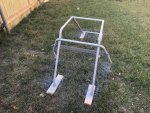
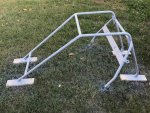
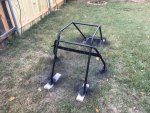
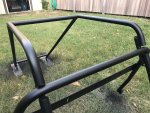
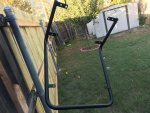
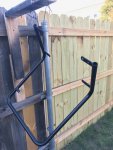
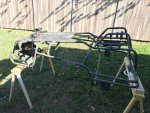
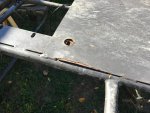
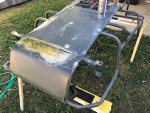
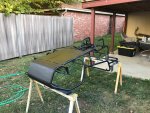
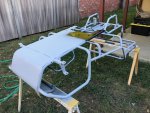
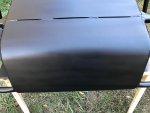
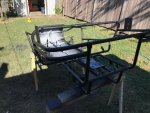
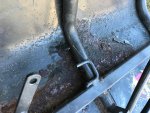
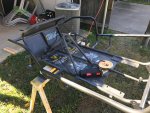
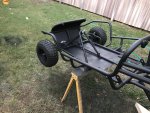
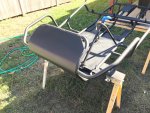
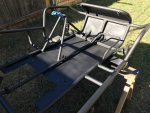
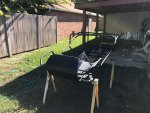
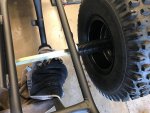
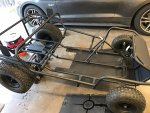
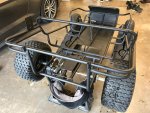
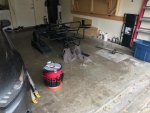
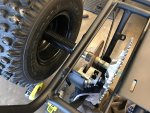
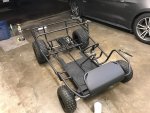
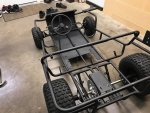
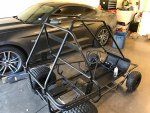
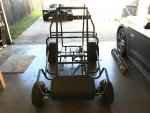
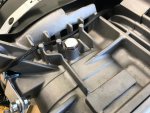
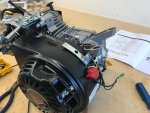
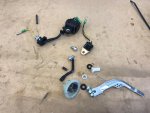
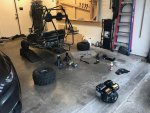
I have officially started to rebuild it, will be tearing it down to its bare bones and doing some rust repair and paint. I am very new to this and this is my first kart I am sort of restoring so progress will be slow but as soon as I have new pics they will be posted... for now all I have done is take apart the rear of the kart. I have also started to take off the many many warning stickers, in fact I am going to be taking off all stickers and it will be flat black when all is said and done. I have also brought the Robin/Subaru back to life and it will not be going back on this kart. I want to do a mini bike project for which that engine may be just perfect, already looking at CL to find a good donor frame.
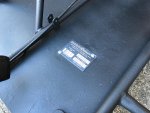
And this time I made sure I spelled "Manco" correctly")
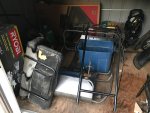
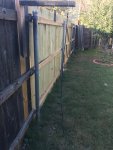
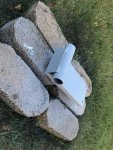
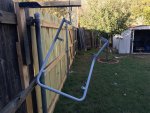
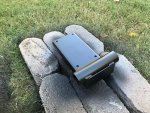
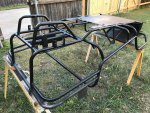
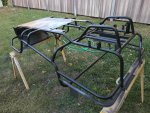
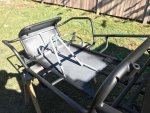
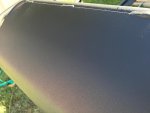
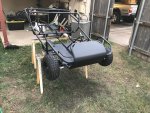
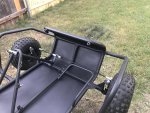
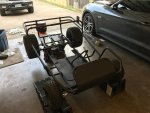
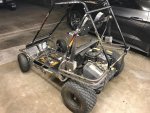
Some pics of the before when I brought it home and with the rear taken apart. More progress to come when work/life allows to work on this.
--Dan
I have officially started to rebuild it, will be tearing it down to its bare bones and doing some rust repair and paint. I am very new to this and this is my first kart I am sort of restoring so progress will be slow but as soon as I have new pics they will be posted... for now all I have done is take apart the rear of the kart. I have also started to take off the many many warning stickers, in fact I am going to be taking off all stickers and it will be flat black when all is said and done. I have also brought the Robin/Subaru back to life and it will not be going back on this kart. I want to do a mini bike project for which that engine may be just perfect, already looking at CL to find a good donor frame.
And this time I made sure I spelled "Manco" correctly
Some pics of the before when I brought it home and with the rear taken apart. More progress to come when work/life allows to work on this.
--Dan
Attachments
-
 IMG_0017.jpg397.3 KB · Views: 22
 -
 IMG_0018.jpg304.6 KB · Views: 10
 -
 IMG_0019.jpg402.6 KB · Views: 13
 -
 IMG_0041.jpg333.8 KB · Views: 9
 -
 IMG_0043.jpg375.4 KB · Views: 14