Old Member New Project Go Kart

Status
Not open for further replies.

solomon

Active member
Messages
1,648
Reaction score
8
Location
ca
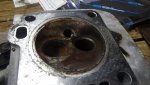
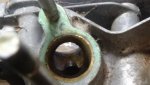
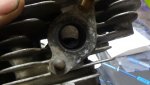
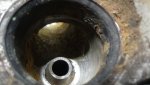
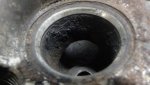
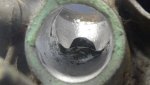
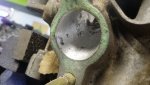
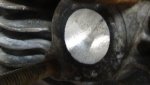
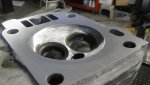
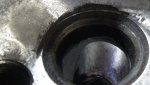
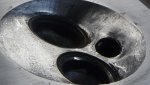
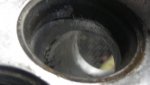
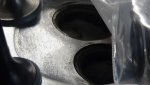
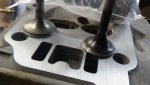
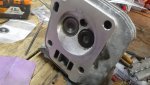
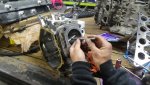
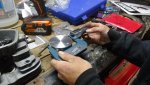
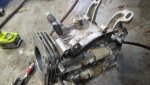
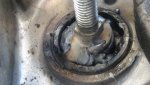
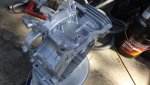
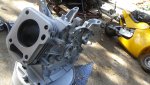
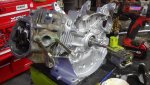
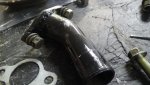
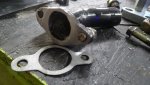
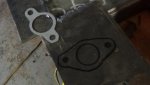
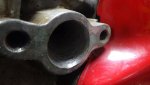
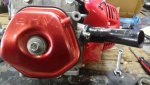
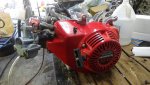
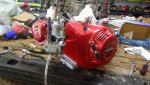
Well today I worked the head some. Nothing too fancy.
Stock bore. After Honing the p2w was .0015. Still tight. Motor ran prior to teardown.

Flat top piston on its way we will see where the bore sits then.
for now more pics!
 

Attachments

  • DSC00245.JPG
    DSC00245.JPG
    435.7 KB · Views: 6
  • DSC00246.JPG
    DSC00246.JPG
    322.3 KB · Views: 5
  • DSC00247.JPG
    DSC00247.JPG
    310.6 KB · Views: 5
  • DSC00248.JPG
    DSC00248.JPG
    337.1 KB · Views: 5
  • DSC00249.JPG
    DSC00249.JPG
    357 KB · Views: 5
  • DSC00256.JPG
    DSC00256.JPG
    320.4 KB · Views: 6
  • DSC00255.JPG
    DSC00255.JPG
    356.4 KB · Views: 5
  • DSC00254.JPG
    DSC00254.JPG
    284.4 KB · Views: 6
  • DSC00253.JPG
    DSC00253.JPG
    336.1 KB · Views: 6
  • DSC00252.JPG
    DSC00252.JPG
    310.4 KB · Views: 7

solomon

Active member
Messages
1,648
Reaction score
8
Location
ca
more pics
 

Attachments

  • DSC00257.JPG
    DSC00257.JPG
    339.2 KB · Views: 5
  • DSC00259.JPG
    DSC00259.JPG
    386.5 KB · Views: 5
  • DSC00258.JPG
    DSC00258.JPG
    231.5 KB · Views: 3

solomon

Active member
Messages
1,648
Reaction score
8
Location
ca
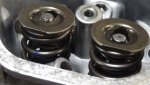
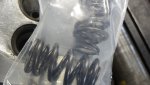
got the valve springs and the piston today
got the valves lapped
installed the valves with Dual Spring setup

Gonna mic the piston and bore later and see where we are at.
nrracing.com BIG SHOUT OUT - these guys drop shipped my parts FAST!
more picssss:2guns::2guns::2guns:
 

Attachments

  • DSC00264.JPG
    DSC00264.JPG
    319.9 KB · Views: 4
  • DSC00263.JPG
    DSC00263.JPG
    347.2 KB · Views: 5
  • DSC00262.JPG
    DSC00262.JPG
    317.1 KB · Views: 4
  • DSC00261.JPG
    DSC00261.JPG
    292.7 KB · Views: 5
  • DSC00260.JPG
    DSC00260.JPG
    347.5 KB · Views: 4
  • DSC00265.JPG
    DSC00265.JPG
    372.1 KB · Views: 5

solomon

Active member
Messages
1,648
Reaction score
8
Location
ca
okay well i guess later came sooner than later.
mic'd the bore and new flat top piston.

p2w looks good too me!:cheers2:
 

Attachments

  • DSC00268.JPG
    DSC00268.JPG
    264.7 KB · Views: 4
  • DSC00267.JPG
    DSC00267.JPG
    464.8 KB · Views: 4
  • DSC00266.JPG
    DSC00266.JPG
    431.5 KB · Views: 4

solomon

Active member
Messages
1,648
Reaction score
8
Location
ca
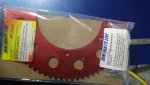
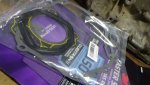
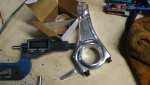
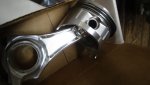
recieved the arc billet rod, gaskets, and 72t sprocket today.

didnt have a 5/16 12pt socket laying around so i will grab one tomorrow. need this to tighten loosen the connecting rod bolts and mic the bearing.

got all 4 tires mounted on the rims a 1 of 4 beads sealed. still need to get the other 3 tires to go. some pics
 

Attachments

  • DSC00273.JPG
    DSC00273.JPG
    375.1 KB · Views: 2
  • DSC00272.JPG
    DSC00272.JPG
    411.7 KB · Views: 2
  • DSC00271.JPG
    DSC00271.JPG
    403.3 KB · Views: 5

solomon

Active member
Messages
1,648
Reaction score
8
Location
ca
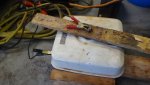
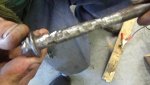
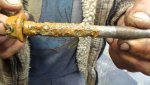
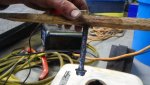
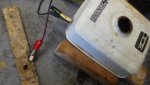
hey guys. got the block cleaned up. the gas tank is almost ready. the past week and half my brother has been doing electrolysis on the tank with a battery charger,scrap wood,xtra bolt.
the tank was really rough.
here you can see how much the electrolysis has eaten away at the rust in the tank as well as the bolt itself!
 

Attachments

  • DSC00279.JPG
    DSC00279.JPG
    467.7 KB · Views: 4
  • DSC00278.JPG
    DSC00278.JPG
    380.7 KB · Views: 3
  • DSC00276.JPG
    DSC00276.JPG
    405.6 KB · Views: 3
  • DSC00275.JPG
    DSC00275.JPG
    296.6 KB · Views: 3
  • DSC00274.JPG
    DSC00274.JPG
    407.3 KB · Views: 4
  • DSC00288.JPG
    DSC00288.JPG
    378 KB · Views: 4
  • DSC00282.JPG
    DSC00282.JPG
    378 KB · Views: 4
  • DSC00286.JPG
    DSC00286.JPG
    360.8 KB · Views: 5
  • DSC00281.JPG
    DSC00281.JPG
    417.7 KB · Views: 5
  • DSC00287.JPG
    DSC00287.JPG
    381.1 KB · Views: 3

solomon

Active member
Messages
1,648
Reaction score
8
Location
ca
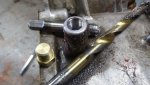
I tapped the governor hole for a 1/8 npt plug.
I painted the block for a fresh look.
I tapped the oil sensor hole for a1/4 npt plug.
plugs installed.
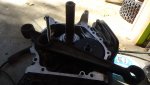
fitted engine together
piston ring gaps .016/.017"
p2w .002
Made a bearing removal tool last second for the balance shaft
as I decided to not use it last second.
my tool and method was simple and crude/agressive at best.
Valve lash set .006" intake .007" exhaust

Deciding against the stock GX270 carb. thinking of using a small pitbike carb.
 

Attachments

  • DSC00295.JPG
    DSC00295.JPG
    333 KB · Views: 4
  • DSC00294.JPG
    DSC00294.JPG
    343.9 KB · Views: 5
  • DSC00292.JPG
    DSC00292.JPG
    365.6 KB · Views: 4
  • DSC00290.JPG
    DSC00290.JPG
    411.7 KB · Views: 3
  • DSC00289.JPG
    DSC00289.JPG
    497 KB · Views: 4
  • DSC00304.JPG
    DSC00304.JPG
    447.7 KB · Views: 5
  • DSC00301.JPG
    DSC00301.JPG
    270.6 KB · Views: 5
  • DSC00300.JPG
    DSC00300.JPG
    294.7 KB · Views: 5
  • DSC00299.JPG
    DSC00299.JPG
    405.5 KB · Views: 6

Dingocat

Broke
Messages
722
Reaction score
171
Location
NE Ohio
Smart. I haven't thought of doing it like that. Good idea though. (Will use it in the future). [The tank cleaning]
 

solomon

Active member
Messages
1,648
Reaction score
8
Location
ca
my son found some good use out of the old piston...

got the custom intake mocked up today for the 80cc bike carb ill be using.
pull starter on.
valve cover on.
more later
 

Attachments

  • DSC00306.JPG
    DSC00306.JPG
    367.5 KB · Views: 7
  • DSC00312.JPG
    DSC00312.JPG
    376.6 KB · Views: 3
  • DSC00310.JPG
    DSC00310.JPG
    404.2 KB · Views: 3
  • DSC00308.JPG
    DSC00308.JPG
    417.8 KB · Views: 2
  • DSC00307.JPG
    DSC00307.JPG
    295.6 KB · Views: 2
  • DSC00313.JPG
    DSC00313.JPG
    318.9 KB · Views: 2
  • DSC00315.JPG
    DSC00315.JPG
    448 KB · Views: 4
  • DSC00316.JPG
    DSC00316.JPG
    483.7 KB · Views: 2
  • DSC00319.JPG
    DSC00319.JPG
    485.6 KB · Views: 3
Status
Not open for further replies.
Top