• OFF TOPIC fun forum - NO politics - NO religion - NO jerks. It's not complicated. Thanks!

My toy hauler thread

Status
Not open for further replies.

supermanotorious

Winchmaster 5000
Messages
2,088
Reaction score
103
Location
New River, AZ
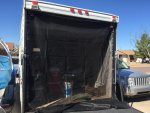
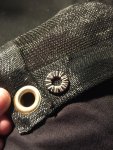
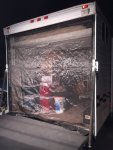
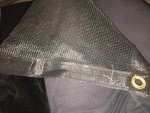
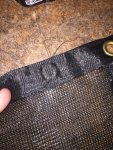
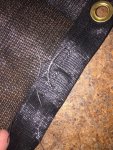
My golly! My genius excels again! Who needs an expensive toy hauler garage screen door kit when some neodymium magnets and the 8'x10' mesh tarp from Harbor Freight form an excellent bug barrier?!?!?!?!?!?

Our plan is to sew the magnets into the hem or seam of the tarp so set up or tear down is beyond simple and easy.
 

Attachments

  • 009.jpg
    009.jpg
    331.6 KB · Views: 6
supermanotorious

Winchmaster 5000
Messages
2,088
Reaction score
103
Location
New River, AZ
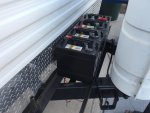
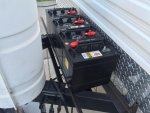
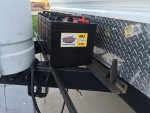
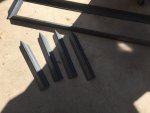
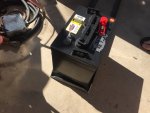
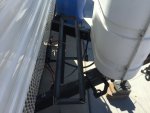
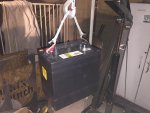
finally got my batteries and did a quick test fit with some scrap angle from an old bed frame, the weight distributing hitch hook up brackets are in the way of where the battery box needs to be welded and I'm a little jammed here, I know I could cut the brackets off the mounting clamp and weld them to the frame and then they would be a permanent part of this trailer, none of that scares me but I don't want to spend the time, energy, or cut off discs removing the clamp from the bracket so I dunno, will have to think about it, no worries though, steel yard is closed for the rest of the weekend so I have the week to think it over

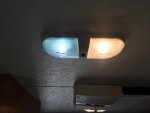
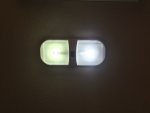
also, I swapped out all the interior and exterior lighting (less the running lights) with LEDs from Amazon, however they are not as bright as the incandescent automotive bulbs and that's not going to work, so I probably need to send them back and order even more expensive bulbs
 

Attachments

  • 007.jpg
    007.jpg
    256.8 KB · Views: 2
  • 008.jpg
    008.jpg
    254 KB · Views: 1
  • 009.jpg
    009.jpg
    233.5 KB · Views: 2
  • 010.jpg
    010.jpg
    254.1 KB · Views: 2
  • 011.jpg
    011.jpg
    275.5 KB · Views: 1
  • 001.jpg
    001.jpg
    251.3 KB · Views: 1
  • 015.jpg
    015.jpg
    271.6 KB · Views: 2
  • 014.jpg
    014.jpg
    227.3 KB · Views: 1
  • 013.jpg
    013.jpg
    234.9 KB · Views: 1

supermanotorious

Winchmaster 5000
Messages
2,088
Reaction score
103
Location
New River, AZ
ugh, got different LEDs, still not as bright- bummer

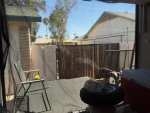
here is looking out the screen door, my mom came over last night, helped me cut and hem the edge, I decided to mount it "landscape" instead of "portrait", much better fit. We finished sewing but it was too late to hang. I'll sew more magnets on as the week goes on, this should be pretty slick
 

Attachments

  • image.jpg
    image.jpg
    624 KB · Views: 3

supermanotorious

Winchmaster 5000
Messages
2,088
Reaction score
103
Location
New River, AZ
well duh, if I orientate the batteries end to end, rather than side by side I would get the clearance, just need a slightly longer box.

finally got my batteries and did a quick test fit with some scrap angle from an old bed frame, the weight distributing hitch hook up brackets are in the way of where the battery box needs to be welded and I'm a little jammed here, I know I could cut the brackets off the mounting clamp and weld them to the frame and then they would be a permanent part of this trailer, none of that scares me but I don't want to spend the time, energy, or cut off discs removing the clamp from the bracket so I dunno, will have to think about it, no worries though, steel yard is closed for the rest of the weekend so I have the week to think it over

also, I swapped out all the interior and exterior lighting (less the running lights) with LEDs from Amazon, however they are not as bright as the incandescent automotive bulbs and that's not going to work, so I probably need to send them back and order even more expensive bulbs
 

supermanotorious

Winchmaster 5000
Messages
2,088
Reaction score
103
Location
New River, AZ
here is an idea of the difference in the LEDs, still not as bright as I would like though :-(

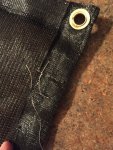
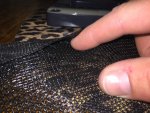
I decided to learn how to sew! did all the magnets myself. started by hand stitching but decided to sew them into the seam like planned. came out pretty good, just need to trim threads
 

Attachments

  • 012.JPG
    012.JPG
    295.3 KB · Views: 2
  • 011.JPG
    011.JPG
    335 KB · Views: 1
  • 010.JPG
    010.JPG
    349.3 KB · Views: 1
  • 009.JPG
    009.JPG
    284 KB · Views: 1
  • 005.JPG
    005.JPG
    135.3 KB · Views: 2
  • 017.JPG
    017.JPG
    343.5 KB · Views: 3
  • 016.JPG
    016.JPG
    300.3 KB · Views: 3
  • 015.JPG
    015.JPG
    281.1 KB · Views: 1
  • 013.JPG
    013.JPG
    328.1 KB · Views: 1
  • 014.JPG
    014.JPG
    324.6 KB · Views: 1

supermanotorious

Winchmaster 5000
Messages
2,088
Reaction score
103
Location
New River, AZ
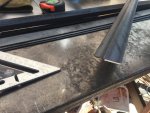
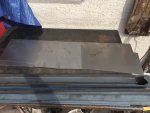
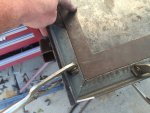
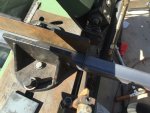
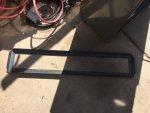
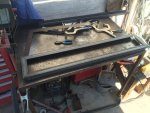
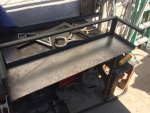
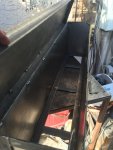
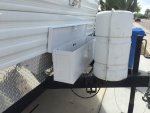
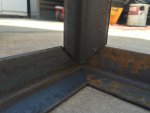
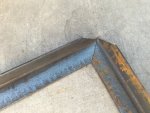
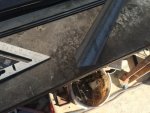
This one has been on my mind for a while. I'm about 90% done welding (just need a hasp), drill wiring holes, and then I paint. Yosemite is only 2 weeks away so I go to focus. As a fabricator, you'll notice I like to take on the special angle cuts rather use alternative methods. Also note, in most of these pictures, the box is simply tacked to make sure everything was going to play nicely together. It is fully welded now. I am not going to grind my welds because not only am I proud of them, I also don't want reduced strength in my joints.

I used 1/8" flat stock and angle for the frame and 18ga sheet metal for the siding. I ran out of the angle for the lid short lengths so I cut up an old bed frame lol.
 

Attachments

  • 020.JPG
    020.JPG
    221.5 KB · Views: 5
  • 019.JPG
    019.JPG
    321.5 KB · Views: 2
  • 018.JPG
    018.JPG
    282.6 KB · Views: 4
  • 017.JPG
    017.JPG
    311.4 KB · Views: 4
  • 012.JPG
    012.JPG
    313 KB · Views: 3
  • 025.JPG
    025.JPG
    285.7 KB · Views: 5
  • 024.JPG
    024.JPG
    257.6 KB · Views: 2
  • 023.JPG
    023.JPG
    330.8 KB · Views: 2
  • 022.JPG
    022.JPG
    295.5 KB · Views: 2
  • 021.JPG
    021.JPG
    267.8 KB · Views: 3

supermanotorious

Winchmaster 5000
Messages
2,088
Reaction score
103
Location
New River, AZ
more pictures
 

Attachments

  • 026.JPG
    026.JPG
    329.4 KB · Views: 4
  • 027.JPG
    027.JPG
    232.2 KB · Views: 3
  • 028.JPG
    028.JPG
    289.4 KB · Views: 3
  • 029.JPG
    029.JPG
    270.7 KB · Views: 3
  • 030.JPG
    030.JPG
    268.8 KB · Views: 6
  • 032.JPG
    032.JPG
    271.2 KB · Views: 6
  • 031.JPG
    031.JPG
    244.1 KB · Views: 6
supermanotorious

Winchmaster 5000
Messages
2,088
Reaction score
103
Location
New River, AZ
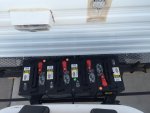
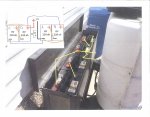
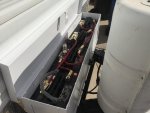
Battery configuration (in theory). I grabbed a cheat sheet onlines. Had to cut it in half and rearrange it because I want the output lines in the middle of the box. And in my photo, I put the batteries in backwards so for the illustration I have the lines going out the wrong way. Once I place the batteries in the correct way, the lines will exit aft.
 

Attachments

  • image.jpg
    image.jpg
    367 KB · Views: 13

supermanotorious

Winchmaster 5000
Messages
2,088
Reaction score
103
Location
New River, AZ
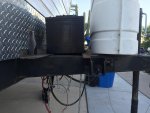
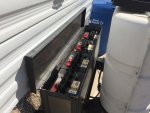
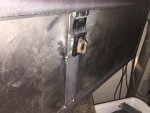
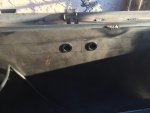
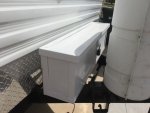
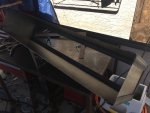
I think the battery box is finally ready for paint. I drilled the 2 holes where the wires will pass through and (5) 3/8" vent holes near the top. I think the vent holes are pretty slick, they hide behind the lid when the box is closed. Oh yeah, welded a hasp from a truck bed tool box on my box too.

For painting the inside, I've been told to use 2-part epoxy to protect against acid leaks but I don't have time for that now. It will get automotive enamel like all my metal projects.

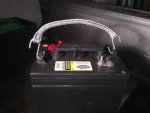
Once painted I will weld it to the tongue and that's that. I questioned Costco as to why I didn't get handles or straps to lift the batteries and they said they didn't supply them which I thought was crap. Look up 6V battery banks on Google and you'll see no one has them. So I Googled the strap and sure enough, you can buy one. But after a little thought, I realized I had all the materials to make one in my "inventory". 4 s-hooks and a small length of rope I eye-spliced and wahlah- a DIY 6V battery strap!

Hopefully this is the last of the trailer projects and we can focus on making sure our bicycles have good inner-tubes etc. I decided against caulking the tub for now, after speaking with a Yosemite ranger and learning there are showers 1 mile from our site- well worth the drive IMO.
 

Attachments

  • 012.jpg
    012.jpg
    182.6 KB · Views: 3
  • 016.jpg
    016.jpg
    311.2 KB · Views: 3
  • 015.jpg
    015.jpg
    311.8 KB · Views: 2
  • 010.jpg
    010.jpg
    276.4 KB · Views: 3
  • 004.jpg
    004.jpg
    212.4 KB · Views: 2
  • 014.jpg
    014.jpg
    259.2 KB · Views: 5

8t6bronco

New member
Messages
53
Reaction score
1
Location
Owensboro, Ky
Battery configuration (in theory). I grabbed a cheat sheet onlines. Had to cut it in half and rearrange it because I want the output lines in the middle of the box. And in my photo, I put the batteries in backwards so for the illustration I have the lines going out the wrong way. Once I place the batteries in the correct way, the lines will exit aft.

What you've got drawn in on the actual picture will work, you will end up with 12v 440ah. I'm having a bit of a time with the diagram but the orange lines that run around the outside from d+ to c- and the same line on the ab batteries will cause a dead short.
 

supermanotorious

Winchmaster 5000
Messages
2,088
Reaction score
103
Location
New River, AZ
Please ignore the orange lines on the "outside" of the batteries. That was the internet image. When I cut it in half, I interrupted the orange lines, I redrew the orange lines with the blue ink.

Here are the grommet holes for the wiring.

Last night as I was drilling holes, I had one of the 6V batteries present to make sure holes were clear of batteries. I decided to throw it on the charger overnight since mine selects between 6V and 12V. I walked out this morning to the distinct smell of charging gasses and the charger was still charging. I was quite surprised. I threw the meter on for a quick check- 17.4V!!!! I almost had a heart attack. Thinking I ruined my brand new, never even used deep cycle battery I run a few internet searches. Then I go back out to feel the battery and see if it's hot. Not really. Hmmm- look at the meter- I'm in AC mode %$#!%mnit! (second time I recall doing that) A quick switch to DC and we're right around 7V. Thank God.
 

Attachments

  • 001.jpg
    001.jpg
    233 KB · Views: 1

supermanotorious

Winchmaster 5000
Messages
2,088
Reaction score
103
Location
New River, AZ
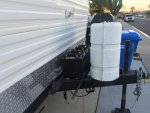
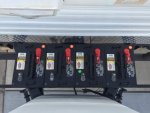
Man am I tired. All wired up- 12V! I'm seriously bummed my "1200" watt inverter cant handle the "700" watt microwave. Also found out my tongue weight is right about 1,000lbs. I welded the box to the tongue then painted the welds. One week till we hit the road!
 

Attachments

  • 016.JPG
    016.JPG
    233.1 KB · Views: 2
  • 022.JPG
    022.JPG
    209.5 KB · Views: 3
  • 023.JPG
    023.JPG
    215.6 KB · Views: 8
Status
Not open for further replies.
Top