Manco XTK 706b renew and mods

Status
Not open for further replies.

Jakhammer

New member
Messages
24
Reaction score
0
Manco XTK 706b renew and mods now with pics

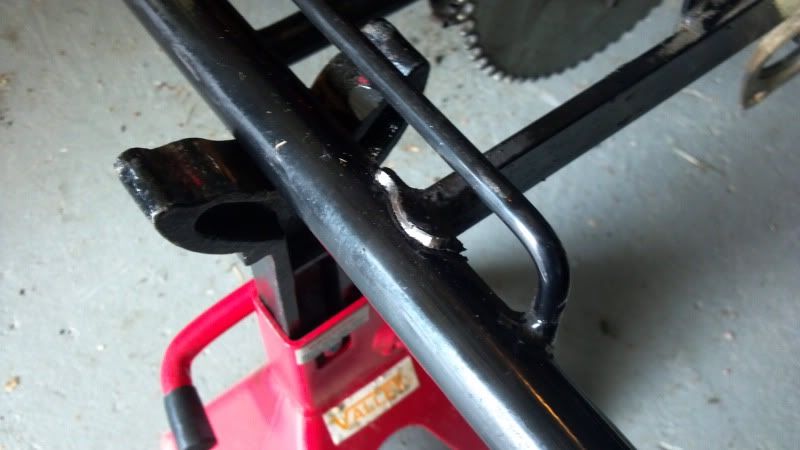
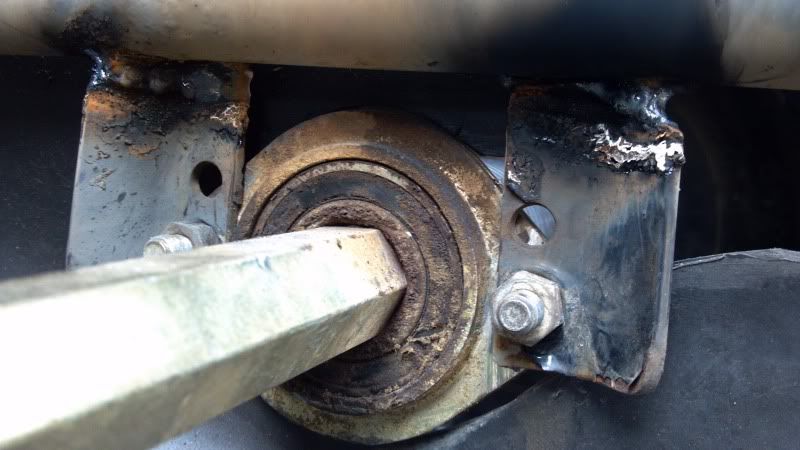
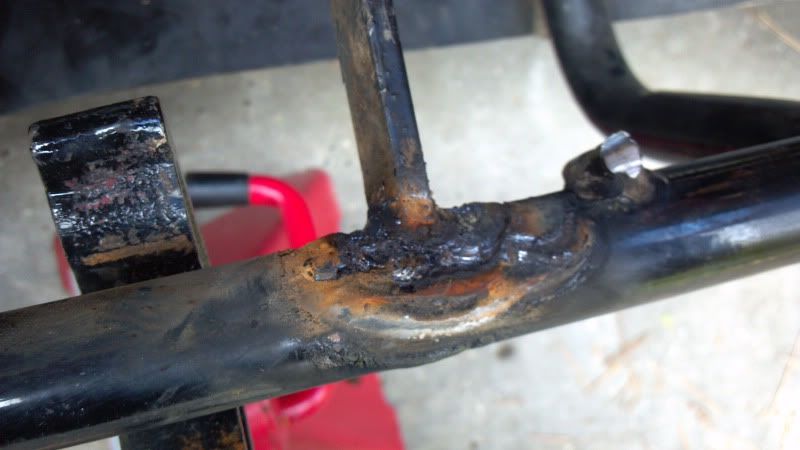
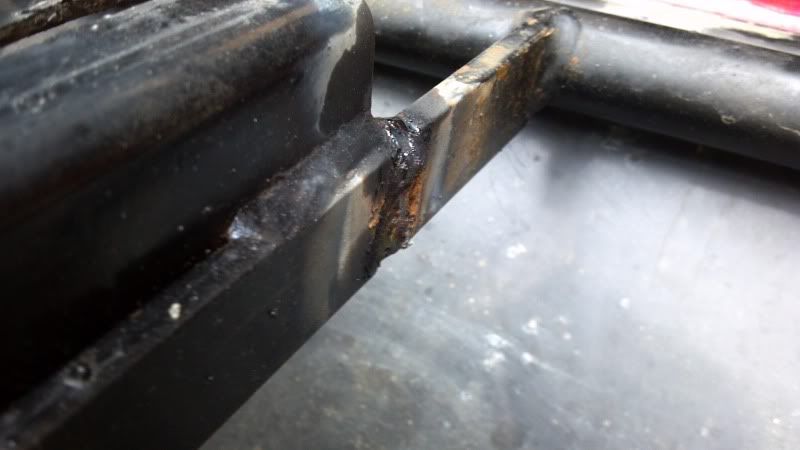
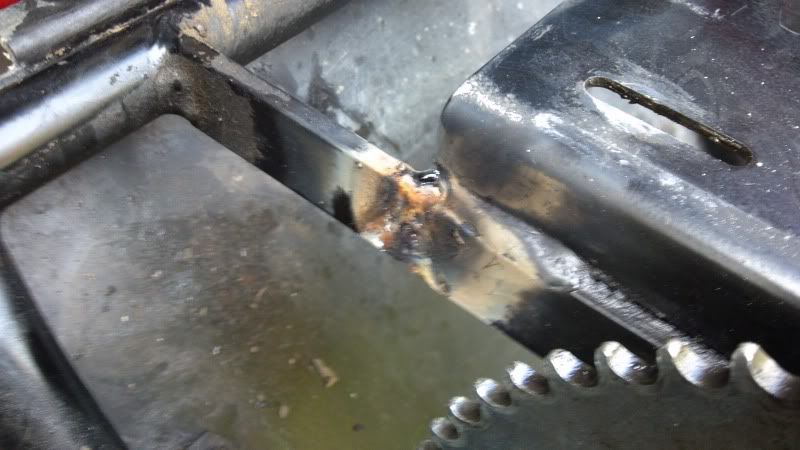
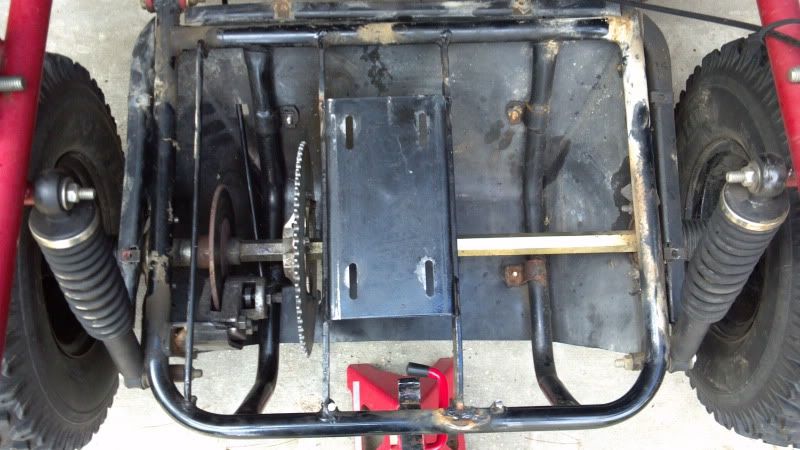
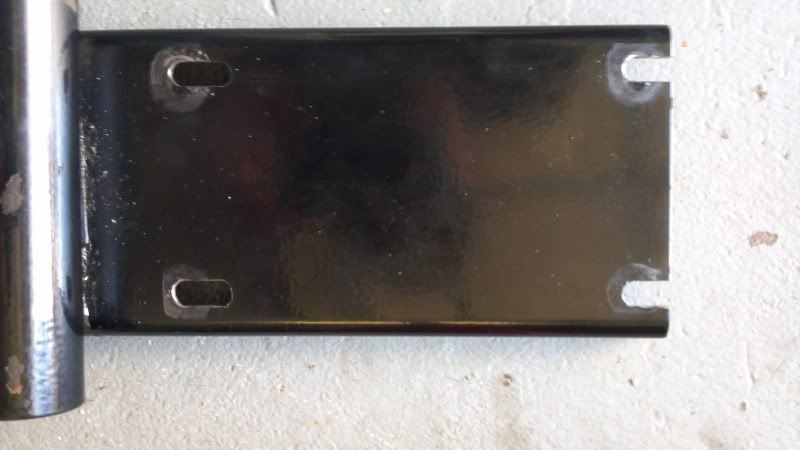
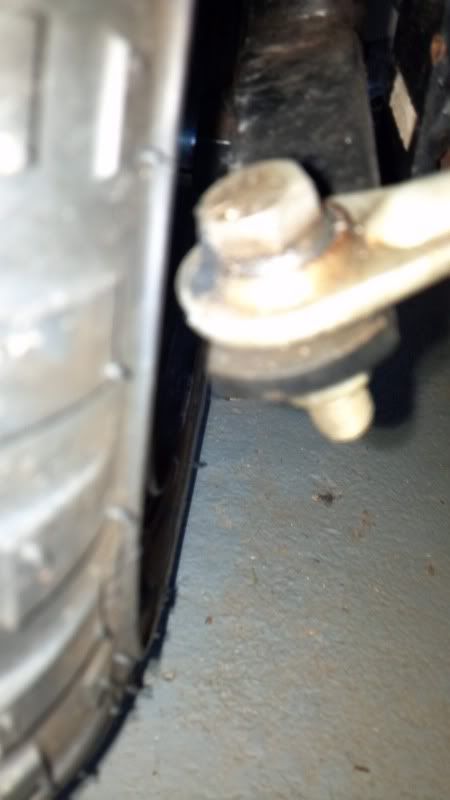
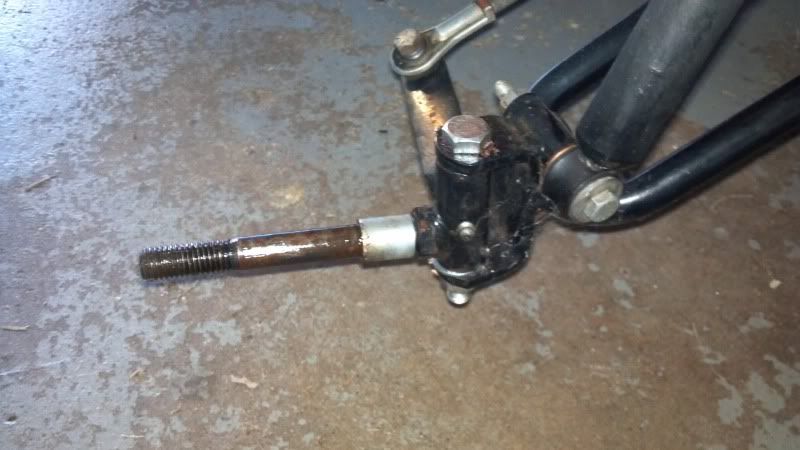
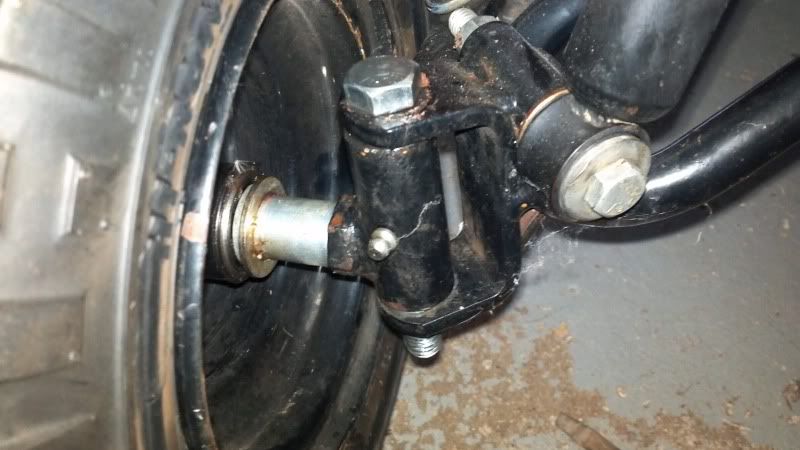
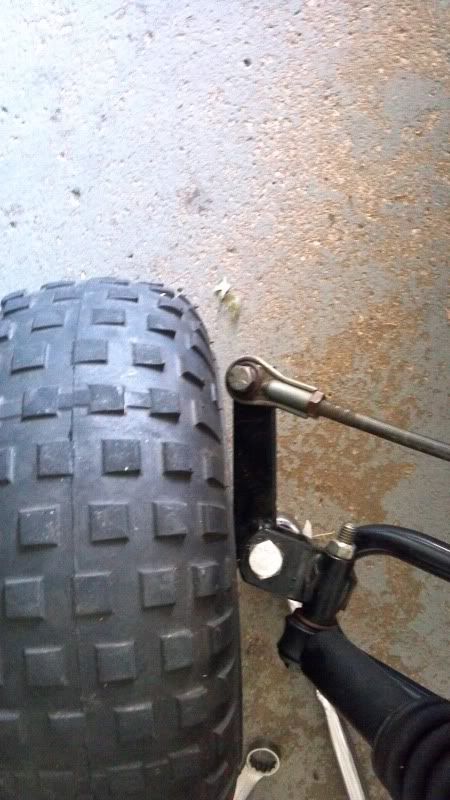
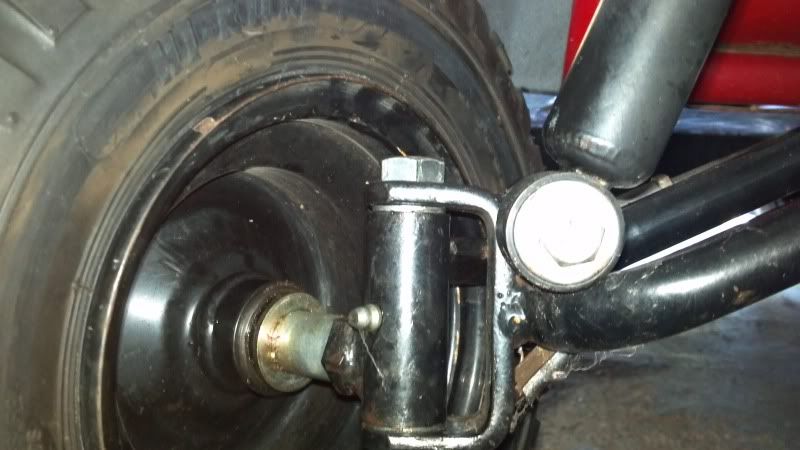
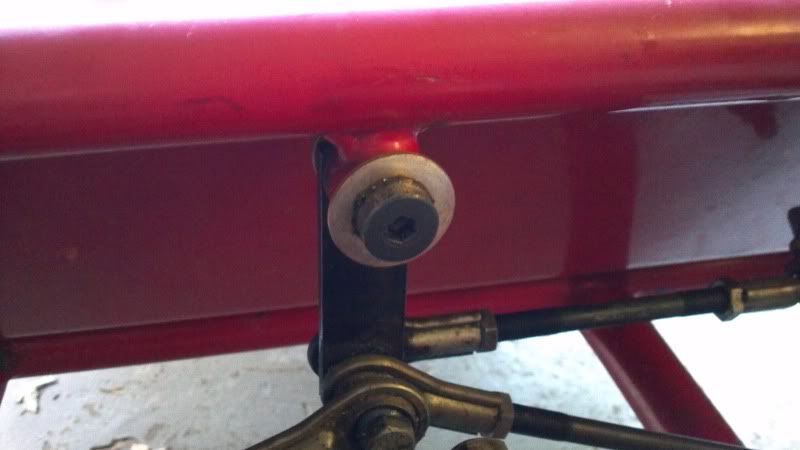
Earlier this week I started going thru the Manco 706b I picked up last weekend. It was a runner but it has issues. The steering was super sloppy and the belt was so stretched the driver was 75% engaged before the belt would grab. That was causing sever jerking. First I dove into the front end... First up the a arms. They were loose. Decides to grab some new bolts for the a arm to chassis. I took it apart and found the bolts were still good and it was simply that the nuts were not very tight. So I cleaned all the old grease off and put new grease on and put it back together. A arms now only move up and down as they should, not up down, forwards and backwards as they did. Next up was the front tires. They rubbed the tie rods ends when the tire flexed even the smallest bit. Found the thin spacer shims were not on the inboard side. Tried using washers but they were so big around that they hit the inner and outter bearing races and bound the bearing up. Off to the hardware. Found machine bushings. Basicly a not so tall not so thick washer. Bought some of them and shimmed the front wheels out. Problem solved. While doing the tires i found that the spindles were loose, real loose. Pulled the bolts and inspected. No real wear and lots of grease. However there was a ton of room between the spindle and the mount. Added a mashing bushing on the top and the bottom of the spindles and put them back together. Slop was gone. Last up for the steering was the center pivot that the tie rods mount to. It was sloppy. Removd the bolt to find a normal bolt, not s smooth shank bolt. Replaced it with a shoulder bolt and machine bushings and greased it. Slop gone. Now the steering and suspension are nice and tight but still able to move freely. Total spent on the referb was $3.79 and two hours of time.

Chris
 

OzFab

Well-known member
Messages
15,615
Reaction score
68
Location
Warwick Qld, Australia
Good write up :thumbsup:

This shows that you don't have to spend stupid amounts of money & totally rebuild something to get it to work efficiently, just think worst case scenario & use a bit of common sense
 

Jakhammer

New member
Messages
24
Reaction score
0
Now for some pictures of what im talking about:

The Manco and the Yerfdog:


How close the tie rod end was to the tires before:


The lack of the spacer/washer after the long spacer:


The wheel spacing fix in place (ome washer one machine bushing):


The clearance between the tires and rod end now:


The spindle gap:


The spindle fixed with machine bushing:


The bolt that was in the steering and its replacement:


The new bolt in place in the steering:


More to come...

Chris
 

Jakhammer

New member
Messages
24
Reaction score
0
The Manco has a 6.5hp Robin and the Yerf still has its 6.5 Tec. The Robin has to be the smoothest most quiet small engine I have ever seen. The Tec... its not running. I have to clean the carb. Once I have the Manco back together I will move to the Yerf.

Chris
 

Jakhammer

New member
Messages
24
Reaction score
0
So now I have dove into the back end of the XTK. WOW! While I knew something was not right I was surprised. The belt was way to long or stretched or something and the driver was coming in about 75% before the belt would grab. The belt just rode up the driver til there was enough tension to catch. This made it lurch and shake bad. The motor shook hard as this was happening. I could see the belt was not right when I bought it. Not a big deal... well... I took the motor off and all the plastic off the back. This is what I found:
Break number one:


Break number two:


Break number three:


Some people dont know when to stop using things I guess. Only 1 weld was holding the engine, tav, and jackshaft on the kart. AND they were still riding it like this. With all the jerking and lurching and the entire drive about ready to fall off. LOL. I instantly picked up my cell and texted by buddy who is a welder with everything we need on his truck.

After that, I went on looking. I noticed the passenger side axle bearing was sitting all cocked in the retainer. I was thinking maybe the bearing was going bad. I decided to play it safe and drop the axle out so I could get a good look at the bearings. I put the kart up on a jack stand and pulled the bolts out. Something unexpected happened... nothing. the axle, bearing retainers, bearings, etc didnt move. I found this odd. I gave it a pound with my hand and still it remained perfectly still. I have it a kick and it "popped" out. so I checked the bearings. They were fine on both sides. I checked the retainer mounts on the chassis for signs of being bent. paint was all good and so were the welds. ok. I go to put the axle back in. What do ya know it wont go back in. I can get one side or the other to slide up and in but the other side goes up at such a steep angle it will not slide up and in. call it a quality control oversight, but the chassis mounts are not in the right place on the passenger side. they are up higher on the tube which moves them out when compaired to the drivers side. this in turn makes them to wide and now I cant get the axle back in. I have no idea how they got it together at the factory but even a 3 pound sledge wont caress the retainer into place.

Here is a pic i snapped of the bearing issue:


Chris
 

Jakhammer

New member
Messages
24
Reaction score
0
Then we did some cutting and welding to fix the breaks and the bearing retainer mount. Didnt take long at all.

Bearing retainer mounts:


Engine mount fixes:


This picture looks like its not right as far as square, but the tape does not lie:


While the motor was off I had one of the guys at work slot my jackshaft plate so I cab have some adjustment on the belt. First mod complete.

And here is the finished piece:


More mods to follow. Got some plans for a Comet 30 driven :evil:

Chris
 

Jakhammer

New member
Messages
24
Reaction score
0
So I got it all back together and driving. In stock form with the worn out belt its way better than it was. The steering is nice and smooth. No more jerking steering wheel or going where it wants. The motor is nice a stable and it acceleration much smoother. It has a lack if low end stock, but the belt is whipped. So I took the 7" driven off the yerf. Still don't have a a good belt for that setup as that belt is whipped too, but it has way better low end and actually seemed faster in the top end. Still want to try a 8 tooth sprocket and new belts.

Chris
 

thundachicken

New member
Messages
15
Reaction score
0
Thanks. I took apart my driven pulley to see if you can adjust the spring pulley. I understand there are 2 additional holes for this purpose, just like the 30 series CVT's. It looks like I would need to drill these holes, have not done this yet. I added an intake and header, helped a bit.

Just in case you were looking for belts atm, I found ebay has a pretty decent selection, prices aren't too bad either.
 

Jakhammer

New member
Messages
24
Reaction score
0
I opened up myth driver and wow. It was full of grease. People! Lol. I cleaned it all up and used graphite on it. Then I took the driven apart and cleaned it. The spring was in hole 1 and I moved it to 3. I'm going to guess the spring is whipped cuz I moves it 1 valley and it had no tension (before any tension and in hole 3 it the cam was on the edge of a peak so it only needed 1/8 turn to the next valley). So I cranked it another valley and that was a huge pain. Now it shifts way up there. I will be putting in a yellow spring (which just arrived). It did drive a lot better with the drive cleaned up ans the driven shift later.
I also picked up a new weight for the driven. I can tell ya the spring tension on the old unit it not very good. I can open it pretty easy. The new weight is much tighter and is a work out to open. Can't wait to put it in and see how it works.
Next up is cleaning up my 7" driven from the yerf and getting a 8 tooth sprocket. I want to see just how much low end I can get. I will say its much better already with the stock setup since the clutch cleaning.

Chris
 

jman231994

New member
Messages
724
Reaction score
2
Location
Australia
Is there any chance you could post some pics of the welds after being cleaned up...theres just one or two in the pictures that look a bit dodgy to me but its hard to tell when they arent cleaned back.

I'm not aiming to have a go at you or anything, just trying to help you out before any pain if a weld goes. But as I said, I cant tell from those pics, the welds may be perfect.

Other than that, great job on the kart, it looks awesome and will go great with that TC
 

Jakhammer

New member
Messages
24
Reaction score
0
I don't have any pics of the weld after and its all back together. I will say I didn't do the welding. I have a friend that welds gas line bring his welding truck over and do the welds. He has been welding for 13 years and I trust his work far more than my own. Its all stick welds so that might be part of it. I won't be surprised if the motor mount breaks again. Its pretty weak. If it does I will get some 1/8" plate and plate it front to back and run cross bars for extra strength.

I take no offense. I know its not looking like it was mig or tig welded... its not. Lol. Sometimes stick can get a little messy.

Chris
 

jman231994

New member
Messages
724
Reaction score
2
Location
Australia
I don't have any pics of the weld after and its all back together. I will say I didn't do the welding. I have a friend that welds gas line bring his welding truck over and do the welds. He has been welding for 13 years and I trust his work far more than my own. Its all stick welds so that might be part of it. I won't be surprised if the motor mount breaks again. Its pretty weak. If it does I will get some 1/8" plate and plate it front to back and run cross bars for extra strength.

I take no offense. I know its not looking like it was mig or tig welded... its not. Lol. Sometimes stick can get a little messy.

Chris

Yea I primarily stick weld, I know how hard it is to get a decent 90 degree weld....I cant do them 90% of the time haha. Stick welds can look pretty nice if done well, its just that not that many people are very good at it haha. If you can, I'd keep an eye on the welds holding the bearings on, it looks like there isnt much holding them from the photo. It wouldnt be comfy if they went :ack2:

Even a bit of angle under the motor mount would make it heaps stronger, the design of that is pretty bad, it should have something more across the top to stop it flexing
 

Jakhammer

New member
Messages
24
Reaction score
0
It would not be comfy if it comes off for sure. I may add a piece of square tube across the brackets and weld them to it and the frame. I'm sure the engine mount will fail again so I will be in there someday again.

Chris
 

Jakhammer

New member
Messages
24
Reaction score
0
Just thought I would give an update. I have been playing with the 6" driven that came on this kart. I put a yellow spring in and have it in hole three. It was a pain to out back together but what a difference it has made. The engine revs right out now. Mid range power is much improved. I like it.

Then I put on a 8 tooth sprocket. Again, very nice. So far I can't really see any decrease in top speed. The engine just winds out more. But the low end the 8 tooth gives with a nice tight driven is amazing. So smooth of idle. It don't sound like its lugging so hard off the line. Much more fun now.

Next is cleaning up the 7" driven and putting the stock green spring in hole 3 and see what happens. I can't wait to try it out.

Chris
 

Blazkowiez

Kart Aficionado
Messages
2,538
Reaction score
47
Location
Houston, Texas
2 quick points. Your spindle is bent, from the pictures you can see that it has been tweaked. Lastly your washer may be too large, when spacing wheels out you must make sure the washer will fit over the inner race of the bearing but not the outer. since the levels of the races are the same if you use a large washer for spacing it will grind the races and break the bearing.
 

Jakhammer

New member
Messages
24
Reaction score
0
2 quick points. Your spindle is bent, from the pictures you can see that it has been tweaked. Lastly your washer may be too large, when spacing wheels out you must make sure the washer will fit over the inner race of the bearing but not the outer. since the levels of the races are the same if you use a large washer for spacing it will grind the races and break the bearing.

I'm not sure about the spindles since both side were almost the same. The washer does not touch both races. There is a machine bushing that is smaller in diameter that contacts the bearing and inner race but does not touch the outter race. I ran into the problem the first go at putting it together. Simply put in the bushing and it was fixed.

Chris
 
Status
Not open for further replies.
Top