Lunar Rover (prototype)

Functional Artist

Well-known member
Messages
5,629
Reaction score
3,264
Location
Toledo, Ohio
Astro-Seat

Lets get ta workin' on the seat :thumbsup:

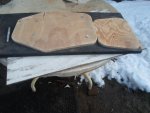
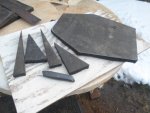
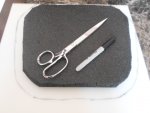
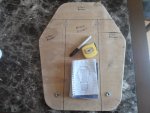
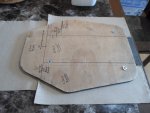
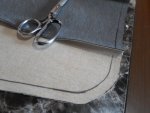
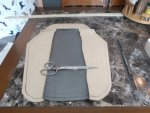
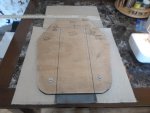
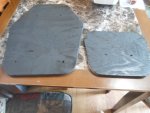
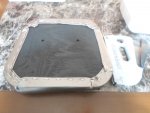
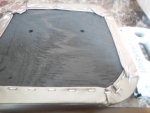
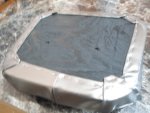
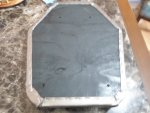
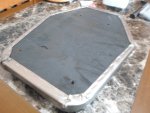
I already made/cut some pieces of 1/2" plywood for the "foundation boards" of the seat :cheers2:

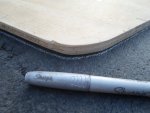
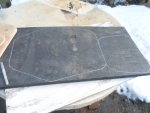
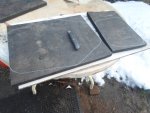
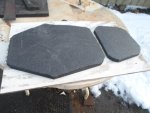
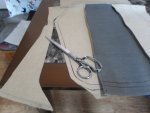
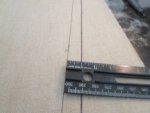
So, I used them as templates to mark the padding
...then, cut 'em out with a razor knife :2guns:
 

Attachments

  • SAM_2633.JPG
    SAM_2633.JPG
    311.6 KB · Views: 1
  • SAM_2635.JPG
    SAM_2635.JPG
    316.5 KB · Views: 0
  • SAM_2636.JPG
    SAM_2636.JPG
    305.7 KB · Views: 0
  • SAM_2637.JPG
    SAM_2637.JPG
    309.1 KB · Views: 1
  • SAM_2638.JPG
    SAM_2638.JPG
    307.2 KB · Views: 1
  • SAM_2639.JPG
    SAM_2639.JPG
    310.9 KB · Views: 0

Functional Artist

Well-known member
Messages
5,629
Reaction score
3,264
Location
Toledo, Ohio
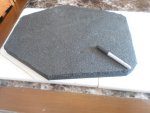
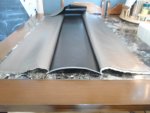
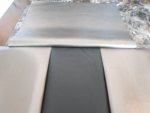
Is that stuff you are using basically a sheet of pool noodle?

Yup, I guess ya could call it that :thumbsup:
...it's kinda like "closed cell" foam rubber or something :huh:

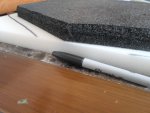
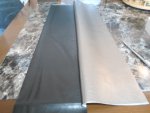
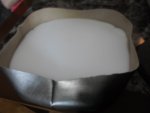
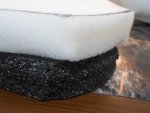
I'm using it (black) as a "stiff" layer (for extra support) :cheers2:
(the softer stuff is just too soft)
…& then, I'm adding a (white) "softer" layer (for extra padding) :2guns:
(so the seat still feels kinda fluffy)
 

Attachments

  • SAM_2773.JPG
    SAM_2773.JPG
    306.2 KB · Views: 1
  • SAM_2774.JPG
    SAM_2774.JPG
    309.7 KB · Views: 1
  • SAM_2777.JPG
    SAM_2777.JPG
    303.9 KB · Views: 1

Functional Artist

Well-known member
Messages
5,629
Reaction score
3,264
Location
Toledo, Ohio
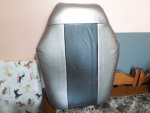
Here's the (approved) plan for the seat :thumbsup:

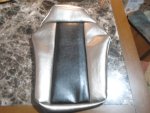
Black-n-Silver (monochrome)
...gotta go with lunar colors :cheers2:

The covering will be made of "space-proof" vinyl :rolleyes: (from Wal-Mart)
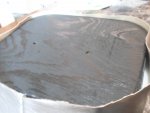
It'll have a black insert
...with a silver "header" across the top
...& also down the sides

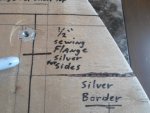
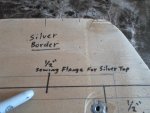
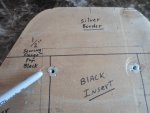
I used the wood foundation board to draw out the "pattern"

* Notice the extra 1/2" (sewing flanges) needed on each side of the black insert
...& also the silver sides :cheers2:
 

Attachments

  • SAM_2727.JPG
    SAM_2727.JPG
    311.5 KB · Views: 1
  • SAM_2725.JPG
    SAM_2725.JPG
    313 KB · Views: 1
  • SAM_2724.JPG
    SAM_2724.JPG
    312.7 KB · Views: 1
  • SAM_2722.JPG
    SAM_2722.JPG
    309.2 KB · Views: 1
  • SAM_2720.JPG
    SAM_2720.JPG
    313.8 KB · Views: 1

Functional Artist

Well-known member
Messages
5,629
Reaction score
3,264
Location
Toledo, Ohio
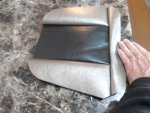
Cut the material out, as per the diagram :thumbsup:

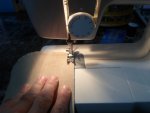
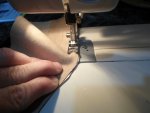
Got the sewin' machine out
…& did some sewin' :cheers2:

I sewed a strip of silver vinyl, on both sides of the black piece
…& sewed a silver piece across the top

I used the foundation boards as templates to mark
...& then, added a 1/2" sewing flange before cuttin' it out :2guns:
 

Attachments

  • SAM_3522.JPG
    SAM_3522.JPG
    312.7 KB · Views: 1
  • SAM_3524.JPG
    SAM_3524.JPG
    318.1 KB · Views: 1
  • SAM_3531.JPG
    SAM_3531.JPG
    307.5 KB · Views: 1
  • SAM_3537.JPG
    SAM_3537.JPG
    295.9 KB · Views: 1
  • SAM_3539.JPG
    SAM_3539.JPG
    314.1 KB · Views: 1
  • SAM_3551.JPG
    SAM_3551.JPG
    311.2 KB · Views: 1
  • SAM_3549.JPG
    SAM_3549.JPG
    313.7 KB · Views: 1
  • SAM_3548.JPG
    SAM_3548.JPG
    306.9 KB · Views: 1
  • SAM_3547.JPG
    SAM_3547.JPG
    312 KB · Views: 1
  • SAM_3540.JPG
    SAM_3540.JPG
    312.9 KB · Views: 1

Functional Artist

Well-known member
Messages
5,629
Reaction score
3,264
Location
Toledo, Ohio
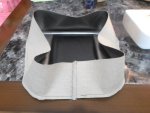
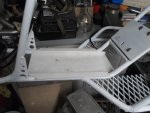
Next, I cut some 3 1/2" strips of the silver vinyl
…& then, sew them around the perimeter (of both) of the seat cover top panels :cool:
 

Attachments

  • SAM_3561.JPG
    SAM_3561.JPG
    303.9 KB · Views: 1
  • SAM_3560.JPG
    SAM_3560.JPG
    310.9 KB · Views: 1
  • SAM_3558.JPG
    SAM_3558.JPG
    305.5 KB · Views: 1
  • SAM_3557.JPG
    SAM_3557.JPG
    316.4 KB · Views: 1
  • SAM_3554.JPG
    SAM_3554.JPG
    314.5 KB · Views: 1
  • SAM_3577.JPG
    SAM_3577.JPG
    311.6 KB · Views: 1
  • SAM_3578.JPG
    SAM_3578.JPG
    313 KB · Views: 1

Functional Artist

Well-known member
Messages
5,629
Reaction score
3,264
Location
Toledo, Ohio
So now, let's get 'er put together :thumbsup:

I sealed the back side of the seat foundation boards up with some satin black spray paint
...a couple of days ago :cheers2:

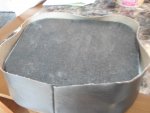
For assembly, the first thing is to "stuff" the white "fluffy" layer of foam rubber into the seat cover
...then, the black "stiffer" layer goes in
…& then the foundation board
(aligning each layer, within the seat cover, as you go)

Then, start by pushing down/adding a bit of pressure
…& folding the edge so, there's a ~1/2 " of double thick" material
(looks cleaner & "holds" the staples better)

Watch/monitor the "face" of the seat
...to help maintain "straight" edges
…& start stapelin'
(in the middle of each side while, workin' toward the corners) :2guns:
 

Attachments

  • SAM_3572.JPG
    SAM_3572.JPG
    313.2 KB · Views: 1
  • SAM_3569.JPG
    SAM_3569.JPG
    313.9 KB · Views: 1
  • SAM_3566.JPG
    SAM_3566.JPG
    288.9 KB · Views: 1
  • SAM_3565.JPG
    SAM_3565.JPG
    314 KB · Views: 1
  • SAM_3515.JPG
    SAM_3515.JPG
    316.9 KB · Views: 1
  • SAM_3573.JPG
    SAM_3573.JPG
    317.5 KB · Views: 1
  • SAM_3574.JPG
    SAM_3574.JPG
    310.8 KB · Views: 1
  • SAM_3594.JPG
    SAM_3594.JPG
    307.5 KB · Views: 1
  • SAM_3595.JPG
    SAM_3595.JPG
    313.1 KB · Views: 1
  • SAM_3596.JPG
    SAM_3596.JPG
    314.6 KB · Views: 1

gegcorp2012

Active member
Messages
492
Reaction score
69
Location
Alabama
Great looking upholstery work ! Good job.

BTW, what type of sewing machine are you using ?

I need to do some auto and boat covers this year.
Sent from my SM-J700T using Tapatalk
 

Functional Artist

Well-known member
Messages
5,629
Reaction score
3,264
Location
Toledo, Ohio
Great looking upholstery work ! Good job.

BTW, what type of sewing machine are you using ?

I need to do some auto and boat covers this year.
Sent from my SM-J700T using Tapatalk

Thanks! :thumbsup:

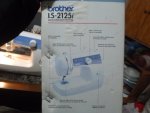
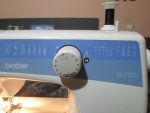
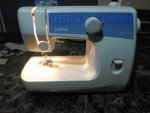
The sewing machine is a standard (household) unit from Wal-Mart made by Brother :cheers2:

I've done several go kart seats with it, works pretty good :2guns:
 

Attachments

  • SAM_3649.JPG
    SAM_3649.JPG
    316.1 KB · Views: 1
  • SAM_3648.JPG
    SAM_3648.JPG
    315.2 KB · Views: 0
  • SAM_3647.JPG
    SAM_3647.JPG
    309 KB · Views: 0

Functional Artist

Well-known member
Messages
5,629
Reaction score
3,264
Location
Toledo, Ohio
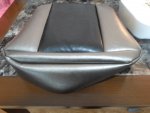
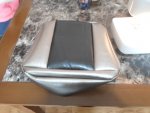
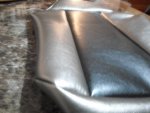
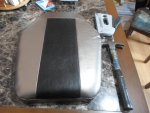
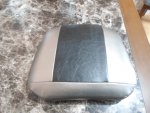
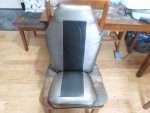
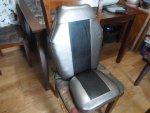
Here's our Astro-seat :thumbsup:
 

Attachments

  • SAM_3583.JPG
    SAM_3583.JPG
    309.6 KB · Views: 1
  • SAM_3584.JPG
    SAM_3584.JPG
    315.3 KB · Views: 2
  • SAM_3585.JPG
    SAM_3585.JPG
    313 KB · Views: 1
  • SAM_3586.JPG
    SAM_3586.JPG
    307.7 KB · Views: 1
  • SAM_3587.JPG
    SAM_3587.JPG
    317.7 KB · Views: 1

Functional Artist

Well-known member
Messages
5,629
Reaction score
3,264
Location
Toledo, Ohio
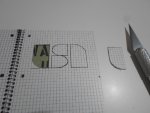
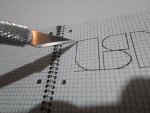
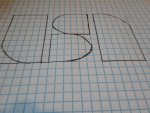
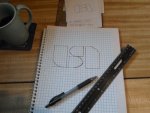
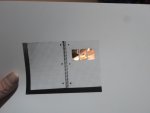
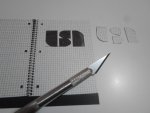
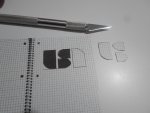
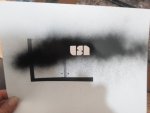
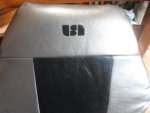
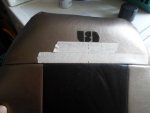
I wanted to add a quick "monogram" to the seat :thumbsup:

To do so, I copied the USA logo I drew up
…reduced 'er by ~60%
…& then, cut 'er out :cheers2:
 

Attachments

  • SAM_3656.JPG
    SAM_3656.JPG
    312.9 KB · Views: 0
  • SAM_3654.JPG
    SAM_3654.JPG
    319.6 KB · Views: 0
  • SAM_3650.JPG
    SAM_3650.JPG
    309.9 KB · Views: 0
  • SAM_2800.JPG
    SAM_2800.JPG
    319.6 KB · Views: 0
  • SAM_2799.JPG
    SAM_2799.JPG
    309.9 KB · Views: 0
  • SAM_3662.JPG
    SAM_3662.JPG
    301.8 KB · Views: 3
  • SAM_3659.JPG
    SAM_3659.JPG
    311.5 KB · Views: 0
  • SAM_3657.JPG
    SAM_3657.JPG
    306.2 KB · Views: 0

Functional Artist

Well-known member
Messages
5,629
Reaction score
3,264
Location
Toledo, Ohio
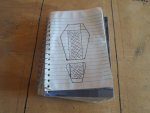
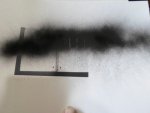
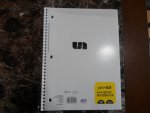
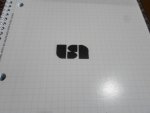
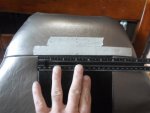
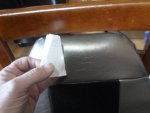
I tried the stencil out on the front of a notebook first :thumbsup:
...just one quick/steady spray
...came out pretty good :cheers2:

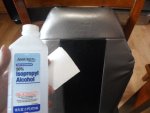
So, I used some alcohol. to clean the area
...used some masking tape. as a straight line
…& then, marked the center "spot" :cool:

Who knows how long it will last :huh:
...but, yup everyone will know that she's "Maiden the USA" :2guns:
 

Attachments

  • SAM_3671.JPG
    SAM_3671.JPG
    303.9 KB · Views: 0
  • SAM_3674.JPG
    SAM_3674.JPG
    301.4 KB · Views: 0
  • SAM_3676.JPG
    SAM_3676.JPG
    305.5 KB · Views: 0
  • SAM_3677.JPG
    SAM_3677.JPG
    287.1 KB · Views: 0
  • SAM_3663.JPG
    SAM_3663.JPG
    320.7 KB · Views: 0
  • SAM_3682.JPG
    SAM_3682.JPG
    312.5 KB · Views: 0
  • SAM_3681.JPG
    SAM_3681.JPG
    308.3 KB · Views: 1
  • SAM_3680.JPG
    SAM_3680.JPG
    299.7 KB · Views: 0
  • SAM_3670.JPG
    SAM_3670.JPG
    315.2 KB · Views: 1
  • SAM_3664.JPG
    SAM_3664.JPG
    311.4 KB · Views: 0

Functional Artist

Well-known member
Messages
5,629
Reaction score
3,264
Location
Toledo, Ohio
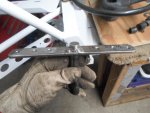
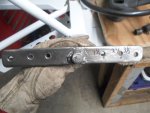
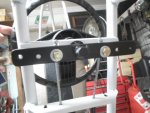
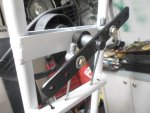
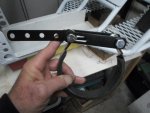
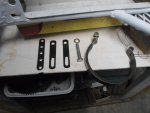
I drilled more "adjustment" holes in the "steering arm" (as per Sid's suggestion) :cheers2:
…& got some of the other, small parts cleaned up

Then, I threw a quick coat of primer & paint on 'em :thumbsup:

I "sprayed" everything a nice satin black
...then thought, the brake pedal arm & cable connectors would look kool chrome'd :2guns:
 

Attachments

  • SAM_3613.JPG
    SAM_3613.JPG
    317 KB · Views: 0
  • SAM_3611.JPG
    SAM_3611.JPG
    314.6 KB · Views: 0
  • SAM_3609.JPG
    SAM_3609.JPG
    324.7 KB · Views: 0
  • SAM_3604.JPG
    SAM_3604.JPG
    314.9 KB · Views: 0
  • SAM_3603.JPG
    SAM_3603.JPG
    316.7 KB · Views: 0
  • SAM_3619.JPG
    SAM_3619.JPG
    301.5 KB · Views: 0
  • SAM_3625.JPG
    SAM_3625.JPG
    313.9 KB · Views: 0
  • SAM_3633.JPG
    SAM_3633.JPG
    302 KB · Views: 0
  • SAM_3629.JPG
    SAM_3629.JPG
    306.6 KB · Views: 0
  • SAM_3632.JPG
    SAM_3632.JPG
    301.5 KB · Views: 0

Functional Artist

Well-known member
Messages
5,629
Reaction score
3,264
Location
Toledo, Ohio
I started re-assembly
...re-attached the "tail"
...re-installed the steering cables
...& the seat too :thumbsup:

* I'm gonna try the "inner" holes, in the steering cross-bar
...for a bit more "gear reduction" :cheers2:
 

Attachments

  • SAM_3752.JPG
    SAM_3752.JPG
    315.8 KB · Views: 0
  • SAM_3751.JPG
    SAM_3751.JPG
    315.3 KB · Views: 0
  • SAM_3747.JPG
    SAM_3747.JPG
    314.1 KB · Views: 0
  • SAM_3745.JPG
    SAM_3745.JPG
    318.3 KB · Views: 1
  • SAM_3744.JPG
    SAM_3744.JPG
    315.5 KB · Views: 1

Functional Artist

Well-known member
Messages
5,629
Reaction score
3,264
Location
Toledo, Ohio
I got the pedals re-mounted
…& reassembled the brake system :thumbsup:

She's about "ready to roll" :cheers2:
...just waitin' on the motors & controllers :toetap05:
 

Attachments

  • SAM_3760.JPG
    SAM_3760.JPG
    315 KB · Views: 0
  • SAM_3754.JPG
    SAM_3754.JPG
    317.9 KB · Views: 0
  • SAM_3757.JPG
    SAM_3757.JPG
    313.3 KB · Views: 0
  • SAM_3755.JPG
    SAM_3755.JPG
    318 KB · Views: 0
  • SAM_3756.JPG
    SAM_3756.JPG
    315.5 KB · Views: 0
  • SAM_3762.JPG
    SAM_3762.JPG
    319.5 KB · Views: 0
  • SAM_3763.JPG
    SAM_3763.JPG
    322 KB · Views: 0

Functional Artist

Well-known member
Messages
5,629
Reaction score
3,264
Location
Toledo, Ohio
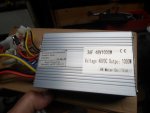
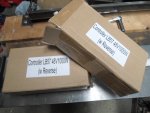
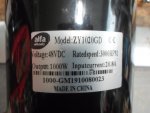
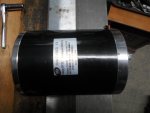
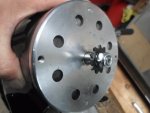
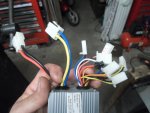
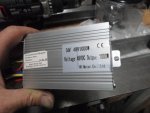
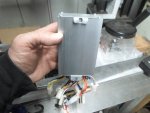
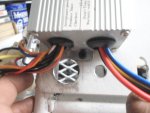
I finally, got the (2) 48V 1,000W ZY-1020 (brushed) motors
...& controllers, from my buddy Miguel @ Alfa Wheels :thumbsup:
* FYI: a ZY-1020 is IMO a "high quality clone" of the MY-1020 ;)

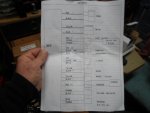
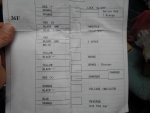
I love it, that their SO simple :wai:
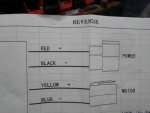
…& that they come with directions :rolleyes:
…& in English even :cornut:

The (4) "big" wires are for power in (from the batt thru red & black)
...& power out (to the motor(s) thru blue & yellow)

The "small" wires are for the signal switches (on/off, reverse etc.) :2guns:

** Now, Ima gonna have ta get 'er back down
...I kinda "sent" 'er to the Moon :lolgoku:
 

Attachments

  • SAM_4774.JPG
    SAM_4774.JPG
    315.4 KB · Views: 0
  • SAM_4780.JPG
    SAM_4780.JPG
    314.4 KB · Views: 0
  • SAM_4770.JPG
    SAM_4770.JPG
    308.5 KB · Views: 0
  • SAM_4769.JPG
    SAM_4769.JPG
    312.6 KB · Views: 0
  • SAM_4771.JPG
    SAM_4771.JPG
    306.6 KB · Views: 0
  • SAM_4781.JPG
    SAM_4781.JPG
    308.4 KB · Views: 0
  • SAM_4784.JPG
    SAM_4784.JPG
    302.1 KB · Views: 1
  • SAM_4783.JPG
    SAM_4783.JPG
    311.4 KB · Views: 1
  • SAM_4779.JPG
    SAM_4779.JPG
    320.2 KB · Views: 1
  • SAM_4782.JPG
    SAM_4782.JPG
    303.5 KB · Views: 0

Functional Artist

Well-known member
Messages
5,629
Reaction score
3,264
Location
Toledo, Ohio
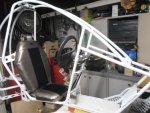
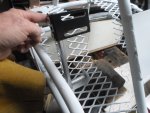
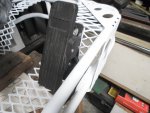
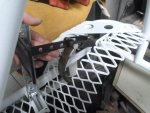
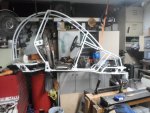
I suspended the Rover from the "rafters"
...'cause I needed my work bench for "bendin' stuff" :thumbsup:

So, I had ta lower 'er down a bit, to do some work on 'er
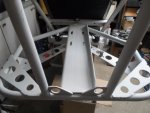
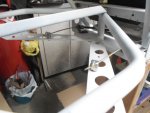
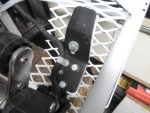
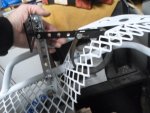
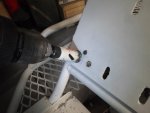
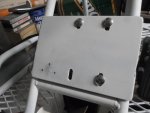
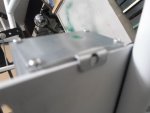
…added a "hook" for mounting the speed controller
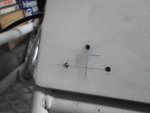
...& drilled some holes to "run" the wiring :cheers2:

* The "signal" wires will "run" thru the big hole
…& the motor's "power" wires will "run" thru the smaller hole :2guns:
 

Attachments

  • SAM_4741.JPG
    SAM_4741.JPG
    314.3 KB · Views: 1
  • SAM_4738.JPG
    SAM_4738.JPG
    304.9 KB · Views: 1
  • SAM_4737.JPG
    SAM_4737.JPG
    308.7 KB · Views: 1
  • SAM_4735.JPG
    SAM_4735.JPG
    318 KB · Views: 1
  • SAM_4734.JPG
    SAM_4734.JPG
    315.9 KB · Views: 1
  • SAM_4746.JPG
    SAM_4746.JPG
    302.7 KB · Views: 1
  • SAM_4749.JPG
    SAM_4749.JPG
    312 KB · Views: 1
  • SAM_4752.JPG
    SAM_4752.JPG
    312.7 KB · Views: 1
  • SAM_4754.JPG
    SAM_4754.JPG
    307.4 KB · Views: 2
  • SAM_4761.JPG
    SAM_4761.JPG
    317.2 KB · Views: 2
Top