The driven only really floated on a jack-shaft for MaxTorque Torque Converters, Comet Series 20 clutches did not do this, you're getting mixed up from that maintenance video from the website you posted a few weeks ago.
You're lining the driven clutch inboard based on expansion, try to line their centers up based on both clutches fully expanded during operation, I know this doesn't help all that much given I'm not letting you have the whole story but i'm slightly pressed on time.
Randy, you're doing a great job so far, read this regardng cleaning your drive clutch
here.
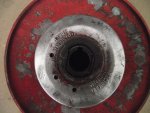
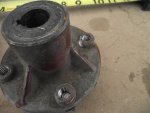
As far as the driven clutch goes you can spray the whole thing with cleaner over and over, we use brake cleaner mainly to remove debris, this assembly should be free of anything that inhibits motion.
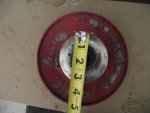
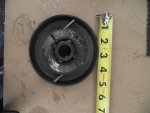
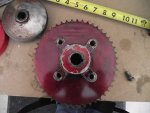
Your pictures of the driven clutch were very good but the angle I'm looking for is straight down the clutch like many you've shot but showing me the clutch's lobes of the aluminum cam against the buttons on the main portion of the clutch. If you can snap a few angles of that we'll better be able to tell you if this needs to be disassembled and rebuilt. I believe if you do need this fixed you can do it yourself given the right parts ordered online and you will not need to outsource this to a shop if you feel up to the task.
***Feel re-assured that I've only destroyed 1 Comet driven clutch's bushing during reassembly out of many, so if this does happen to you understand its something that happens, although this is not a part you can buy anywhere due to their bankruptcy.***
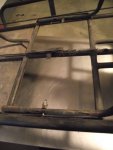
 Top View.JPG119.5 KB · Views: 25
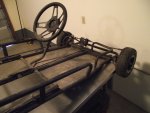
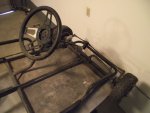
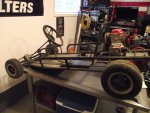 Right Side Full.JPG129.2 KB · Views: 27
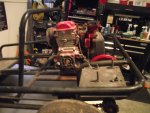
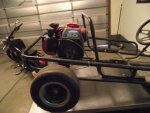 Right Side Engine.JPG122.9 KB · Views: 29
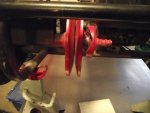 Comet TC unknown size.JPG128.5 KB · Views: 28
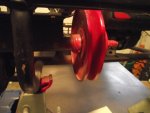 TC 2.JPG125.2 KB · Views: 19