KartFab
Active member
Download the PDF of Free Go Kart Plans Here
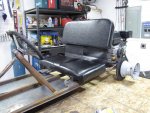
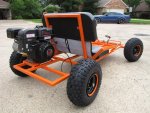
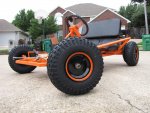
Herein I will be posting my progress on a go kart build that will show you step by step on how to build your own go kart from scratch. This wont be a pimped out kart, or something dangerously fast, rather, a simple two seater go kart that two tweens could ride in comfortably, or an adult and a child.
I plan on making this something that is geared towards helping anyone that really just wants to make a go kart, but doesn't know where to start. This will be a concise guide that will cover the following in the final video:
Since joining the forum here a while back, I have always liked helping people out with their questions that I felt I could answer. Having restored karts for years, and not finding much excellent, free content online on how to build one from scratch (even the plans I looked for are not free) I am going to give it a stab and would like some input as I go along. All videos I post will be considered drafts and I need any and all of your help in being critical of what parts need to be changed, removed, and improved upon. Final edited videos will be posted with photographs of the finished kart on June 1st, 2015.
So without further ado, here is my build guide for a simple two seat go kart. I will also make detailed, free, PDF plans of the go kart that I will post on my website on June 1st as well. My hope is that it will help someone out there that wants to make one too!
Herein I will be posting my progress on a go kart build that will show you step by step on how to build your own go kart from scratch. This wont be a pimped out kart, or something dangerously fast, rather, a simple two seater go kart that two tweens could ride in comfortably, or an adult and a child.
I plan on making this something that is geared towards helping anyone that really just wants to make a go kart, but doesn't know where to start. This will be a concise guide that will cover the following in the final video:
- Introduction to Go Karts
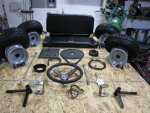
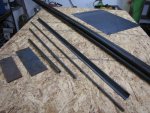
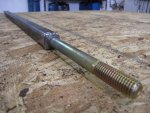
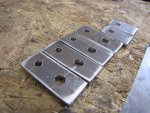
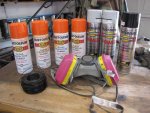
- Tools, Steel, Go Kart Parts Kit
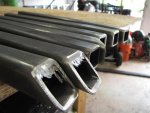
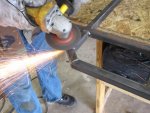
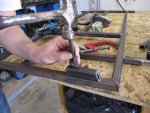
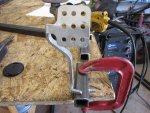
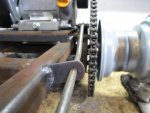
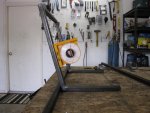
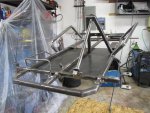
- Measuring and Cutting The Steel
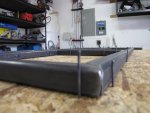
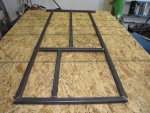
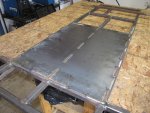
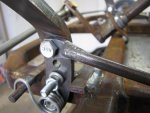
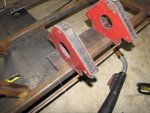
- Frame Alignment and Fitment
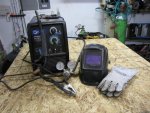
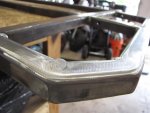
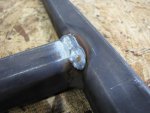
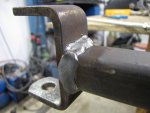
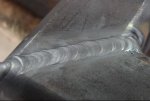
- Tack Welding the Frame Together
- Final Welding and Frame Fabrication
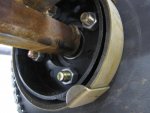
- Test Fitting of Go Kart Parts Kit
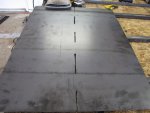
- Metal Preparation Prior to Paint
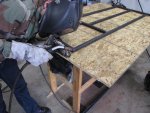
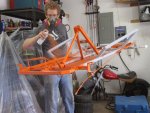
- Painting the Kart
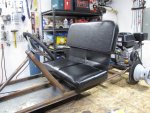
- Assembly of Parts to Frame
- Showing the Final Project Off
Since joining the forum here a while back, I have always liked helping people out with their questions that I felt I could answer. Having restored karts for years, and not finding much excellent, free content online on how to build one from scratch (even the plans I looked for are not free) I am going to give it a stab and would like some input as I go along. All videos I post will be considered drafts and I need any and all of your help in being critical of what parts need to be changed, removed, and improved upon. Final edited videos will be posted with photographs of the finished kart on June 1st, 2015.
So without further ado, here is my build guide for a simple two seat go kart. I will also make detailed, free, PDF plans of the go kart that I will post on my website on June 1st as well. My hope is that it will help someone out there that wants to make one too!
Attachments
-
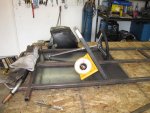
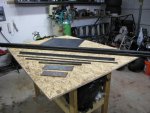 go kart steel frame materials.jpg108.9 KB · Views: 72
 -
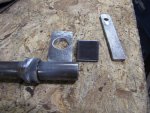
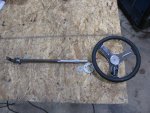
 go kart parts kit.jpg142 KB · Views: 77
 -
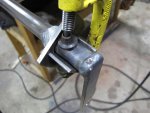
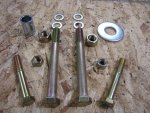 go kart hardware.jpg141.6 KB · Views: 55

")