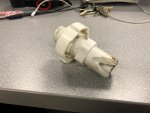
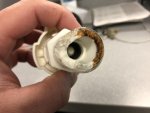
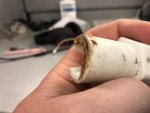
correct, the crappy valve that comes with the heater will clog, so this article suggests you replace it the way I did
https://www.familyhandyman.com/plumbing/water-heater/how-to-flush-a-water-heater/
http://www.popularmechanics.com/home/how-to/a1498/4213452/
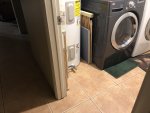
as for my straight out valve and leaving the handle on, I was going to remove it but my heater is recessed by a wall and the washing machine, so I left it on
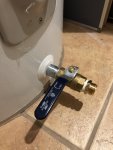
now, as for the first tank I flushed at the old house, the tank actually drained through the crappy valve, I was able to remove the valve and replace with a slightly better one
however on the new house, I left the factory valve open all day while I was at work with a garden hose draining to the yard, I thought the tank was empty, I attempted to remove the factory valve and it snapped, the heater was basically full of water still and it flooded my laundry room and hallways, I was pretty mad at my self
I could've built the vacuum adapter BUT the TPR valve was soldered to the plumbing, I was unable to remove it without sweating or cutting pipes
in hind sight I realize how I could've easily drained the tank with minimal water on the floor and this is why I wanted to share this with all of you
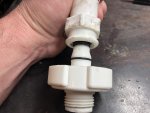
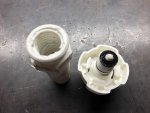
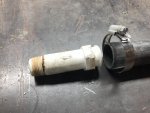
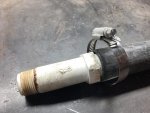
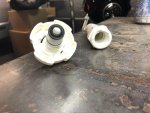
the crappy drain will clog when you attempt to drain, have your garden hose, 2 pipe clamps, and a short length of hose (<1') that will fit around the brass fittings on your garden hose and secure it to the hose with one pipe clamp, have the other pipe clamp loosely around the short length of hose- now continue to "open" the clogged valve, you'll separate the 2 halves and when you do water will start flowing despite the sediment, quickly place the short length of hose around the half of valve and secure with the pipe clamp, you'll be amazed at the crap that comes out, then you can install the brass valve
I will post a picture soon of the factory valve halves so you understand more easily


 IMG_4833.jpg251.2 KB · Views: 5