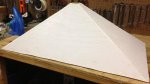
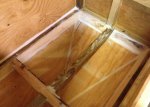
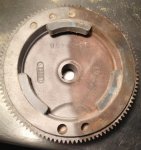
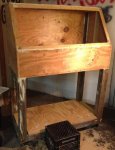
Fast forward a few steps - I forgot to take in-between pictures.

I had a gallon of some cool looking "fire engine" (I don't know the actual name of this color) paint and thought the cabinet would look way cooler this way in my workshop - after all, one could consider this furniture for my shop!
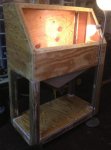
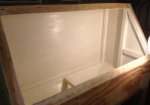
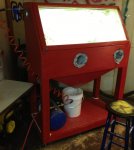
Picture #1 shows the window/door and gloves installed. I made the window/door out of 2x2s that I cut on various angles to create a beveled edge. I then cut a seam on the inside with my table saw for the plexiglass to fit into the frame. I used foam strips, the kind you buy for doors to seal out draftiness, on all four sides underneath the frame to seal it. The gloves I had bought a while back (don't remember the website, although I think they're available at HF). I used a 5" hole saw bit to cut the access holes, and stapled them in for now - I am going to either build a ring for mounting/sealing them or buy a glove "mounting" kit.
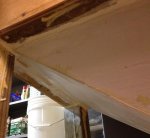
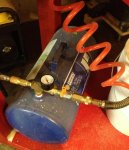
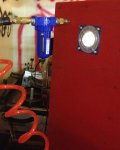
Picture #2 you can see the air inlet connection with an air dryer/moisture remover hooked up - this is crucial for sandblasting as you need VERY dry air for your gun to work. I will install a more permanent mounting for the air dryer at a later point, as hanging like it is now isn't very stable and makes the connections prone to leak air.
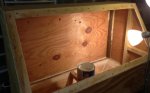
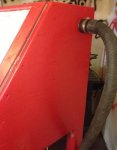
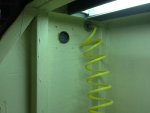
Picture #3 you can see the shop vacuum connection - this is also crucial to the operation of the sandblasting cabinet as it serves two purposes - to help remove fine dust inside the cabinet for visibility, and to create a vacuum inside the cabinet so that dust isn't released into your workspace. In picture #2 you can see an air inlet hole I drilled - before this hole was made the vacuum inside the cabinet was so strong the plexiglass window was bowing in so much I thought it was going to crack! If you build your own cabinet, you'll have to experiment with finding the best air in/air out mixture for you. I put a PC fan vent cover over the hole.
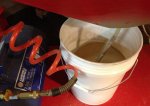
Picture #4 shows the bucket of sand underneath the funnel with the siphon and hose going up to the inside of the cabinet. This setup works for now, although I will be buying a pressure pot later on that will greatly improve the efficiency of my sandblasting.
Picture #5 shows an extra air tank I have that has a T connection; the right side goes to the air dryer and then into the cabinet to the gun, the left side is receiving air from my air compressor with the big tank. There is a pressure gauge and cutoff valve installed on the connection to monitor the pressure while I'm working and cut off air to the gun when I'm done.
 IMG_3659.jpg87.7 KB · Views: 13
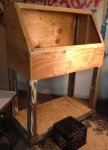 IMG_3660.jpg81.7 KB · Views: 10