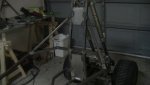
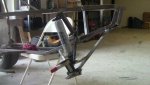
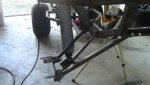
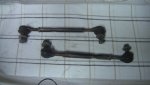
Build Off Entry: Dirt Devil Quadrunner

Status
Not open for further replies.

brandongeiger2

New member
Messages
584
Reaction score
0
Location
Valrico Florida
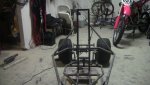
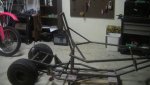
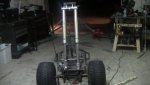
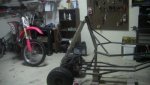
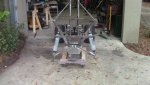
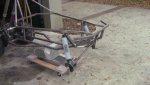
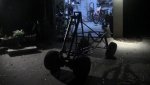
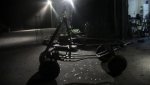
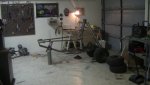
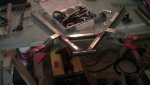
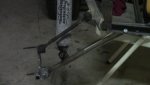
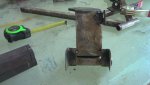
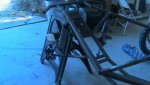
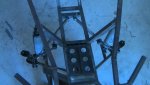
What i got done today:
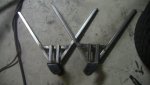
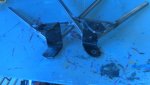
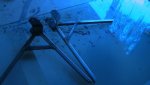
-Started A-Arms(going with the single a-arm setup for now :( i don't have the money or materials to build the tops at the moment)
-Finished some welds
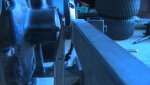
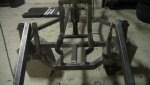
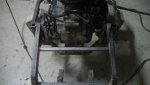
-Made the other supports for the swingarm mounts(first and last pictures)

Haven't felt really good all day so got a late start
 

Attachments

  • IMG_0164.jpg
    IMG_0164.jpg
    58 KB · Views: 24
  • IMG_0165.jpg
    IMG_0165.jpg
    49.7 KB · Views: 26
  • IMG_0166.jpg
    IMG_0166.jpg
    62.7 KB · Views: 35
brandongeiger2

New member
Messages
584
Reaction score
0
Location
Valrico Florida
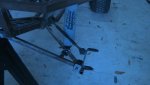
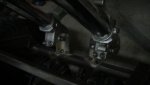
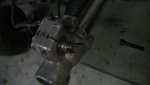
So today I made the shock mounts for the a-arms tacked the spindle brackets on and made an extra support for the swing arm sorry for the blue tint in some of the pictures
 

Attachments

  • IMG_0172.jpg
    IMG_0172.jpg
    55 KB · Views: 32
  • IMG_0171.jpg
    IMG_0171.jpg
    58.9 KB · Views: 35
  • IMG_0170.jpg
    IMG_0170.jpg
    57.3 KB · Views: 32
  • IMG_0169.jpg
    IMG_0169.jpg
    50.6 KB · Views: 29
  • IMG_0168.jpg
    IMG_0168.jpg
    54.2 KB · Views: 32

brandongeiger2

New member
Messages
584
Reaction score
0
Location
Valrico Florida
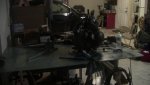
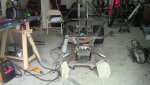
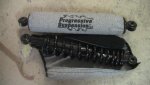
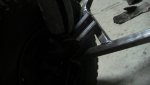
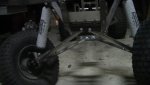
All right guys here's another few pictures and another rear shock mockup, today i finished the rear shock tower and as of now i don't have enough steel to keep going. So ill save up and start again in a few days, weeks, who knows maybe my parents will help me out a little...I hope haha

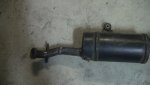
I didn't post yesterday but i managed to cut and re-weld the exhaust to keep it out of the way

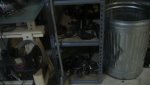
The last two pictures are of the materials i have left but i also have half the frame of the quad still laying around(don't mind my moms beetle in the background...please) :roflol:
 

Attachments

  • IMG_0176.jpg
    IMG_0176.jpg
    53.3 KB · Views: 35
  • IMG_0174.jpg
    IMG_0174.jpg
    70.5 KB · Views: 50
  • IMG_0173.jpg
    IMG_0173.jpg
    66.6 KB · Views: 55
  • IMG_0181.jpg
    IMG_0181.jpg
    56.9 KB · Views: 52
  • IMG_0180.jpg
    IMG_0180.jpg
    63.8 KB · Views: 57
  • IMG_0175.jpg
    IMG_0175.jpg
    53.8 KB · Views: 42
  • IMG_0179.jpg
    IMG_0179.jpg
    49.1 KB · Views: 35
brandongeiger2

New member
Messages
584
Reaction score
0
Location
Valrico Florida
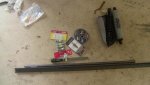
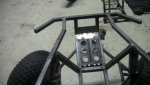
Today i finally got my shocks and went out and got some other stuff
-4ft angle 1/8"
-3ft 3/4'' tubing
-bolts to mount the a-arms
-a few drill bits
-half round file
-20 cutoff discs
I got everything put together and found out the camber angle was way off so im going to have to figure out how to fix it (i guess ill just drop the pivot point for the a-arms that may work)
 

Attachments

  • IMG_0186.jpg
    IMG_0186.jpg
    82.6 KB · Views: 41
  • IMG_0185.jpg
    IMG_0185.jpg
    85.9 KB · Views: 38
  • IMG_0184.jpg
    IMG_0184.jpg
    78.5 KB · Views: 34
  • IMG_0183.jpg
    IMG_0183.jpg
    61.9 KB · Views: 24
  • IMG_0182.jpg
    IMG_0182.jpg
    66 KB · Views: 35
  • IMG_0191.jpg
    IMG_0191.jpg
    38.2 KB · Views: 36
  • IMG_0190.jpg
    IMG_0190.jpg
    53.6 KB · Views: 39
  • IMG_0189.jpg
    IMG_0189.jpg
    48.1 KB · Views: 40
  • IMG_0188.jpg
    IMG_0188.jpg
    34.7 KB · Views: 52
  • IMG_0187.jpg
    IMG_0187.jpg
    41.6 KB · Views: 34

brandongeiger2

New member
Messages
584
Reaction score
0
Location
Valrico Florida
One of the above pictures is of my little idea for a bearing press...worked really well haha i spent about an hour to bore out one of the holes on the bottom of the fork legs to put bearings in. Also I made a floor pan(partially done) here are some more pictures
 

Attachments

  • IMG_0192.jpg
    IMG_0192.jpg
    40.3 KB · Views: 15
  • IMG_0193.jpg
    IMG_0193.jpg
    51.3 KB · Views: 31
  • IMG_0194.jpg
    IMG_0194.jpg
    66.5 KB · Views: 26

theo

New member
Messages
872
Reaction score
1
You have to much pos. camber. You need to set the front suspension so that with you in it the tire should be 90 deg. (or close to it) to the ground. Why don't you put dual a arms on it, it will cost more but will work better.
 

brandongeiger2

New member
Messages
584
Reaction score
0
Location
Valrico Florida
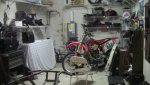
Okay guys so im not gonna try and write a book for this post(because most of the time it seems like thats what i do...just like to elaborate:roflol:) anyways i cleaned up the shop moved some stuff around and decided to try and get as much done on building some a-arms...im going to use an a-arm at the bottom and a single adjustable control arm on top
Good thing i only tacked the a-arms together since i tore them apart today
here are some pictures
 

Attachments

  • IMG_0199.jpg
    IMG_0199.jpg
    80.6 KB · Views: 43
  • IMG_0198.jpg
    IMG_0198.jpg
    58.9 KB · Views: 51
  • IMG_0197.jpg
    IMG_0197.jpg
    56.9 KB · Views: 35
  • IMG_0196.jpg
    IMG_0196.jpg
    50.9 KB · Views: 46

brandongeiger2

New member
Messages
584
Reaction score
0
Location
Valrico Florida
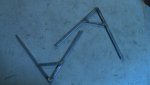
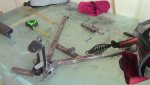
Today i thought about the control arm idea and decided id give it a go ... this is a mock up with parts i had on hand its just the basic idea, if it works well ill be using some angle, 3/4" tube and heim joints. Thoughts?
 

Attachments

  • IMG_0201.jpg
    IMG_0201.jpg
    69.3 KB · Views: 42
  • IMG_0200.jpg
    IMG_0200.jpg
    71.5 KB · Views: 50
brandongeiger2

New member
Messages
584
Reaction score
0
Location
Valrico Florida
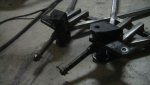
Hey guys well i decided to go ahead and use the tie rods i have because they work perfectly here's the finished product...of one side
 

Attachments

  • IMG_0202.jpg
    IMG_0202.jpg
    50.2 KB · Views: 23
  • IMG_0203.jpg
    IMG_0203.jpg
    47 KB · Views: 54

kaymo

New member
Messages
123
Reaction score
0
Location
hickory nc
looking good. i too like the use of forks and bearing in the axle hole. was reading about your welding stuff... looks like you did get that straightened but if you cant turn the heat up, (i know what you mean about not enough settings) you can turn your wire feed speed down, and work your weld pool a little longer to increase your heat. (and penetration)
 

brandongeiger2

New member
Messages
584
Reaction score
0
Location
Valrico Florida
looking good. i too like the use of forks and bearing in the axle hole. was reading about your welding stuff... looks like you did get that straightened but if you cant turn the heat up, (i know what you mean about not enough settings) you can turn your wire feed speed down, and work your weld pool a little longer to increase your heat. (and penetration)

Yup thats what i figured just turned down the feed worked real well thanks
 

brandongeiger2

New member
Messages
584
Reaction score
0
Location
Valrico Florida
Okay guys ive been thinking... and i don't know how much i really like the rear swingarm it just looks...well kinda tacky but im not really interested in changing it what does everyone else think??? its solid but i just don't like it haha
 

brandongeiger2

New member
Messages
584
Reaction score
0
Location
Valrico Florida
Okay guys i know its been a while but i got a little done today so far just got the other steering knuckle together later on im probably going out and buying some more hardware and am going to finish the welds on the knuckles/shock mounts next up is the steering column and tie rods
 

Attachments

  • IMG_0204.jpg
    IMG_0204.jpg
    64.1 KB · Views: 18
  • IMG_0205.jpg
    IMG_0205.jpg
    68.5 KB · Views: 22
  • IMG_0206.jpg
    IMG_0206.jpg
    54.3 KB · Views: 23
  • IMG_0207.jpg
    IMG_0207.jpg
    72.3 KB · Views: 26
  • IMG_0208.jpg
    IMG_0208.jpg
    63.3 KB · Views: 22
Status
Not open for further replies.
Top