24v Jeep/Gokart - 1" Live Axle and Brushless Motor

EpsilonZero

...still cheaper than a boat!
Messages
395
Reaction score
182
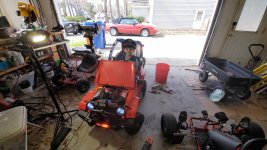
Here's my latest project. This Jeep has been around since about 2018 and has gone through a bunch of revisions. I finally built a rear sub-frame with a 1" custom axle and switched over to a brushless setup.

I am using a 24v 30A brushless controller and a 48v 1800w brushless motor. Two 12v23Ah Dakota Lithium batteries provide power.

Here is my first test ride...


And my son's first test ride after I actually added a brake.

.

Here are some pictures.

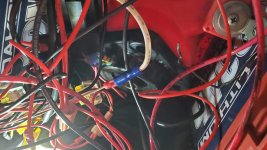
Finished under the hood (minus the e-brake, here). A bit of a rat's nest in the middle at this point with a 24v-12v buck converter that handles the extra lights and original electronics. A strategically placed relay allows the use of the original power switch and all other 12v electronics while running 24v to the controller without having to change any switches.
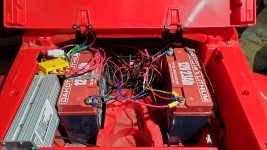
20220122_014905.jpg


About to line up the sprockets... 10 and 53 tooth #35.
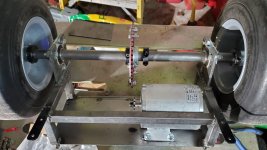
20220121_195524.jpg

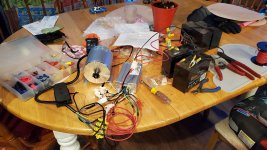
Bench testing...

1642896929176.jpeg

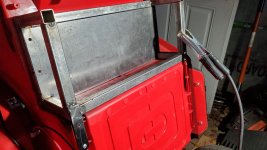
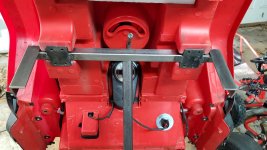
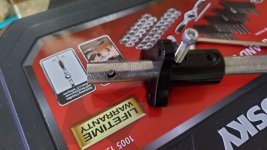
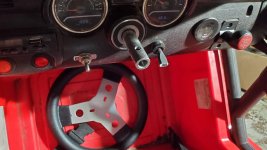
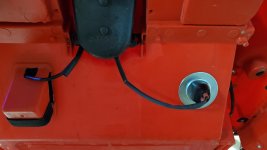
Top view of the new hall effect throttle and the e-brake switch.
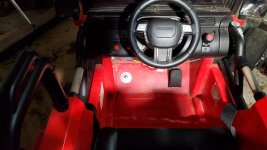
20220122_174946.jpg

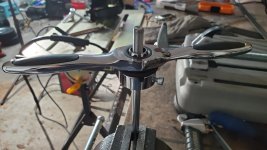
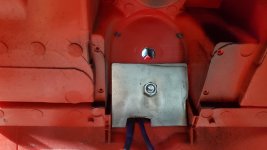
Bottom view of the new hall effect throttle and the e-brake switch.
20220122_175140.jpg

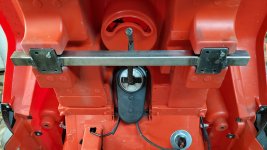
Building the rear sub-frame...

20211229_202409.jpg

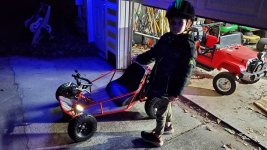
Bonus shot of the 36v Dune Buggy...

20220119_195852.jpg
 
Last edited:

EpsilonZero

...still cheaper than a boat!
Messages
395
Reaction score
182
I made some more updates to the Jeep. I built a new steel front sub-frame with regular kart spindles and tie-rods and then connected the front and back sub-frames into a uni-body. Also, I swapped out the steel wheels for lighter azusalite nylon wheels (dropped over 17lbs). There were still issues with the live axle pushing too much, so I added some weight under the hood and now it is good to go.

Building the front sub-frame...
20220131_152856.jpg

Spindle mounts too short on their own... angle iron mount points for the spindle mounts...
20220131_155041.jpg
Spindle mounts tacked in...
20220131_162410.jpg

Shortening and extending the threads on the tie rods...
20220131_171855.jpg

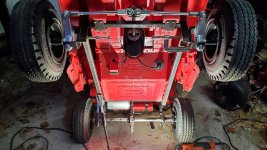
Front sub-frame painted and installed. The steering geometry was bad, so I changed it after this.
20220201_144044(1).jpg

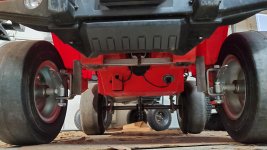
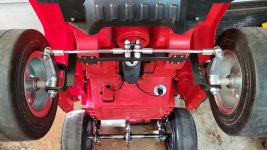
Joining the sub-frames. Final tie-rod mounts visible here. Also note the wheel and tire changes.
20220206_165400.jpg

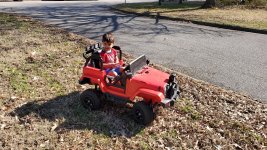
The little one driving...
20220212_105737.jpg

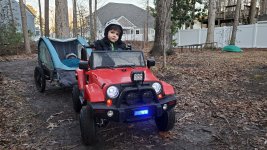
The bigger one driving the little one...
20220205_171745.jpg

The biggest one driving the little one...
 

EpsilonZero

...still cheaper than a boat!
Messages
395
Reaction score
182
Maybe return the Asuzalites that are on the front ($$$) and go back to the old steels to get the weight?
Nah... I ordered some steel shot to add weight instead of the scrap iron, iron plates, and other stuff I had lying around. I like the wheels to match and the lighter wheels handle a little better. I will probably swap out the original wheel for a kart wheel at some point, but I don't like that they are a minimum of 10" diameter.
 

madprofessor

"Loose Cannon Creations"
Messages
2,899
Reaction score
888
Location
Jacksonville, Florida
steel shot to add weight
Are you a scuba diver? I used shot bags exclusively (various weights) in a zippered compartments weight belt for differing dives. Melted down the solid lead weights I sort of inherited, and molded and put that in the shoulder straps of my BCD for easier inversion when yanking lobsters out of their holes. They roommate with green morays, and you only need a single 6-footer taking your mask off to try some other way.
 

EpsilonZero

...still cheaper than a boat!
Messages
395
Reaction score
182
Are you a scuba diver? I used shot bags exclusively (various weights) in a zippered compartments weight belt for differing dives. Melted down the solid lead weights I sort of inherited, and molded and put that in the shoulder straps of my BCD for easier inversion when yanking lobsters out of their holes. They roommate with green morays, and you only need a single 6-footer taking your mask off to try some other way.
I used to dive off of Okinawa, but it has been over 20 years. I sold off all my gear when I left the island.
 

EpsilonZero

...still cheaper than a boat!
Messages
395
Reaction score
182
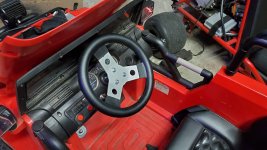
I decided to get rid of the original steering wheel and plastic components. Now there is a 5/8" steering shaft guided by two bearings with a small steering wheel. The steering is perfectly solid now.

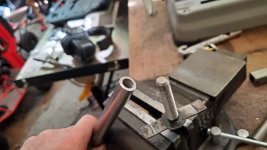
The modifications to the steering were done based on the original shaft position, so there was an incentive to keep at least the lower part with the bends. So, I cut the original shaft and threaded it to fit since they couldn't be press fit together; it seemed the easiest way. A weld actually keeps the shafts together rather than the threads.

20220228_154903.jpg

The round stock I got was 5/8" OD and of course the bearings were 5/8" ID, so I ground down the shaft so it could slip fit through the bearings. I don't have a lathe.
20220228_173300(1).jpg

The lower bearing block is held by a bolt through this fitted plate I made and by the shaft itself.
20220228_180338(1).jpg

Here is the lower pillow block before I started cleaning up the wiring...
20220228_180344.jpg

The upper bearing press fit perfectly where the old plastic assembly was for the original steering wheel.
20220228_180351(1).jpg

The shaft fitted into place...
20220228_181724(1).jpg

Steering assembly compete!
20220228_195652(1).jpg

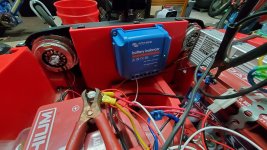
Added a battery balancer since I got a second battery to bring the Jeep to 24v.
20220309_141844.jpg

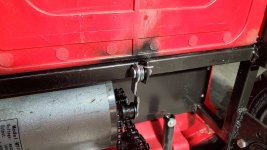
I tried out adding a chain tensioner using a $7 Razor scooter tensioner, but the metal roller was too noisy and wasn't really necessary anyway.
20220309_190600.jpg

All done, plus upgraded the emergency lighting too. Note the 25lb steel shot ballast in the front to assist steering.
20220314_152039.jpg

And, driving...
 
Top