OzFab
Well-known member
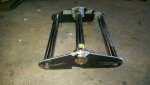
I'm actually glad the build-off has started so early, I've been itching to cut into this thing for weeks... now I can 
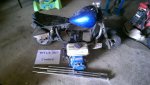
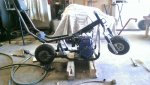
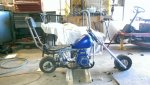
Below is the required pic of the parts pile with the sign...
Below is the required pic of the parts pile with the sign...
Attachments
-
 IMAG1482.jpg252.9 KB · Views: 37
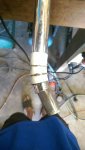
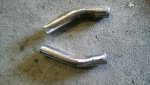

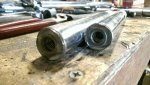
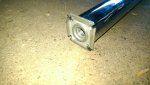
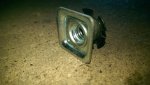
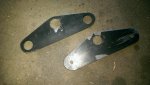


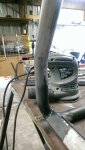


 & it's 5.2mm thick (1/4" = 6.4mm)...
![IMAG1627[1].jpg](/community/data/attachments/80/80226-7323a6bfc649d43fbf185c0e3aeca58e.jpg)
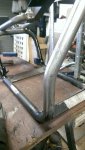
![IMAG1628[1].jpg](/community/data/attachments/80/80227-d191a445f677b6c65a058ae817c6d8a4.jpg)