exenos
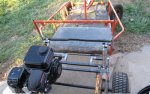
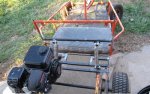
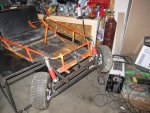
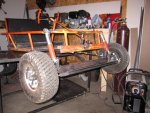
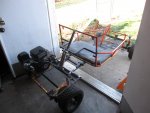
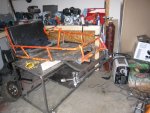
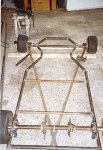
Project Nut
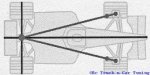
I cant quite tell, did you use akerman in those spindles?
I cant quite tell, did you use akerman in those spindles?
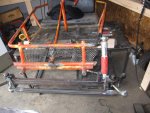
That's a cool, unique front design. I begin to like it.
Does it work well?
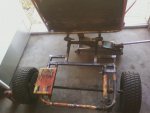
Front end is done, unless it breaks.
I'll need to read up on Akerman before I can try it.

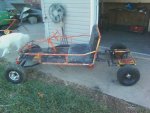
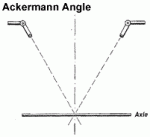
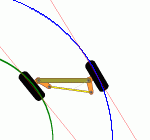
with the super long wheel-base he has, the extra steering angle will come in handy. if the kart was considerably shorter, the sharp steering angle could be a hazard, but i don't think it'll be an issue.
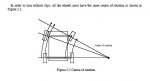
ackermann is simple. you want your steering arms to point towards the center of your rear axle. that makes the inside tire of a turn follow a smaller circle than the outside tire, so that niether tire "drags" when turning, making steering much more efficient.

")