mysteryboy28
New member
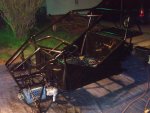
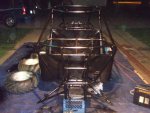
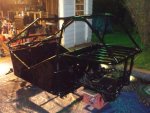
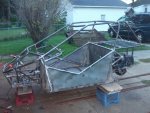
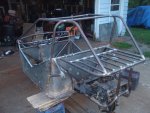
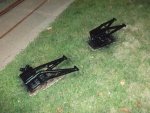
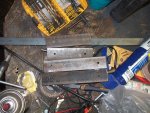
managed to take both buggies out on the golf course today with my brother. mike's buggy did awesome. however, note to self: tack-welding the tierods in place is not sufficient for off-road testing. lol. luckily the trip home was mostly left turns, and the right wheel was pretty compliant about following the left wheel for the rest of the trip. lol.
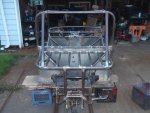
so eager to finish this up. my brain says "do it!" my body says "go lay down before you pass out". lol. i see productivity in my near future!
so eager to finish this up. my brain says "do it!" my body says "go lay down before you pass out". lol. i see productivity in my near future!


")