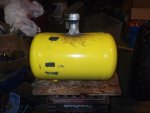
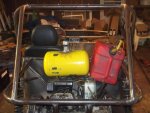
One other thing to note-your gas tank is sitting directly above the exhaust. While it may not be a problem when moving, if you are stopped, & idling, the heat from the exhaust is going to heat up the fuel pretty quickly. Hot fuel is not a good idea as you will lose more due to evaporation, and heated fuel can mess with your air/fuel ratios through a carb.
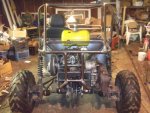
there is a nice big air intake under the right side of the tank, with a fan sucking air in at all times to keep the motor cool when the motor is running. i think this will allow plenty of ventilation to remove hot air from under the tank. kinda thinking i'm gonna bore out some vent holes behind the seat for fresh air to get through. yeah, i think i'll do that. lol.
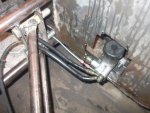
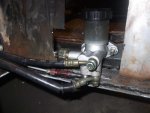
meanwhile, found a nice 1/2" to 1/4" adapter for the tank at Lowe's, bypassing the need for a 3/8" to 1/4" adapter. much thicker wall adapter, so no flexing or cracking. threw some sealer on it, cranked it down (not too tight), and 2 hours and quick test drive later - bone dry! motor has some real power to it, but the chain is slipping. will try a half-link toninght, and it that doesn't work then i'll fab up a chain tensioner.
just bought a bunch of wire to connect up the lights and switches. that's my project for tonight. will have active brake light (pressure sensor in the master cylinder), and a nice bright pair of 55 watt headlights! when the lights are turned on the brake light will also illuminate (like a car, dim for parking lights, bright for brake light).
")