
 |
Fig. 1 |
 |
Fig. 2 |
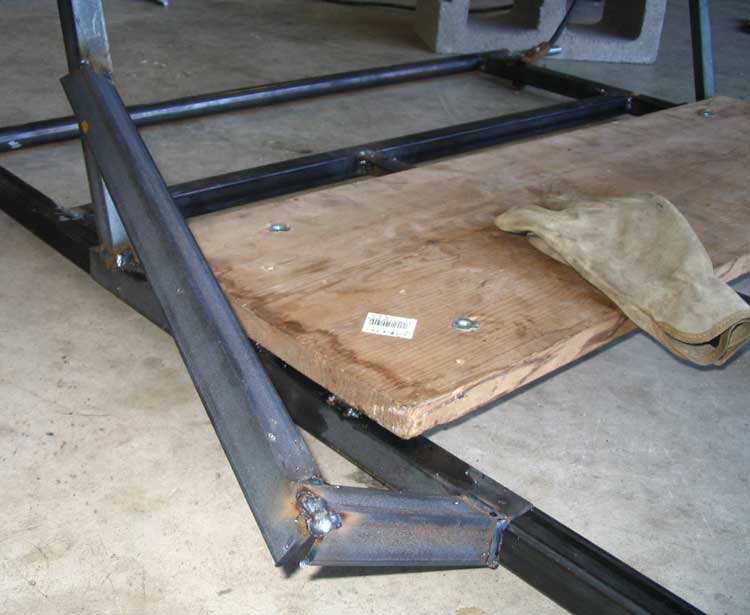 |
Fig. 3 |
 |
Fig. 4 |
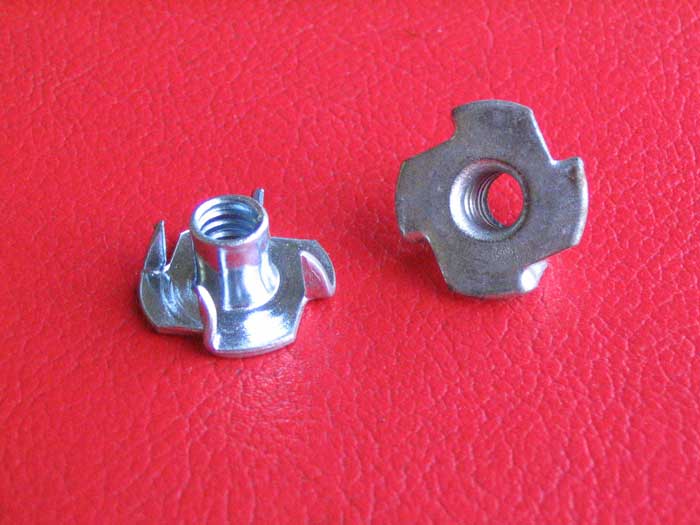 |
Fig. 5 |
Sit Down!
Go Kart Seat Design
Adjustable Seat
This design is for a seat that will move forward and back, allowing both young and old to ride the kart in comfort.
The idea is that the seat will be framed separately from the kart, and then attached to the frame railings with either bolts or pins
The basic idea is to build a bench seat that will slide along the frame rail in some way. This design uses angle that rests on top of the frame rail.
Frame
First you'll design you seat framing. Fig. 1 shows the basic completed frame. It's up to you to decide at what angle you'll want the backrest, and the width will obviously be dictated by the kart frame.
Fig. 2 shows the underside of the frame. The angle iron was measured to provide 1/8 spacing on either side of the frame. So for a 40" wide kart, our seat frame would be 40 1/4" from the inside to inside.
The two pieces of angle are connected with 3/4" x 1/8" flat stock, which is then bolted to the bottom of the seat pan.
The seat angles back at 15 degrees. The side rails were made from angle, which was filled in and ground at the corner shown (Fig. 3).
After you're done making the basic frame, you can frame out the seat area. Plywood or boards make fine seat pans. Cut the wood to size, and round the edges with a sander for comfort.
Attach the Cushions
Special nuts make seat attaching easier. They are made to be pounded into wood, and then used with normal bolts. This allows you to attach the seat without cutting into the upholstery on the front side. See fig. 5.
Upholstery
Fabric stores sell foam and vinyl for the upholstery, but you should wait until you're done welding on the frame before putting the finished seat in. Until then, install the boards in their positions so that you can sit in the kart as you continue building.
Finishing Up
When completed, the seat is installed on to the kart frame.
Now you'll mark at least two positions you'd like the seat to be adjustable to. Drill through the seat frame and kart frame to make your securing holes.
The seat will be secured to the frame with heavy-duty cotter pins or bolts. Consider that this design is drilling through the frame, and that will weaken your frame. If you've compromised your frame's strength, you'll need to strengthen it with additional support.
You'll note that this design doesn't use any rollers. When adjusted carelessly this may tear the paint up, so we unbolt it, pick it up, and set it down at the other adjustment. We've used a really tough "grippy" paint on it, too, and that's helped.