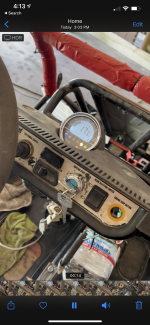
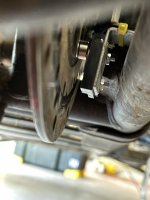
The question is "is the speed sensor close enough?"

Since you don't have brakes, you can't safely test drive it


...I got it, do you have a 8ft pc of metal tubing that you can put a chain or heavy rope through?
If so attach one end of chain to frame or trailer ball of a "pull" vehicle.
Pull tube up to "pull" vehicle frame or ball tightly, and attach other end of chain to front of gokart frame.
This will allow you to be pulled to test speed sensor, BUT you won't hit pull vehicle because you don't have brakes. The pipe will act as a brake....ugh...kinda.
Disclaimer: even with safety equipment, this is a really bad idea, you have a 99.99999% chance of atleast an ER visit.
Good luck buddy


 works.