Functional Artist
Well-known member
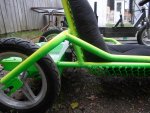
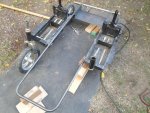
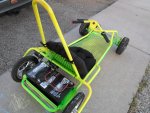
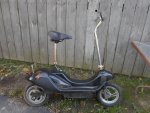
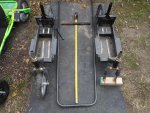
This kart will run on dual 36V 500W DC motors. 
NO steering wheel, handle bars or rudder of any kind.
Individual (left & right) hand controls for steering, acceleration & braking.
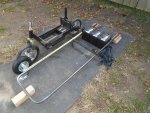
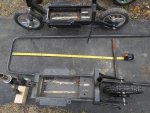
Chancer is worried that the battery's for this cart are gonna be heavy.
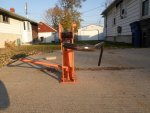
So lets try to mitigate that by putting them right behind but, really close to our imaginary rear axle.
I'm thinkin, the rear wheels should be right next to the seat with the battery's in a row right behind the seat.
...to kinda off set / balance the weight of the driver
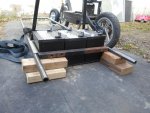
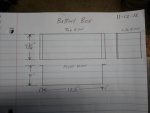
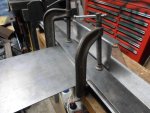
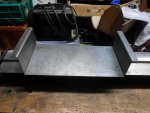
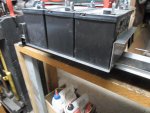
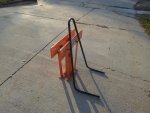
So, lets start with the battery box.
I am gonna use the HF Universal Solar 12V 35 Amp Hour battery like I used on El Dingo.
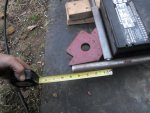
They are 5 1/8" x 7 5/8"
If we run (3) sideways, we will need a 15 1/2" wide by 7 5/8" long battery box probably ~3 1/2" deep with ~1" tabs for mounting.
https://www.youtube.com/watch?v=vToWliZEubo&t=20s
NO steering wheel, handle bars or rudder of any kind.
Individual (left & right) hand controls for steering, acceleration & braking.
Chancer is worried that the battery's for this cart are gonna be heavy.
So lets try to mitigate that by putting them right behind but, really close to our imaginary rear axle.
I'm thinkin, the rear wheels should be right next to the seat with the battery's in a row right behind the seat.
...to kinda off set / balance the weight of the driver
So, lets start with the battery box.
I am gonna use the HF Universal Solar 12V 35 Amp Hour battery like I used on El Dingo.
They are 5 1/8" x 7 5/8"
If we run (3) sideways, we will need a 15 1/2" wide by 7 5/8" long battery box probably ~3 1/2" deep with ~1" tabs for mounting.
https://www.youtube.com/watch?v=vToWliZEubo&t=20s
Attachments
-
 SAM_1961.jpg132.9 KB · Views: 11
 -
 SAM_1967.jpg149 KB · Views: 9
 -
 SAM_1979.jpg269.9 KB · Views: 10
 -
 SAM_1986.jpg255 KB · Views: 9
 -
 SAM_1984.jpg270.7 KB · Views: 12
Last edited:


 , that's why there's green paint all over my tool boxes in some of my pics.


 they should work.