
 |
Fig. 1 |
 |
Fig. 2 |
 |
Fig. 3 |
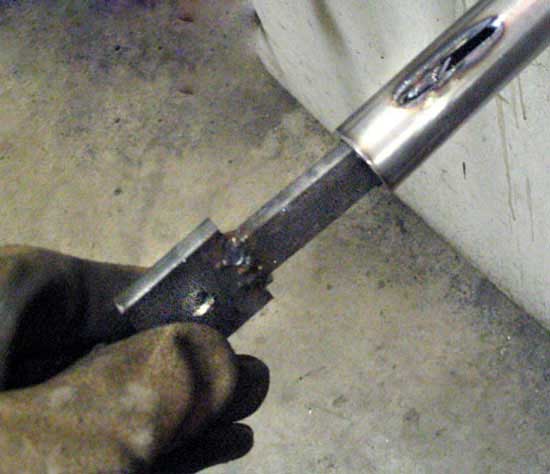 |
Fig. 4 |
 |
Fig. 5 |
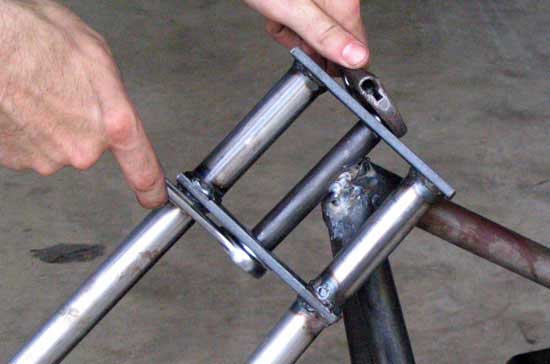 |
Fig. 6 |
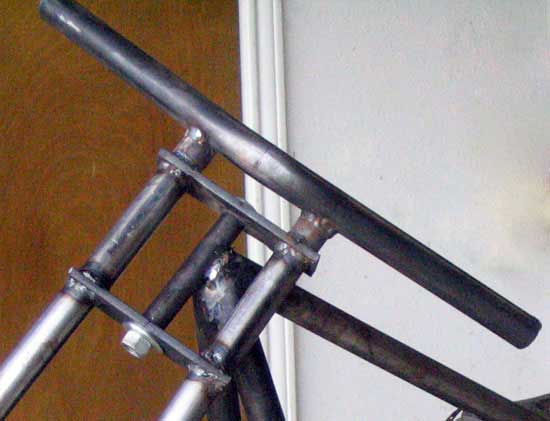 |
Fig. 7 |
 |
Fig. 8 |
All Raked Out
Mini Chopper Rake and Front End Forks
The angle that the front end forks are set at is known as the rake, and is the defining characteristic of a chopper.
How Much Rake For a Mini Chopper?
For our mini chopper project (Fig. 1), we used an extreme front end rake of around 50 degrees.
How Does Rake Effect Performance?
As rake increases, several things are effected. First, your turning ability diminishes. This isn't a major factor on a small bike, but shouldn't be overlooked.
Secondly, the longer you go with the forks, the more the material will flex on bumps. For a pocket sized chopper, the forks aren't too long. But the larger the mini bike, and the longer the forks, the farther the front wheel will be from the frame. This flex must be considered. Gussets and thick material are your solution, but at some point you'll reach "too long" — you are limited by material and welding ability, not imagination.
Rake and Safety
If you make poor welds or don't use gussets, you will have problems with your frame breaking. The amount of rake increases the stress on the frame, so reinforce adequately and be cautious.
Make The Forks
To make the forks without a large diameter drill involves a lot of welding. Ideally, one would cut two pieces of 1.5" flat stock, drill through them and then slide the fork tubes through the holes.
Without a drill bit large enough, we did not have this luxury. Instead two 3" tubes, boxed by 4"x1.5"x.25" flat stock create the top portion of the forks in Fig. 2. Holes were drilled top and bottom at 1/2" size for the frame neck to fork connection.
The two long tubes were then added to the top portion. (Fig. 3). A cross support was added near the bottom, high enough to clear the intended tire.
The Axle Tabs
For the axle tabs, a 1.5"x1.5"x.25" piece was welded to a 4"x.75"x.25" piece of flat stock.
A slit was cut into the back side of the forks (to minimize asthetic damage).
The axle tabs were then inserted into the forks (Fig. 4). Some material was ground off the inserted portion and the fit was very tight. The tabs were then welded in place at the bottom and up the back at the slit for maximum safety.
So far, this method worked very well for a small bike. Your results may vary.
Adding the Handlebars
The forks were installed, and again it was ensured that the frame sat level to the ground.
Risers were welded in place, and then the handlebar was welded on. We opted for a swept back, simple design on this bike instead of ape hangers. They were made from 3/4" pipe so they could be bent to shape.
Strengthen the Frame
After mocking up the forks, wheels, and frame, and ensuring that all the toleranaces were correct, a strengthening gusset was welded to the neck tube (Fig. 8). This is critical for adding needed strength, as the long rake will put serious stress on the neck tube.